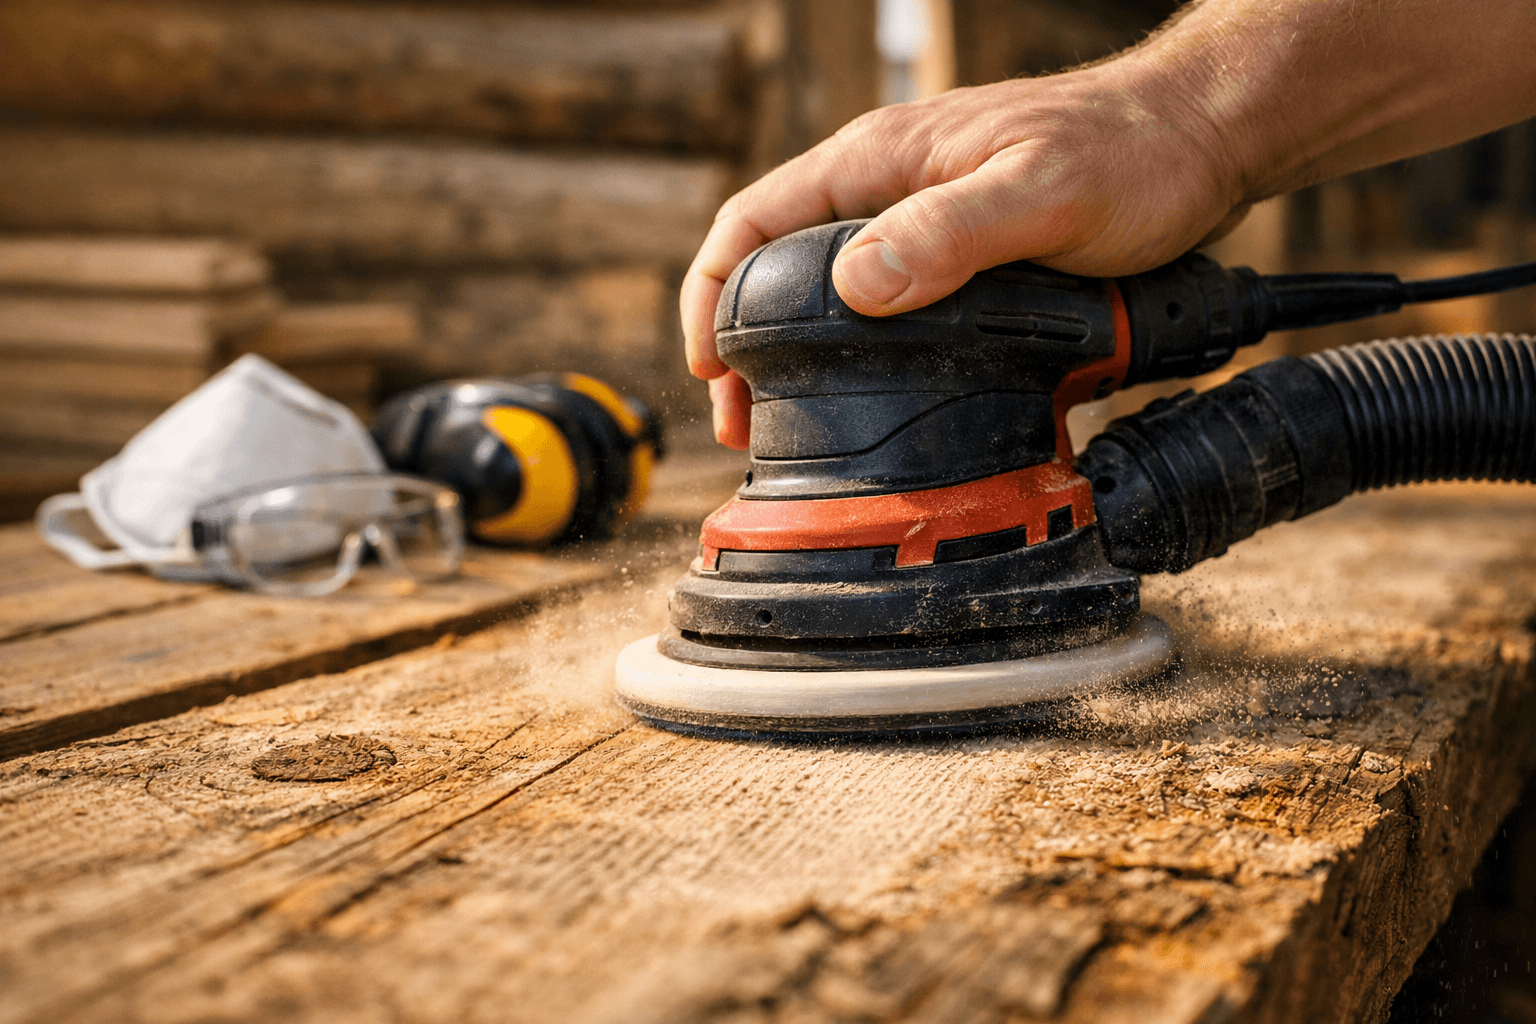
That swirl pattern burned into your log wall didn’t come from bad luck. It came from the wrong tool, or the right tool used the wrong way. A random orbital sander is the one power sander that can handle both flat siding boards and the uneven curves of a log wall without leaving those telltale circular scratches behind, but only if you understand how it actually moves.
Cabin builders push these tools harder than furniture makers ever do. You’re not smoothing a tabletop, you’re covering hundreds of square feet of rough-cut siding, deck boards, and maybe a whole exterior of log walls before winter hits. That’s a different job, and it deserves different technique.
Random Orbit vs Standard Orbital: Why the Name Actually Matters
A random orbital sander spins its pad in a small circle while also wobbling that circle off-center, so no single scratch pattern repeats twice. A standard orbital sander (the cheap square-pad kind) only moves in one fixed oval pattern, and on cabin wood that shows up as visible swirl marks once you stain or seal the surface.
This distinction trips up a lot of first-time buyers. Home centers sell both types side by side, often at similar prices, and the box doesn’t always make the difference obvious. If the sander has a round pad and you can spin the pad by hand while it’s off, that’s your random orbit model. If the pad is square or rectangular, walk away from it for cabin siding work.
Why It Matters More on Log Walls
Log walls have grain running every direction depending on how the tree grew, plus knots, checks, and grooves from the milling process. A fixed-pattern orbital sander will dig grooves with the grain in some spots and against it in others, and you’ll see the difference the moment you apply stain. Random orbit motion evens that out because the pattern never lines up with the wood grain long enough to leave a mark.
The One Job Sanders Don’t Do Well
Deep saddle-notch joints, tight corners where logs meet, and V-grooves in tongue-and-groove siding are better handled with a detail sander, a sanding sponge, or hand sanding. Forcing a 5-inch or 6-inch pad into a corner just rounds over edges you wanted crisp, or leaves the corner untouched entirely.
Grit Progression: Skipping Steps Costs You Time, Not Saves It
Jumping from 60-grit straight to 220-grit is the single most common mistake I see on cabin sites, and it leaves the wood looking uneven under finish even though it feels smooth to the touch. Work through the grits in order, and don’t skip more than one step at a time.
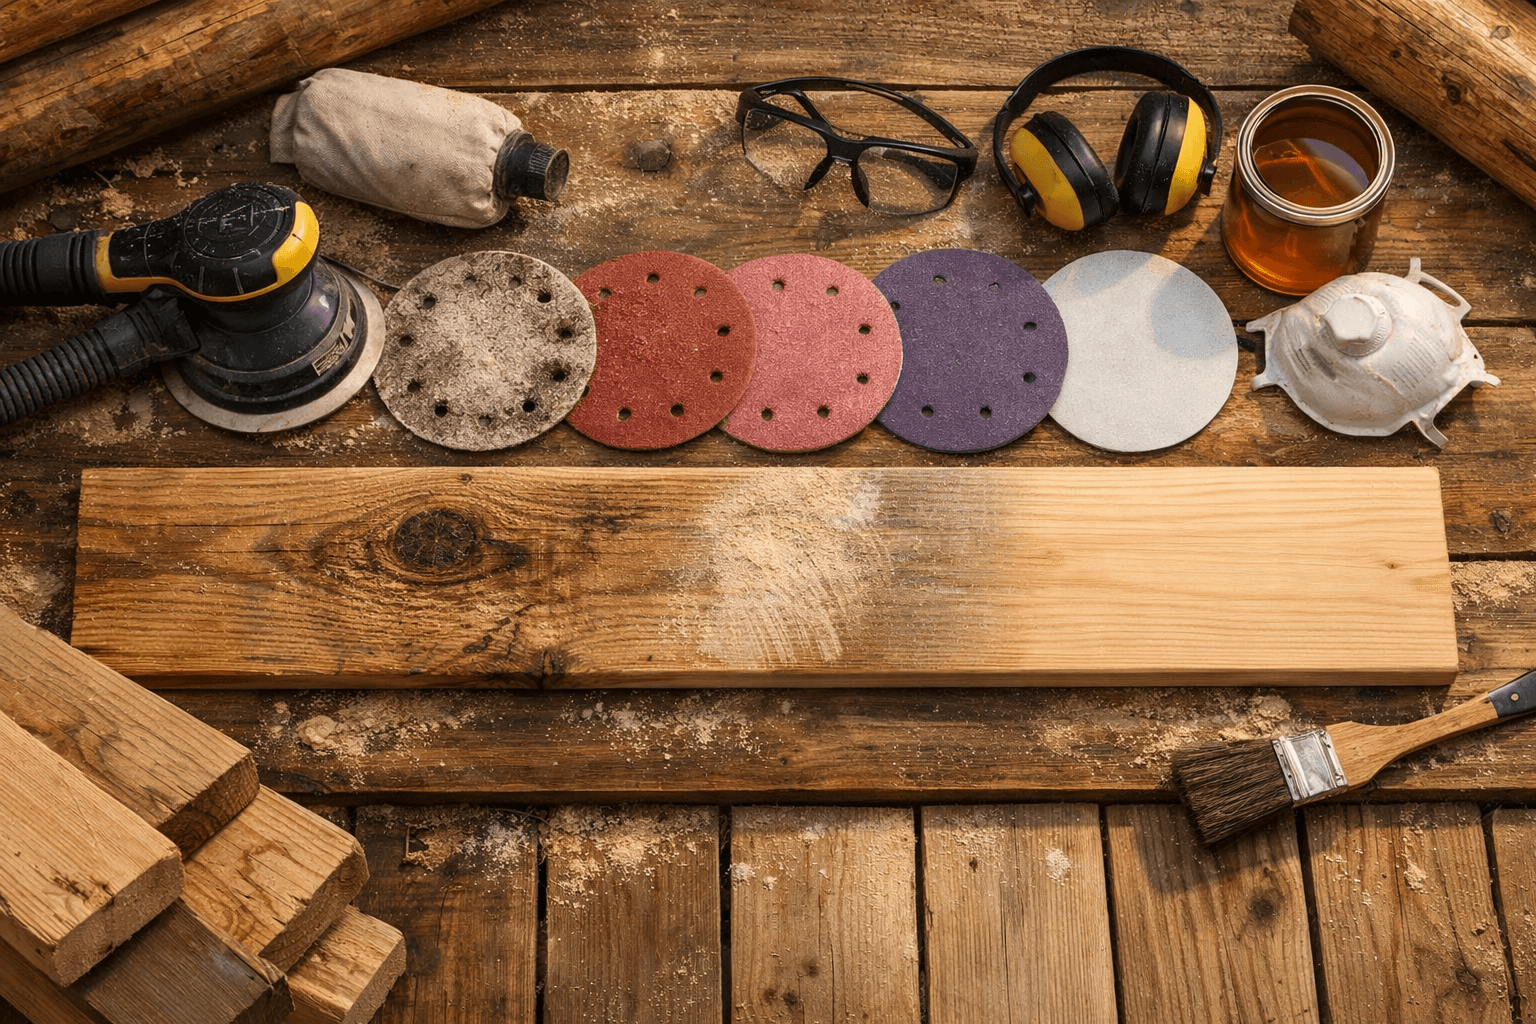
For rough-cut cabin lumber that’s fresh from the mill or weathered from years outside, start at 60 or 80 grit to knock down mill marks and gray weathering. Move to 120 grit to erase the scratches the coarse paper left. Finish at 150 or 180 grit for siding and deck boards headed for stain, or push to 220 grit only if you’re doing interior trim that’ll see a clear coat up close.
Inspect the surface and pick a starting grit based on how rough or weathered it is.
Sand with the coarse grit until mill marks or old finish disappear.
Wipe or vacuum off dust before switching paper.
Move to the next grit up, sanding until the previous scratch pattern is gone.
Repeat through each grit step, never skipping more than one level.
Do a final light pass at your finish grit, moving with the grain direction.
Vacuum and tack-cloth the surface right before applying stain or sealant.
Pressing hard doesn’t speed this up. It actually slows the pad’s random motion down toward a fixed pattern, which is exactly what causes gouges and burn marks on softwood like pine or cedar. Let the weight of the tool do the work and keep the sander moving.
Matching Pad Size and Power to the Surface
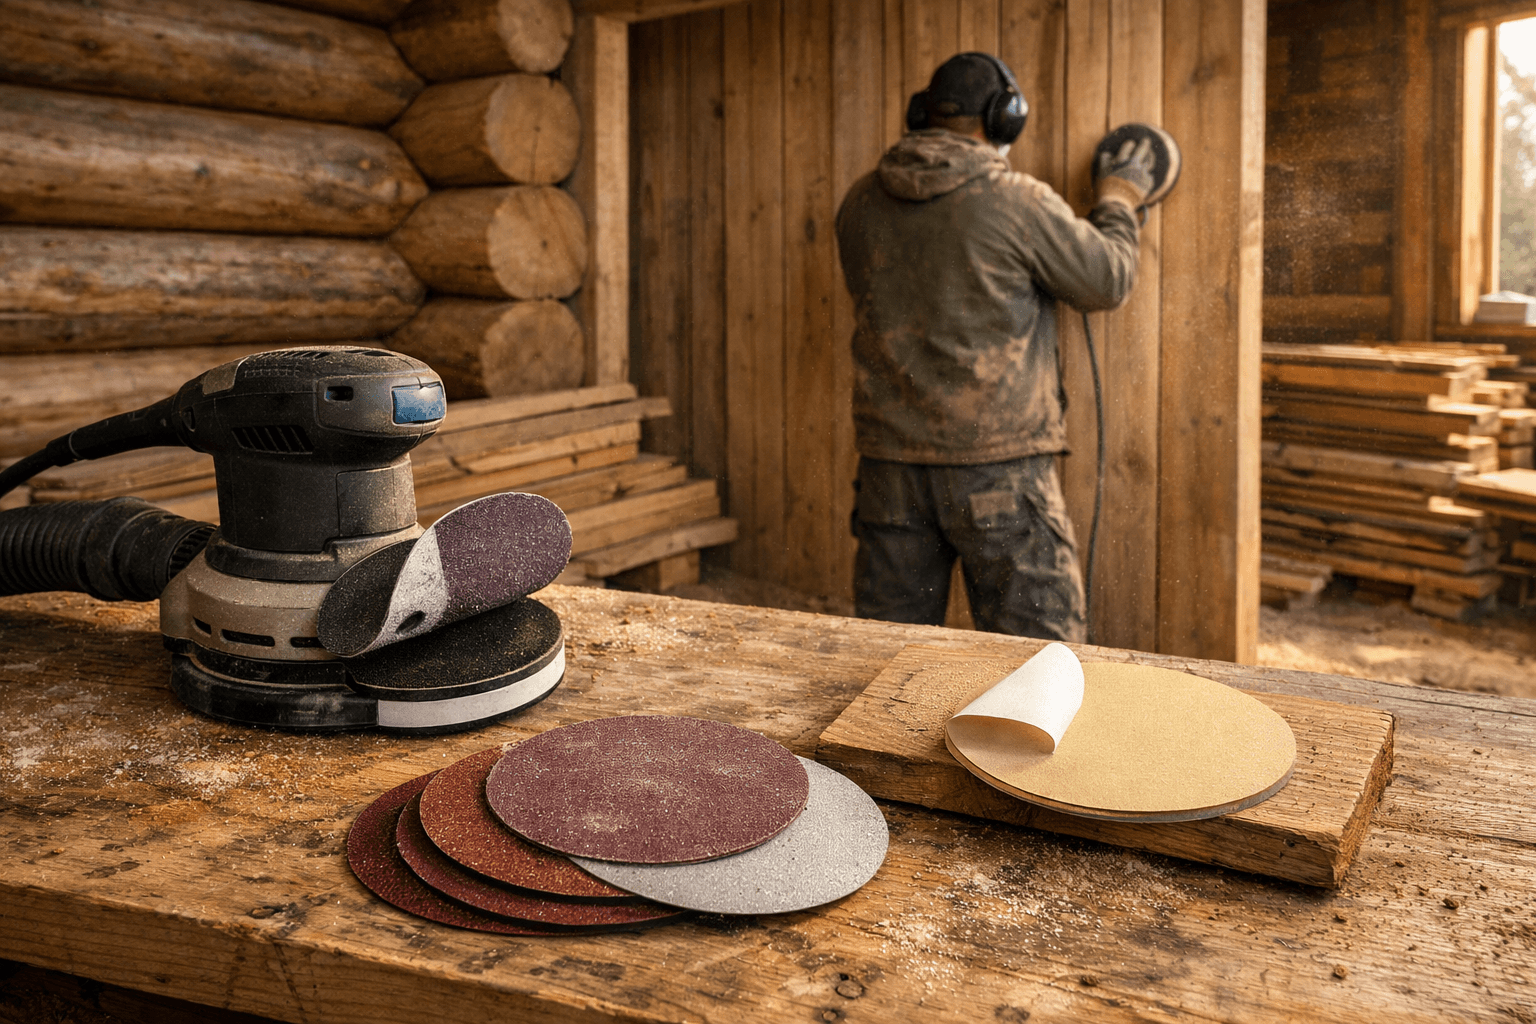
A 5-inch pad sander is the right default for most cabin work, cheap to find, easy on the wrist over long sessions, and the sandpaper discs are widely available. A 6-inch pad covers more ground per pass, which matters when you’re working full sheets of siding or a whole log wall before the weather turns.
Corded or Cordless for a Full Cabin Exterior
Corded sanders give you unlimited runtime, which counts for something when you’re sanding 800 square feet of exterior wall in a weekend. Cordless models, running on batteries in the 18V to 20V range, trade some runtime for freedom from extension cords on a job site that’s often nowhere near a power outlet yet. If your cabin site still doesn’t have permanent power, cordless is worth the extra battery cost.
Hook-and-Loop vs Adhesive Pads
Hook-and-loop pads let you swap sandpaper discs in seconds, which matters when you’re burning through paper on rough, dirty, or previously-treated wood. Adhesive (PSA) discs cost a little less per pack but are slower to change and don’t reposition once stuck. For cabin work where you’re changing grits constantly, hook-and-loop is the better call even though the discs themselves run slightly higher per piece.
Feature
5-inch pad
6-inch pad
Best use
Siding, trim, tight areas
Log walls, decks, large flat runs
Typical weight
Lighter, less arm fatigue
Heavier, more coverage per pass
Disc cost (approx.)
$0.50-$1 per disc
$0.75-$1.25 per disc
Common RPM range
8,000-12,000 OPM
6,000-10,000 OPM
Dust Collection and Safety Gear Aren’t Optional Here
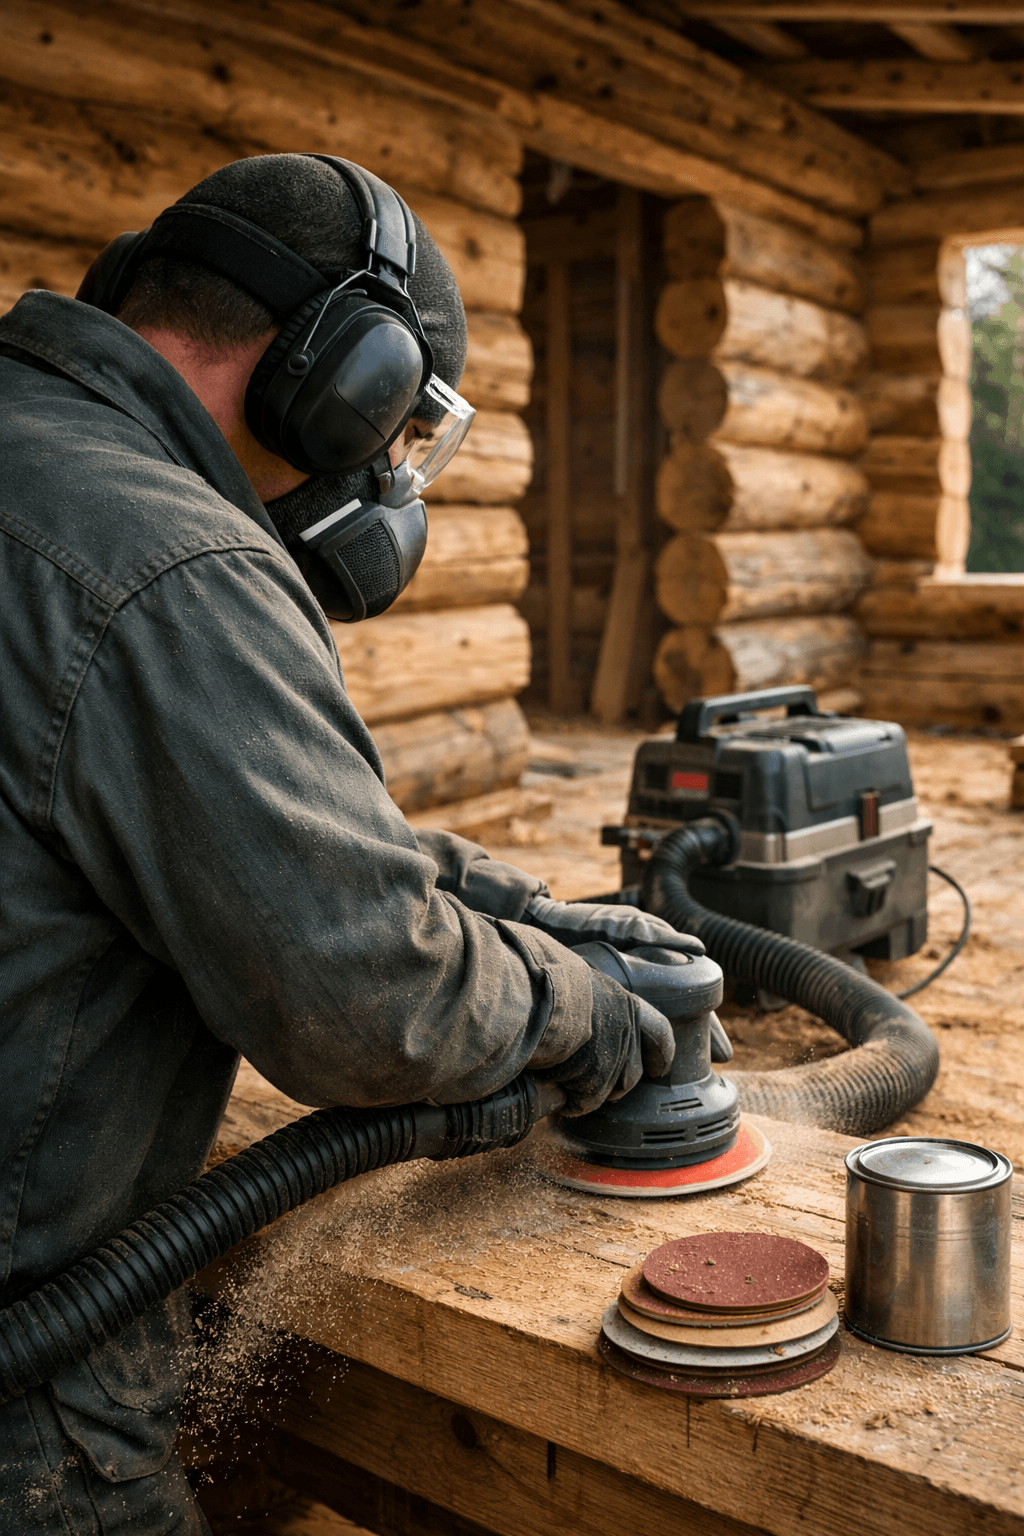
Cabin wood often means old siding, pressure-treated lumber, or decades-old stain, and sanding that dry, indoors or in a closed-up shed, puts fine particulate straight into your lungs. Hook the sander’s dust port up to a shop vac rated for fine dust, not just the stock dust bag, especially indoors.
Wear a NIOSH-rated N95 respirator at minimum, and step up to a half-face respirator with P100 cartridges if you suspect old lead paint or heavy chemical treatment on the wood. Safety goggles matter too, not just glasses, because sanding dust kicks up and drifts sideways in any breeze.
Before you get to staining or sealing that freshly sanded log wall, it’s worth reading through a dedicated wood treatment guide, and cabinlodger.com has one that walks through matching the right sealant to the grit finish you just put down. The finish only looks as good as the sanding underneath it, so don’t rush the last grit pass just because the wall looks done from ten feet away.
Frequently Asked Questions
What grit should I use for the final pass on log siding before staining?
Use 150 to 180 grit for exterior log siding headed for stain. Anything finer, like 220 grit, closes the wood’s pores too much and can actually make stain absorb unevenly on softwoods like pine.
Can I use a random orbital sander on an entire log cabin exterior?
Yes, for flat and curved log surfaces, but not for saddle notches or tight corner joints. Plan on hand sanding or a detail sander for those spots, roughly 10-15% of total surface area on a typical notched cabin.
How do I stop swirl marks from showing up under my finish?
Swirl marks usually mean you pressed too hard, slowing the pad’s random motion, or you skipped a grit step. Let the tool’s own weight do the work and keep it moving at all times across the surface.