Two boards, one edge cut with a protruding tongue, the other with a matching groove. Slide them together and you’ve got a joint that’s tongued and grooved — tighter than a butt joint, stronger against wind-driven rain, and, if you cut it right, invisible once it’s nailed up. If you’re standing in a lumber yard right now trying to figure out whether this is the right call for your cabin walls, the short answer is yes, almost always, but the details matter more in a cabin than in a regular house.
That’s because cabins live rough. They swing from bone-dry winter air to soaked summer humidity, often with zero climate control in between. A joint that looks perfect in October can be popping apart by March if you didn’t plan for wood movement. That’s the part most general woodworking guides skip, and it’s the part that actually decides whether your walls look good in year five or need to be torn out.
What “Tongued and Grooved” Actually Means for Your Build
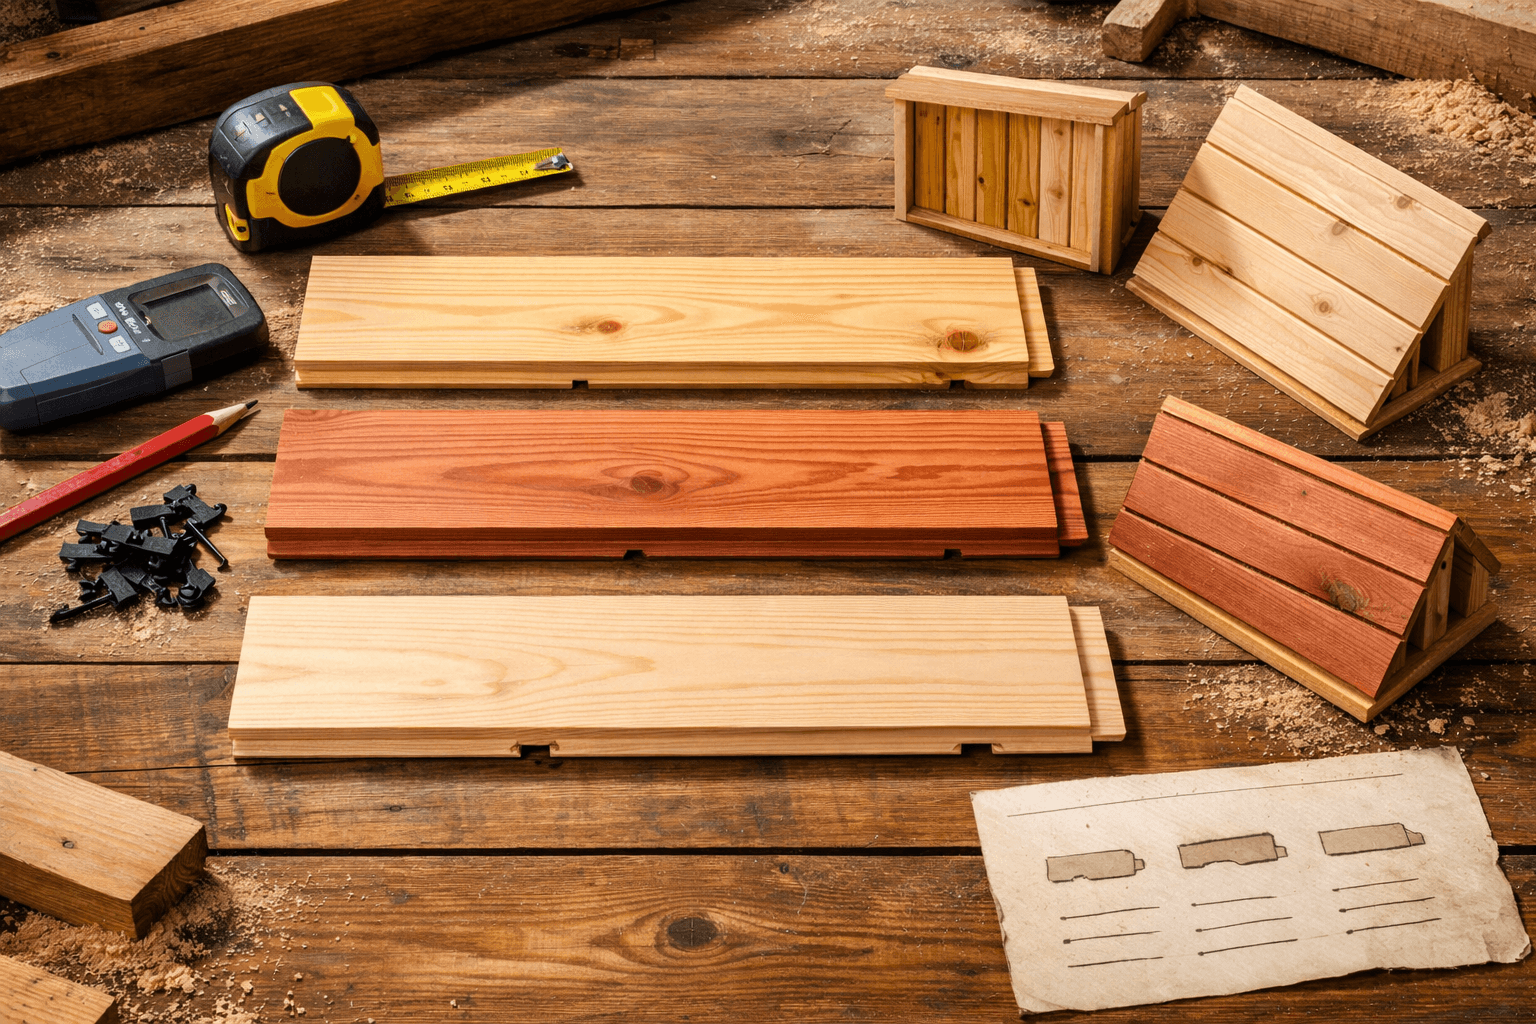
A tongue and groove joint is a milled edge connection where one board has a protruding ridge (the tongue) and the neighboring board has a matching slot (the groove), so the boards interlock along their length instead of just touching edge to edge. This is different from a butt joint, and it’s different from shiplap, even though people mix the terms up constantly.
Shiplap boards overlap at a rabbeted edge — one board sits on top of the next, leaving a visible step. Tongue and groove boards interlock, sitting flush with each other and hiding the fastener line entirely. If you want a flatter, more finished look for interior walls or ceilings, T&G wins. If you want a more rustic, shadow-line look and don’t mind slightly more air infiltration, shiplap is the easier, cheaper option since it needs less precise milling.
Where Cabin Builders Use Each Profile
Standard T&G boards give you a flat, seamless surface. V-groove T&G adds a small chamfered edge at each joint, so you get a visible V-shaped shadow line even though the boards are still interlocked — great for cabin ceilings where you want texture without full shiplap gaps. Both profiles come in the same nominal widths, usually 1×6 or 1×8 boards that finish out around 5.5 inches or 7.25 inches of actual coverage after milling.
Choosing Board Species: Why Pine, Cedar, and Spruce Behave Differently
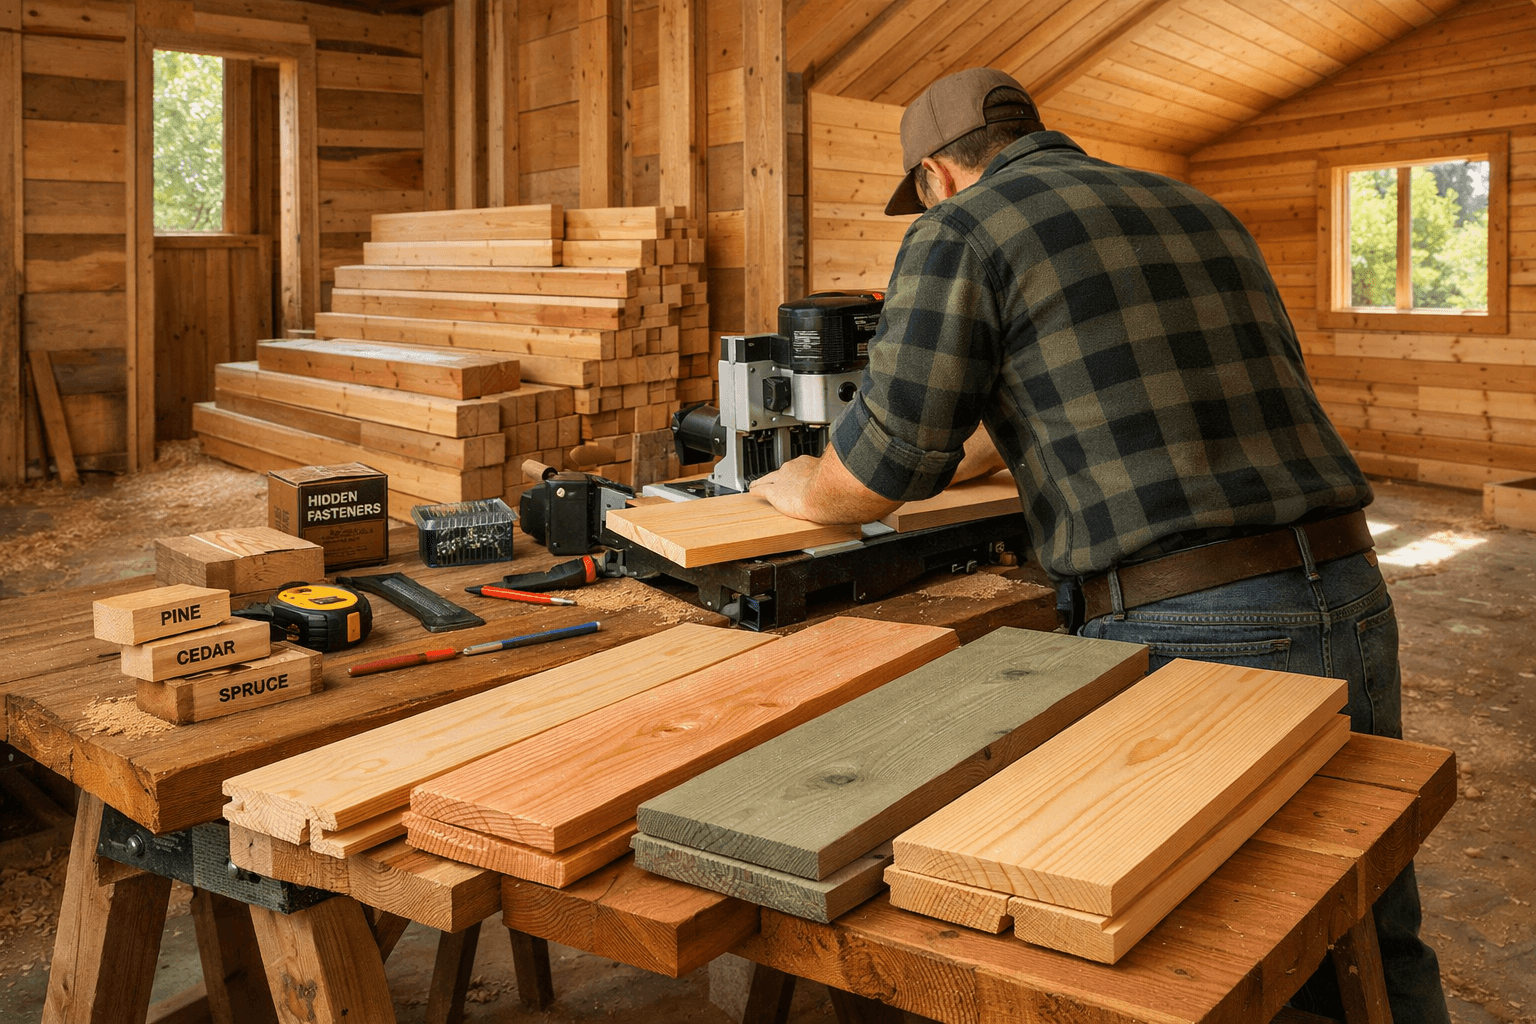
Species selection matters more in a cabin than in a heated house because unheated structures see bigger swings in moisture content, and different woods handle that stress differently. Pine is the budget pick and works fine indoors if you seal it well, but it’s the most prone to sap bleed and dents. Cedar costs more, usually 40-60% above pine per board foot, but resists rot and bugs without any chemical treatment, which matters if your cabin sits closed up for months at a time. Spruce splits the difference: tighter grain than pine, lighter than cedar, and a common choice for interior paneling where cost matters but you still want decent stability.
Species
Approx. Cost (per bd ft)
Stability in Swings
Best Use
Pine
$2-$3
Moderate — prone to cupping if unsealed
Interior walls, sealed ceilings
Spruce
$2.50-$3.50
Good — tighter grain than pine
Interior paneling, budget ceilings
Cedar
$4-$6
Excellent — naturally rot/insect resistant
Exterior siding, humid climates
For an off-grid cabin that isn’t heated all winter, I’d lean cedar for anything exposed to the elements and reserve pine or spruce for interior work you plan to seal properly.
The Expansion Gap Most First-Timers Skip — And Why It Wrecks Walls
Leave no gap, and your T&G wall will buckle. This is the single most common mistake in cabin paneling, and it’s almost always because someone installed the boards tight, edge to edge, with zero room for the wood to breathe. Wood is hygroscopic — it absorbs and releases moisture with the air around it, expanding across its width as humidity rises.
In a climate-controlled house, that swing is small because the indoor air stays fairly stable year-round. In an unheated cabin, you might go from 30% relative humidity in January to 70% in July. That’s a much bigger swing, and it means your boards need real room to move.
How Much Gap to Actually Leave
For interior wall and ceiling paneling, leave a 1/8-inch gap at the base and top of each wall run, and don’t force boards together at the tongue-and-groove joint itself — let them seat naturally without hammering them tight. For flooring, which sees even more foot traffic and moisture contact, leave roughly 3/4 inch total around the room’s perimeter, split between opposite walls, and use expansion spacers while you install. Skipping this step is why so many cabin floors and walls that looked flawless the first fall start showing gaps or cupping by the second winter.
Installation Method: Router, Table Saw, or Pre-Milled Boards
Buy pre-milled tongue and groove boards unless you’re cutting a large volume and want to save money — for most cabin builds, the labor cost of milling your own joints isn’t worth it. Pre-milled stock from a lumber yard runs a predictable price and guarantees consistent tolerances, which matters more than people think.
Cutting Your Own Joints
If you do want to mill your own, a router table with a 3/4-inch or 1-inch tongue-cutting bit set gives you the cleanest, most repeatable results, since you run one edge for the groove and flip the setup for the tongue. A table saw with a dado stack can do it too, but it takes more setup time and more test cuts to dial in a snug fit. The catch with construction-grade lumber is that it’s not milled to the tight tolerances furniture-grade or dedicated paneling stock is, so joints can end up sloppy even with a good bit.
Blind-Nailing for a Clean Finish
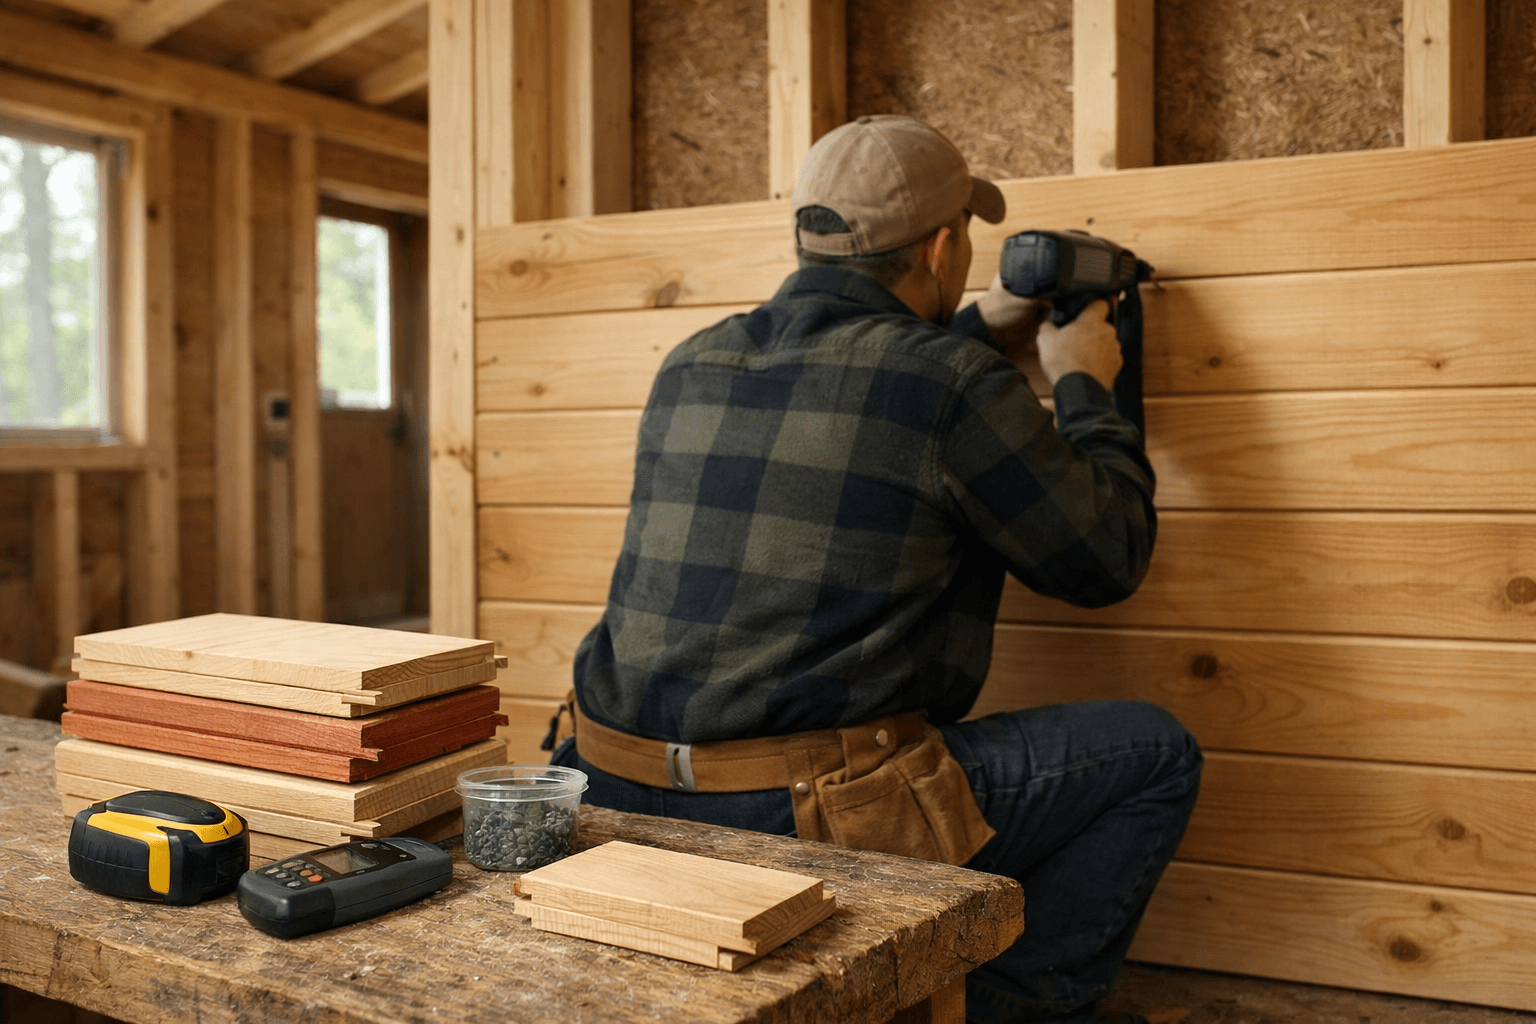
Face-nailing is not the move for T&G paneling. Blind-nailing through the tongue, at roughly a 45-degree angle, hides every fastener and lets the next board’s groove slide over and cover the nail head completely. Use a pneumatic flooring nailer or finish nailer with 1.5 to 2-inch nails depending on board thickness, and nail every 16 inches into a stud or joist. This is the technique that separates a cabin interior that looks professionally finished from one that looks like a garage project.
Sealing matters just as much as the joint itself. A penetrating oil finish or a marine-grade spar varnish will slow moisture absorption dramatically compared to bare wood, and reapplying every 2-3 years on exterior T&G siding keeps the boards from cupping at the joint line. I’ve found a lot of practical breakdowns of specific sealing schedules and treatment products over on cabinlodger.com, if you want to go deeper on that side of the build before you commit to a species.
Frequently Asked Questions
Can I use tongue and groove boards on both walls and ceilings?
Yes, T&G works on both, but ceiling boards should run thinner (often 5/8 inch) to reduce weight, while wall boards can be a full 3/4 inch for better durability against bumps and furniture contact.
Is tongue and groove stronger than shiplap for exterior cabin siding?
T&G resists wind-driven rain better because the interlocking joint blocks a straight path for water, while shiplap’s overlap can let moisture seep in at the horizontal reveal during heavy, sideways rain.
How do I fix a T&G wall that’s already buckling?
Pull the boards near the buckle, cut back the expansion gap to at least 1/8 inch at each end, and reinstall with blind nails — if the boards themselves have cupped, they’ll likely need replacing.