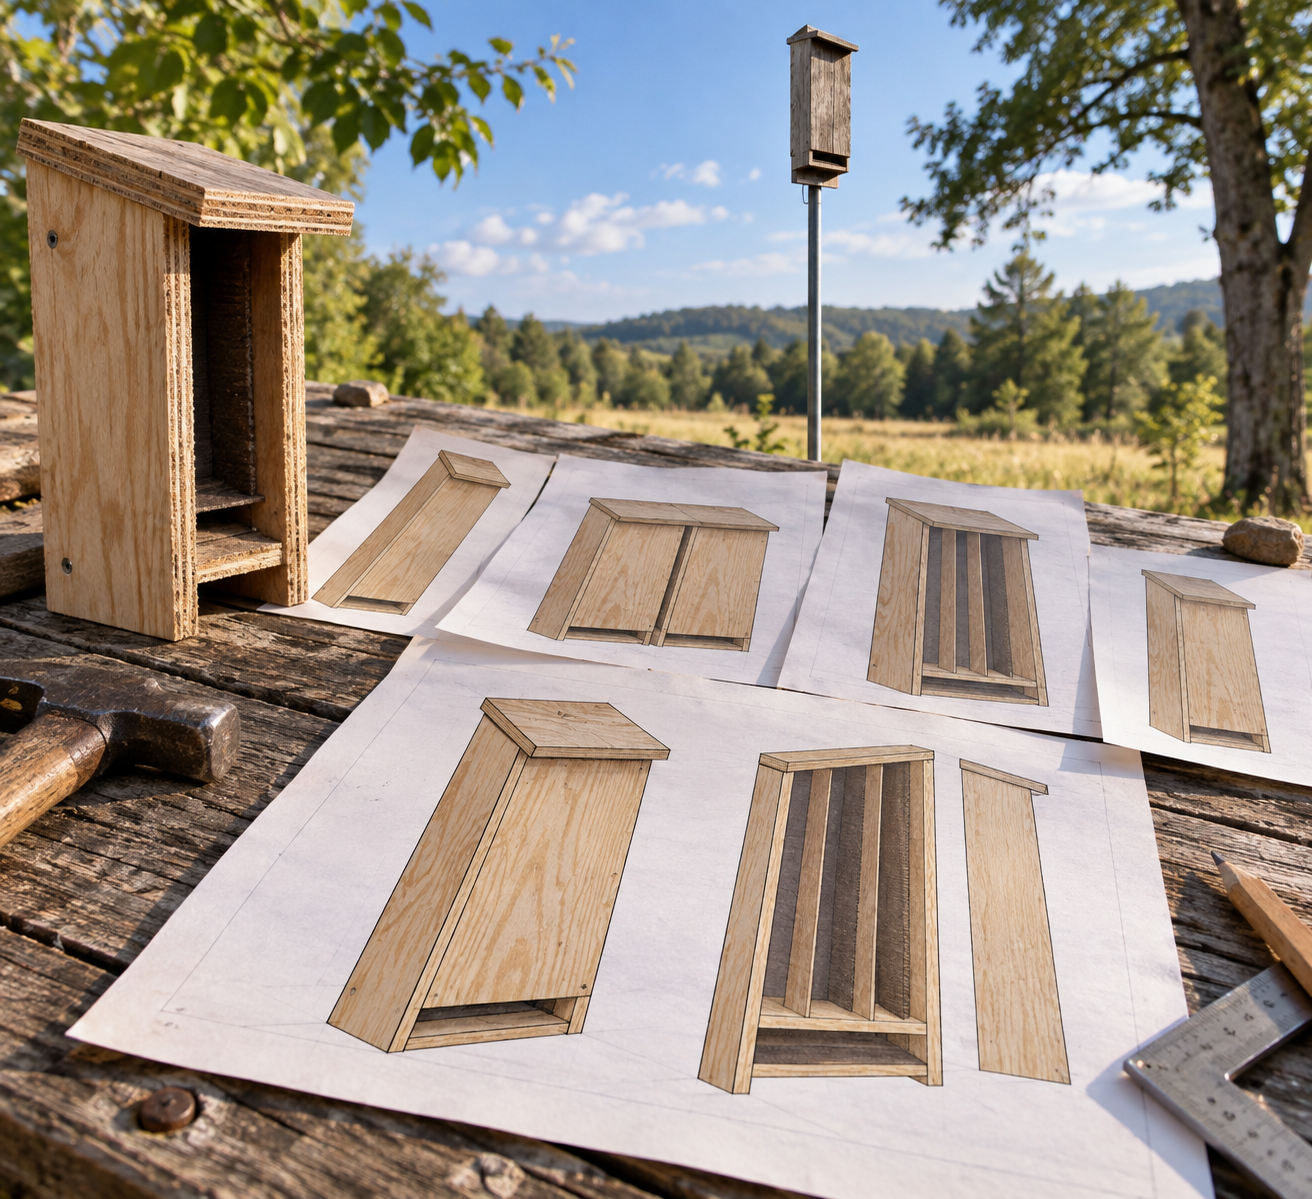
A bat house that sits empty isn’t a bat house, it’s expensive firewood nailed to a post. Building plans for bat house projects are everywhere online, but most ignore the one thing that decides occupancy: whether the design matches your climate and mounting spot. Get that wrong, and even a perfectly built box stays vacant for years.
If you’re dealing with mosquitoes around a cabin pond or clearing brush at dusk, bats are the cheapest pest control you’ll ever install. The trick is picking the right design for where you live, not just the one with the nicest photo.
What your climate and site actually demand
Bats need roost temperatures between roughly 80°F and 100°F during the day. In hot southern states, a box facing full sun can cook them. In the north, too little sun leaves roosts too cold through spring.
Chamber depth and spacing
Roosting chambers should be 3/4 inch to 1 inch wide — tight enough that bats feel wedged in but not crushed. Chamber depth usually runs 20-26 inches tall.
Mounting rules that get skipped
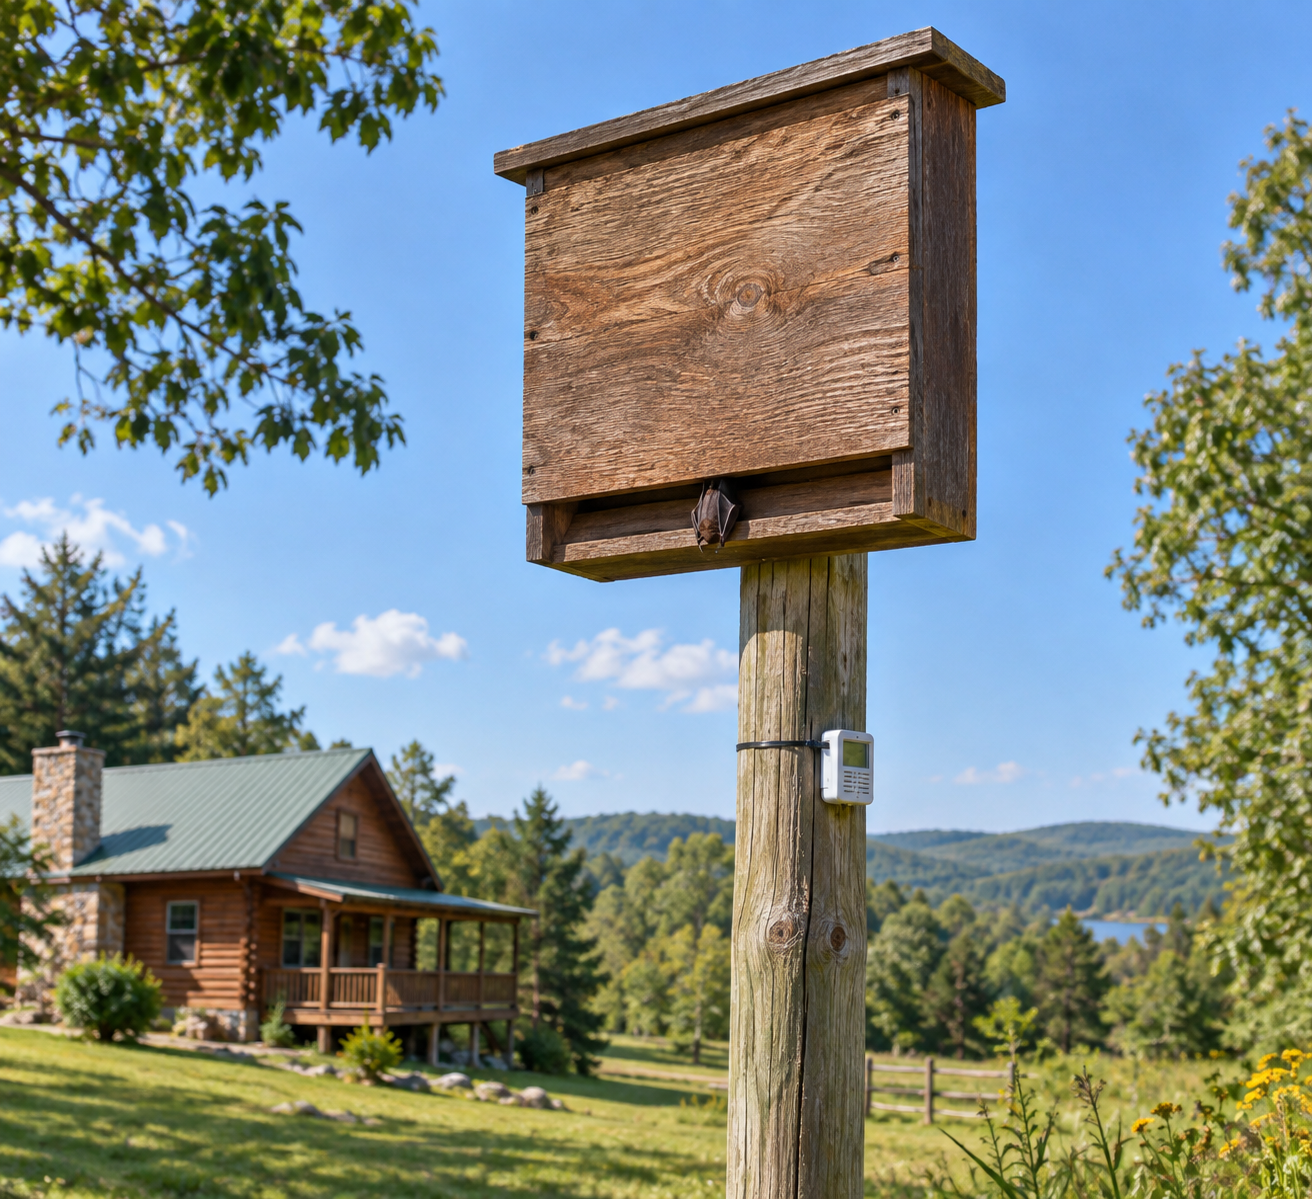
Bat houses need 12-20 feet of mounting height, full sun for 6+ hours a day in cooler zones, and zero overhanging branches a predator could use as a launch point.
1. Single-chamber bat house — best for small cabins and first-time builders
This is the simplest design, one open roosting space behind a front panel, and it’s what most beginners should build first. It uses roughly one sheet of 3/4-inch exterior plywood, costs under $30 in materials, and takes a weekend.
Dimensions typically run 24 inches tall by 16 inches wide, with a single chamber 3/4 inch deep. It works best on a cabin wall or a dedicated pole in full sun, in moderate climates like the upper Midwest or New England, where a single warm chamber is enough. In hotter states, this design overheats fast because there’s no cooler backup chamber for bats to retreat to.
2. Multi-chamber bat house — best for larger colonies and variable weather
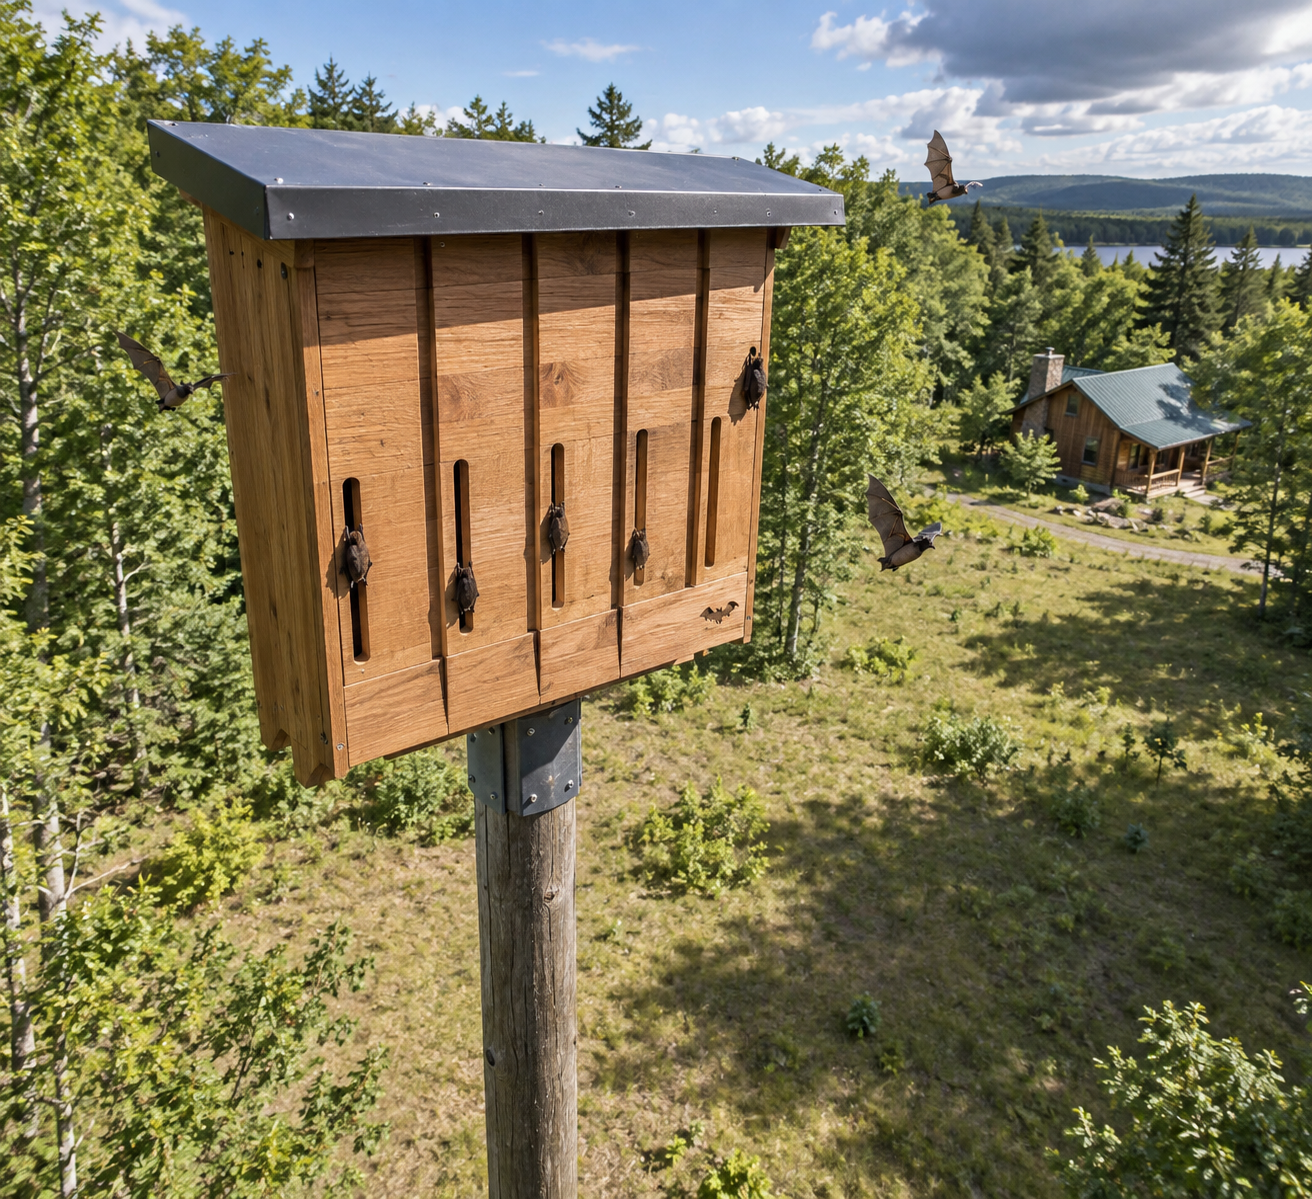
Multi-chamber designs stack 2-4 parallel roosting chambers, each separated by furring strips, giving bats a choice of warmer or cooler spots as outside temperatures swing. This flexibility is why wildlife agencies, including Bat Conservation International, recommend multi-chamber builds for most backyard and rural installs.
A typical four-chamber house stands 24-30 inches tall, 18 inches wide, with chambers spaced 3/4 inch to 1 inch apart. Mount it where morning sun hits directly but afternoon shade cools the back chambers, a south or southeast wall is ideal on most cabin properties. It takes more lumber and about a full day to build, but occupancy rates run noticeably higher than single-chamber boxes in areas with swinging spring and fall temperatures.
3. Rocket box design — best for pole-mounted sites away from buildings
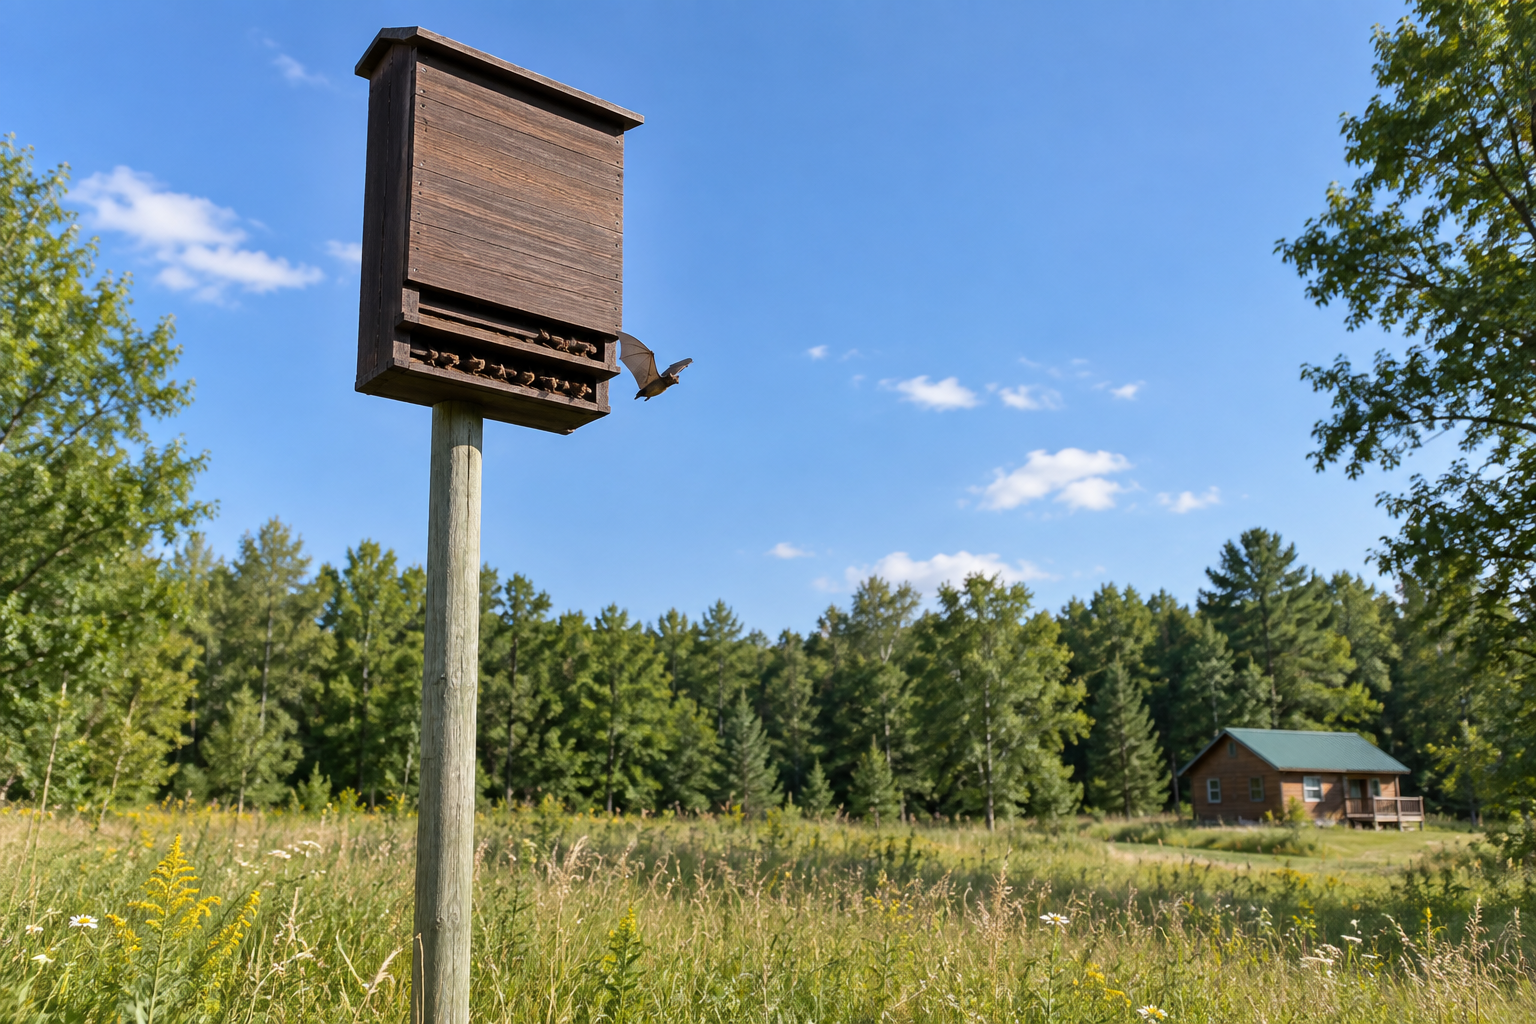
The rocket box is a tall, narrow, four-sided tower that mounts on a single pole, not a wall, making it the top choice when there’s no suitable building nearby. It’s shaped like a chimney, roughly 10-12 inches square and 24-36 inches tall, with internal partitions creating 3-4 roosting chambers accessible from the bottom vent slot.
Because it mounts on a pole set 12-15 feet high, away from tree cover, it’s a strong fit for open fields, pond edges, or cabin lots without a barn or shed wall. The design sheds rain well and handles wind better than flat wall-mounted boxes, but it needs a sturdy 4×4 pressure-treated post and galvanized hardware to stay stable in storms.
4. Nursery bat house — best for established colonies raising pups
Nursery houses are bigger versions of the multi-chamber design, built specifically to hold warmth for mothers raising pups in late spring and summer. These run 36 inches or taller, with 4-6 chambers and a wider landing pad at the bottom for pups testing their wings.
This design suits properties where bats already roost nearby, maybe in a barn or attic, since colonies often relocate to a nursery box once it’s proven warm and stable. Thermal mass matters here: darker exterior paint and thicker wood (3/4-inch cedar or exterior plywood) hold heat better through cool nights, which pups need to survive.
5. Mini bat house kit — best for testing a site before building big
Mini kits, often sold pre-cut at hardware stores or through conservation groups, are the lowest-commitment option for figuring out if a location will work at all. They run 12-18 inches tall with one or two shallow chambers and cost $20-$40 assembled.
Use one for a season on a trial mounting spot, a shed wall, a fence post, before investing in a full multi-chamber build. If it gets occupied, scale up with a design matched to what you learned about sun exposure and wind at that exact spot.
Design
Height
Chambers
Best mounting
Climate fit
Single-chamber
24 in
1
Wall, full sun
Moderate (Midwest/Northeast)
Multi-chamber
24-30 in
2-4
South/SE wall
Variable temps
Rocket box
24-36 in
3-4
Pole, 12-15 ft
Open fields, windy sites
Nursery house
36+ in
4-6
Established roost area
Warm, stable sun exposure
Mini kit
12-18 in
1-2
Trial location
Any, for testing
For wood type, stick with cedar or exterior-grade plywood, never pressure-treated lumber for interior roosting surfaces since the chemicals can irritate bats. Caulk every joint with exterior-grade silicone before painting; gaps bigger than a pencil width let drafts ruin the stable roost temperature bats need. Paint color should match climate: black or dark brown in the north for heat retention, medium gray or tan in southern states to avoid overheating interior chambers past 100°F.
A few build steps apply across all five designs:
Rough the interior chamber surfaces with a saw kerf every half-inch, bats can’t grip smooth wood.
Leave a landing pad at least 3-4 inches below the entrance slot, with the same rough texture.
Install a predator guard, a smooth metal sleeve or cone, on the mounting pole to stop snakes and raccoons.
Seal all exterior seams with caulk before the first paint coat.
Mount before bats return in spring; in most of the US that means installing by March or early April.
Readers tackling off-grid cabin upgrades alongside a bat house project can find related build notes on mosquito control and pest-proofing over at cabinlodger.com.
Frequently Asked Questions
How high should I mount a bat house?
Mount between 12 and 20 feet above ground, with no branches or wires within 20 feet of the entrance. Lower mounting heights under 10 feet see far lower occupancy because bats avoid easy predator access near the ground.
What color should I paint a bat house?
Match it to your climate: black or dark brown where average highs stay under 85°F, medium gray or tan where summer highs regularly top 95°F. The wrong color either overheats the chambers or leaves them too cold for roosting.
Do bat houses actually get used?
Yes, but occupancy often takes one to two years and depends heavily on mounting height, sun exposure, and distance from existing roosts like barns or attics. Multi-chamber and rocket box designs near water or open fields tend to fill fastest.