Got a pile of trim boards that don’t match? Some pine, some cedar, maybe a few fir offcuts you salvaged from another project? That’s the reality for most cabin builds, and it’s exactly why darkening wood trim on a cabin is trickier than the stain-color charts at the hardware store let on. Most guides assume you’re working with clean, factory-milled interior trim. Cabin trim is rough-cut, sun-faded, or a grab-bag of leftover lumber, and getting it to darken evenly is the real fight.
Why Cabin Trim Darkens Unevenly (and What Causes Blotching)
Softwoods like pine soak up stain unevenly because of how their grain is structured, and that’s the number one reason trim ends up blotchy. Pine has soft, porous zones next to tight, resinous ones, so stain gets absorbed at wildly different rates across the same board.
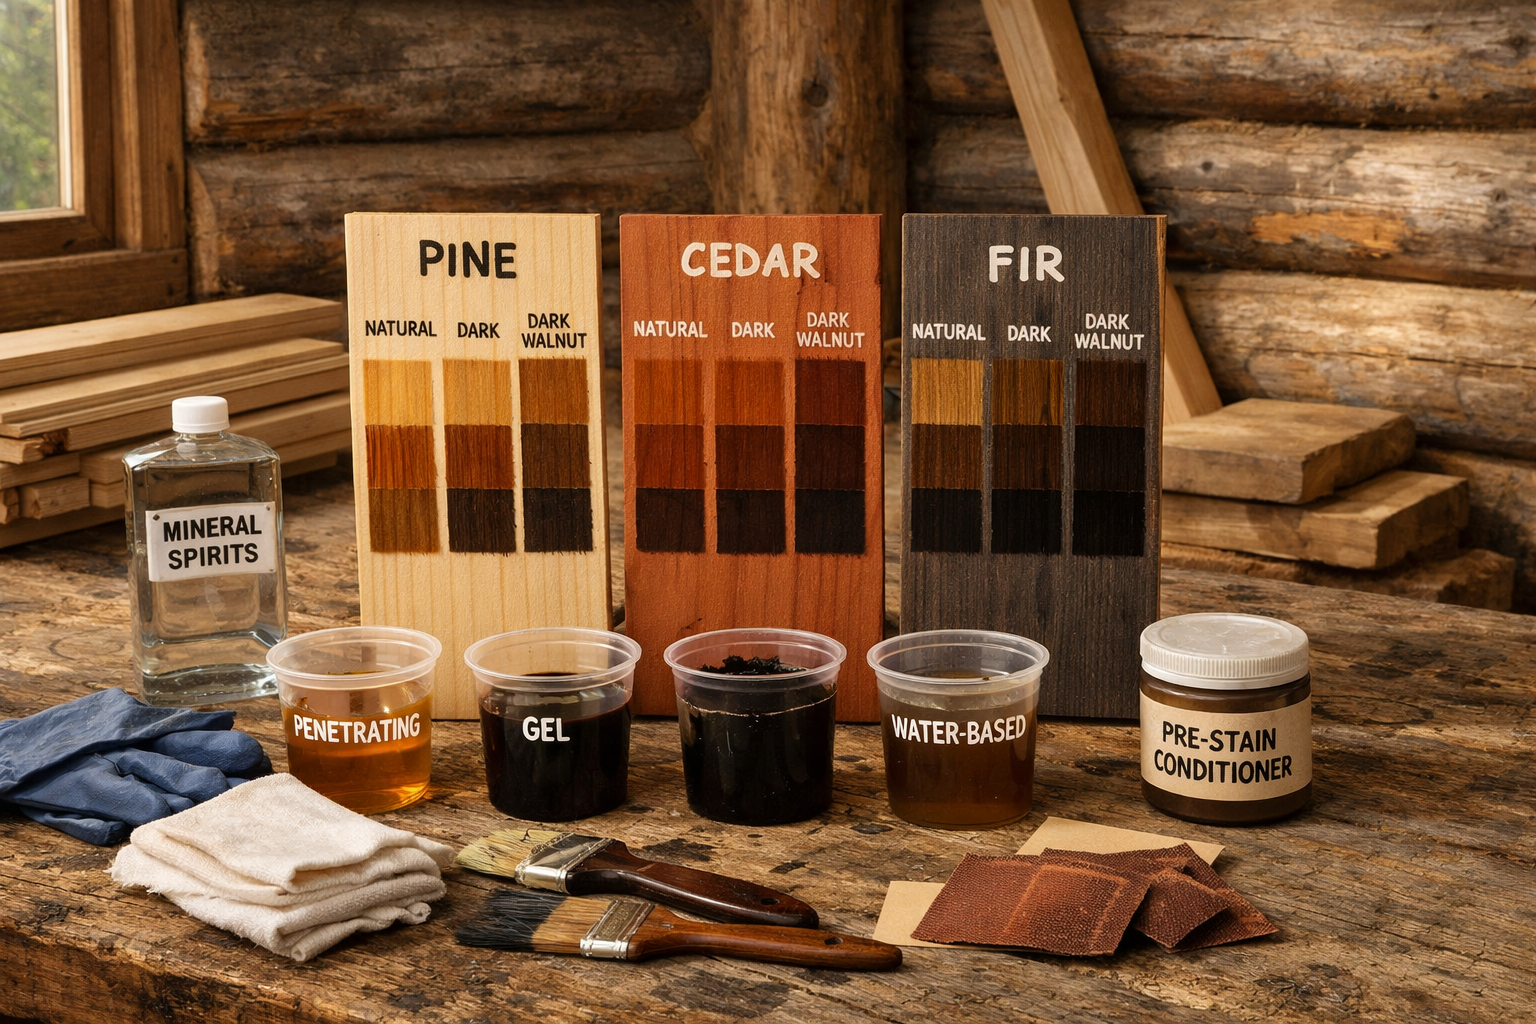
Cedar and fir behave a bit better, but they’re not immune. Weathered boards, ones that have sat outside for a season or two, often have a grayed, oxidized surface layer that blocks stain from penetrating at all until you sand it off. Mixing species in the same run of trim makes it worse. Cedar will pull warmer and redder, pine will look blotchy and yellow underneath, and fir tends to sit somewhere in between with a slightly pink undertone.
Skipping a pre-stain wood conditioner on pine is the single biggest mistake I see. Conditioner partially seals the porous areas so the stain absorbs more evenly, and on softwoods it’s not optional if you want consistent color. Skip it, and you’ll get dark blotches next to pale streaks, even from the same can of stain applied by the same hand.
Matching Tone Across Mismatched Trim Boards
You can’t get identical color across five different wood types with one coat of one stain. Accept that up front, and plan for a process, not a single application.
Test Boards Aren’t Optional
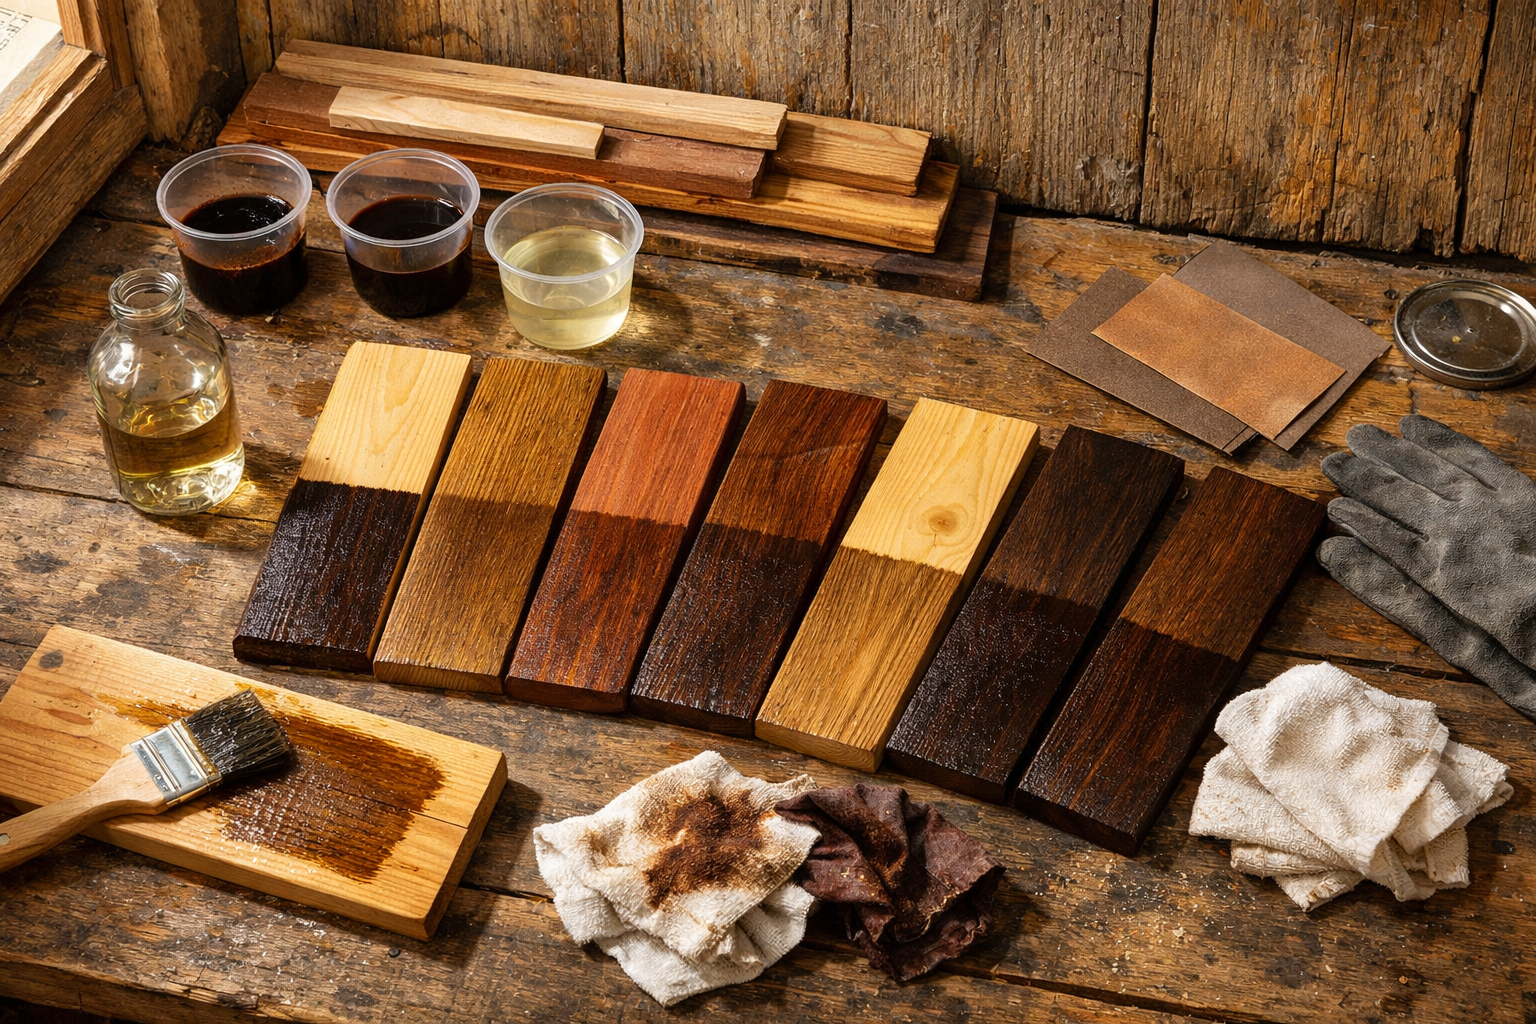
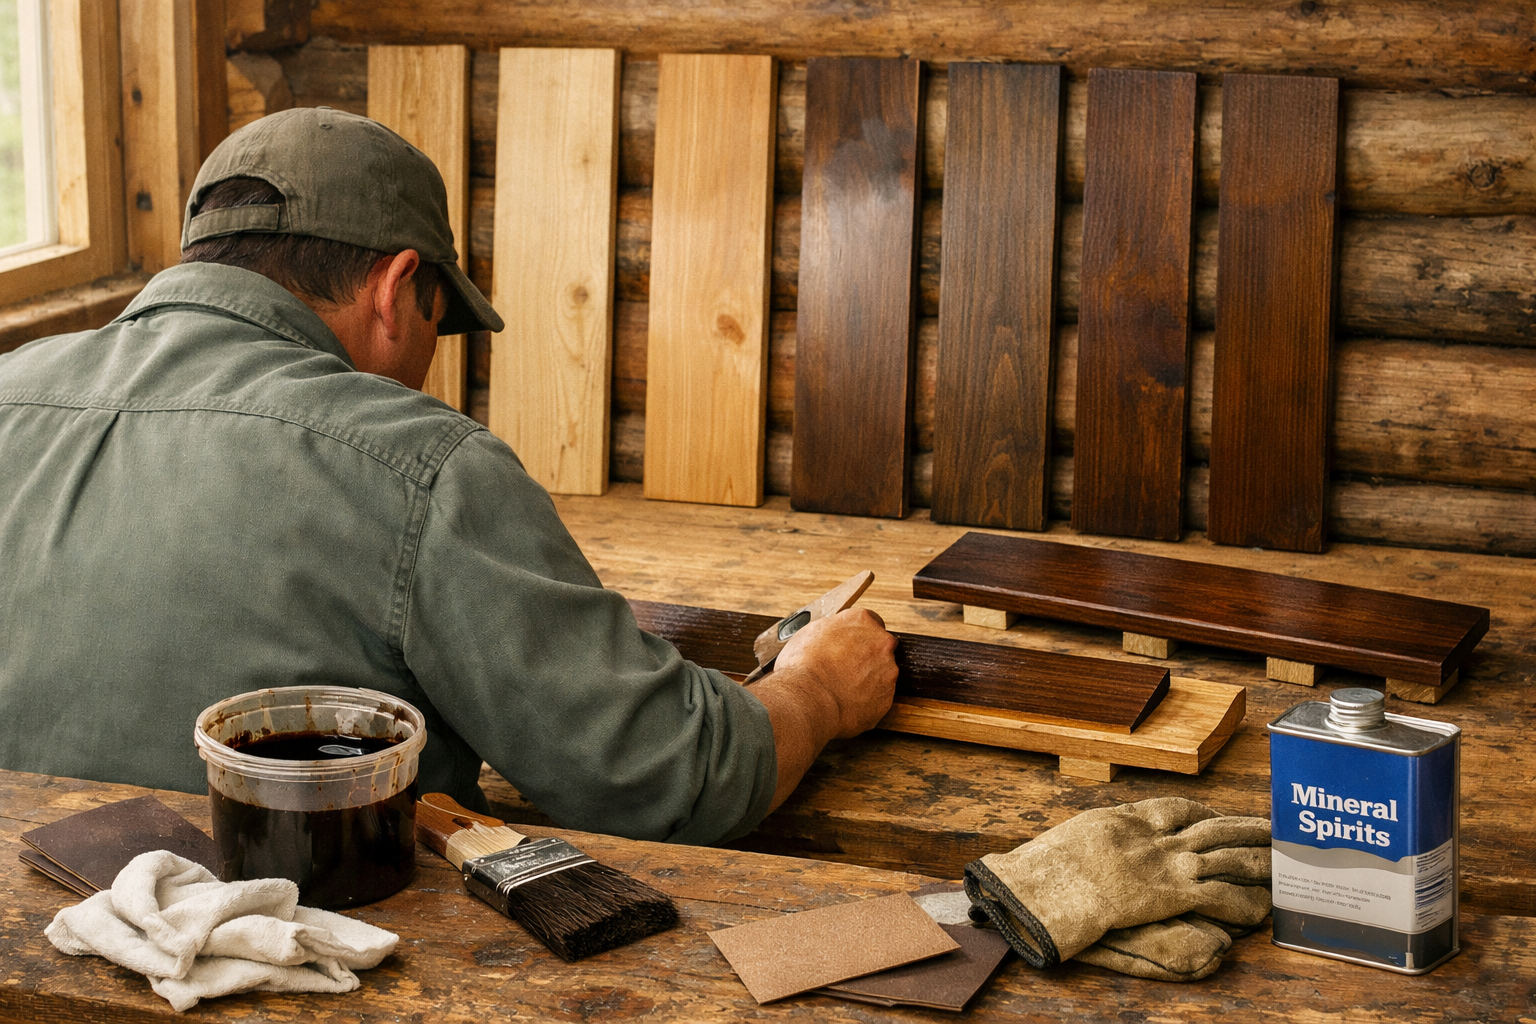
Cut a scrap from every species and batch of trim you’ve got and test your stain on all of them side by side. This takes maybe 20 minutes and saves you from ruining installed trim. Let the samples dry fully, at least 24 hours, since wet stain always looks darker than cured stain.
Use a Toner Coat to Even Things Out
If your test boards come out noticeably different, a diluted second coat (sometimes called a toning coat) can pull the tones closer together. Mix your stain about 50/50 with mineral spirits (oil-based) or water (water-based) and apply a thin, even layer over everything after the base coat cures. It won’t make mismatched wood identical, but it narrows the gap enough that nobody’s going to notice unless they’re staring at it under a flashlight.
Gel Stain for Vertical Surfaces
Gel stain sits on the surface instead of soaking in, which makes it the better choice for vertical trim like door casings and corner boards where liquid stain wants to run and pool at the bottom edge. It also masks grain inconsistencies better than a thin oil stain, which helps when you’re blending pine next to fir.
Picking the Right Stain Type for the Job
Oil-based stain penetrates deeper and gives richer, more even color on softwoods, but it takes longer to dry (often 24-48 hours between coats) and needs mineral spirits for cleanup. Water-based stain dries faster, in 2-4 hours typically, and cleans up with soap and water, but it can raise the wood grain and needs a light sanding pass afterward.
Stain, dye, and paint aren’t the same thing, and picking the wrong one wastes a weekend. Dye gives you cleaner, more transparent color with almost no blotching risk, but it fades faster outdoors and costs more per can. Paint hides the grain entirely, which defeats the purpose if you want cabin trim to look like wood.
Product Type
Best For
Dry Time Between Coats
Grain Visible?
Oil-based stain
Pine, fir, interior trim
24-48 hours
Yes
Water-based stain
Cedar, faster turnaround jobs
2-4 hours
Yes, slightly raised
Gel stain
Vertical trim, mismatched species
4-8 hours
Yes, softened
Wood dye
Even color, tight budgets on color depth
1-2 hours
Yes, high clarity
For exterior cabin trim exposed to rain, snow, and UV, you need a stain rated for exterior use, not a leftover can of interior stain from a closet project. Interior stains lack the UV blockers and mildewcide that exterior formulas carry, and they’ll fail within a season outside.
Prep, Application, and Topcoat: Getting It Right the First Time
Surface prep decides more of your final color than the stain can itself does. Sand bare wood to 120-grit for stain absorption (finer grits like 220 close the pores too much and the stain won’t take). If your trim already has polyurethane or an old sealer on it, you have to strip or sand it off completely first. Staining over sealed wood just sits on top and wipes away.
Here’s the sequence I’d follow on a cabin trim project, start to finish:
Sand all boards to 120-grit, removing any weathered gray layer or old finish completely.
Wipe down with a tack cloth to pull off dust before anything touches the wood.
Apply pre-stain wood conditioner on pine (skip this step on cedar and fir, they don’t need it).
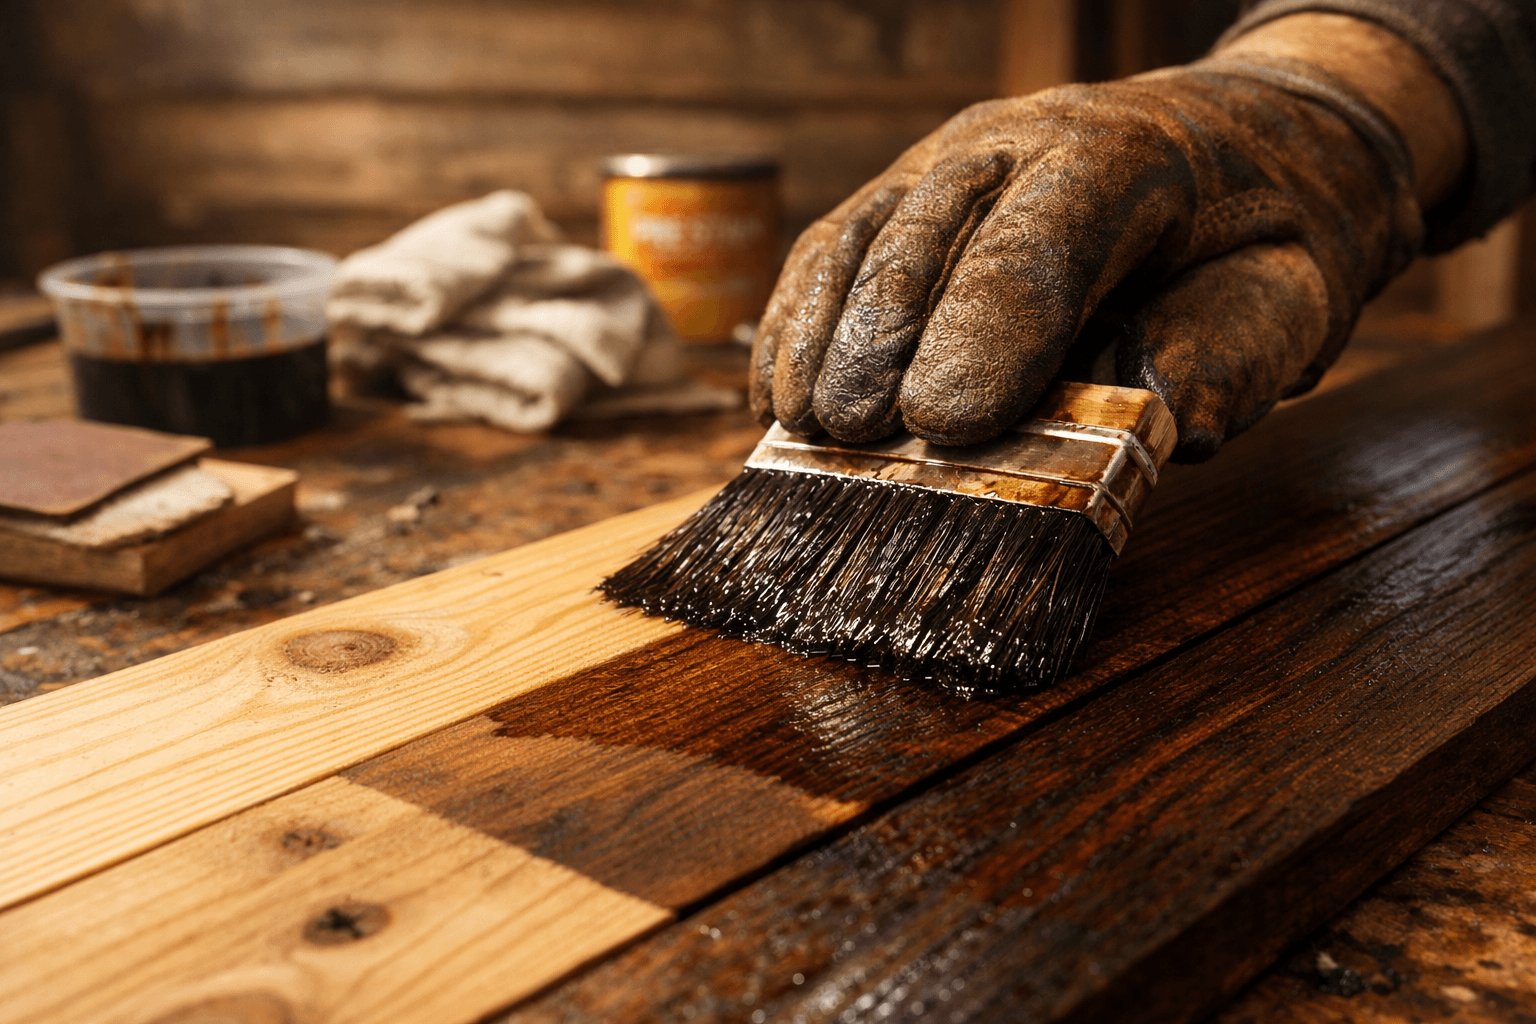
Apply stain with a foam applicator or natural-bristle brush, working with the grain.
Wipe off excess after 5-15 minutes (check the can, but longer wipe-off time equals darker color).
Let the coat dry fully before deciding if you need a second coat or toner pass.
Apply a polyurethane or exterior sealant topcoat once color and dry time are locked in.
More coats don’t automatically mean darker wood. What actually controls depth of color is how long you let the stain sit before wiping it off. Leave it on 15 minutes instead of 5, and you’ll get noticeably darker results from the same single coat. A lot of DIYers add a second or third coat chasing a darker look when the fix was just a longer dwell time.
Ventilation matters more than people think, especially with oil-based products in a half-finished cabin with no windows installed yet. Run a fan, prop open a door, and don’t rush drying time just because you’re eager to move to the next step. Rushed drying leaves a tacky surface that never fully hardens, and once you seal over that with polyurethane, you’re stuck sanding it back down. I’ve documented a few of these staining mishaps and fixes over on cabinlodger.com if you want to see how specific batches of mismatched trim turned out.
Frequently Asked Questions
How many coats of stain do I need to darken wood trim significantly?
Usually one to two coats, but wipe-off time matters more than coat count. Letting stain sit 15-20 minutes before wiping gives a noticeably darker result than adding a second coat wiped off quickly.
Can I stain over trim that already has polyurethane on it?
No, not without stripping or sanding it off first. Stain needs bare, absorbent wood to penetrate; over a sealed surface it just sits on top and wipes away unevenly.
Is gel stain better than liquid stain for cabin trim?
For vertical trim, yes. Gel stain doesn’t run or pool the way liquid stain does on door casings and corner boards, and it also helps hide grain mismatches between different wood species.