Standing in a sawmill yard staring at a stack of rough oak, you start doing math in your head: how much wood do I actually need, and what’s this pile going to cost me? Knowing how to calculate board feet is the difference between guessing and budgeting like someone who’s done this before. It’s a simple formula once you’ve run it a few times, but it trips up a lot of first-time cabin builders because lumber isn’t sold or measured the way most people assume.
This guide walks through the actual formula, the nominal-versus-actual sizing trap, and how the math shifts depending on whether you’re buying rough sawn lumber from a local mill or dimensional studs from the hardware store. By the end you’ll be able to price out a cabin wall, a loft floor, or a stack of siding boards without any surprises at checkout.
What a Board Foot Actually Measures
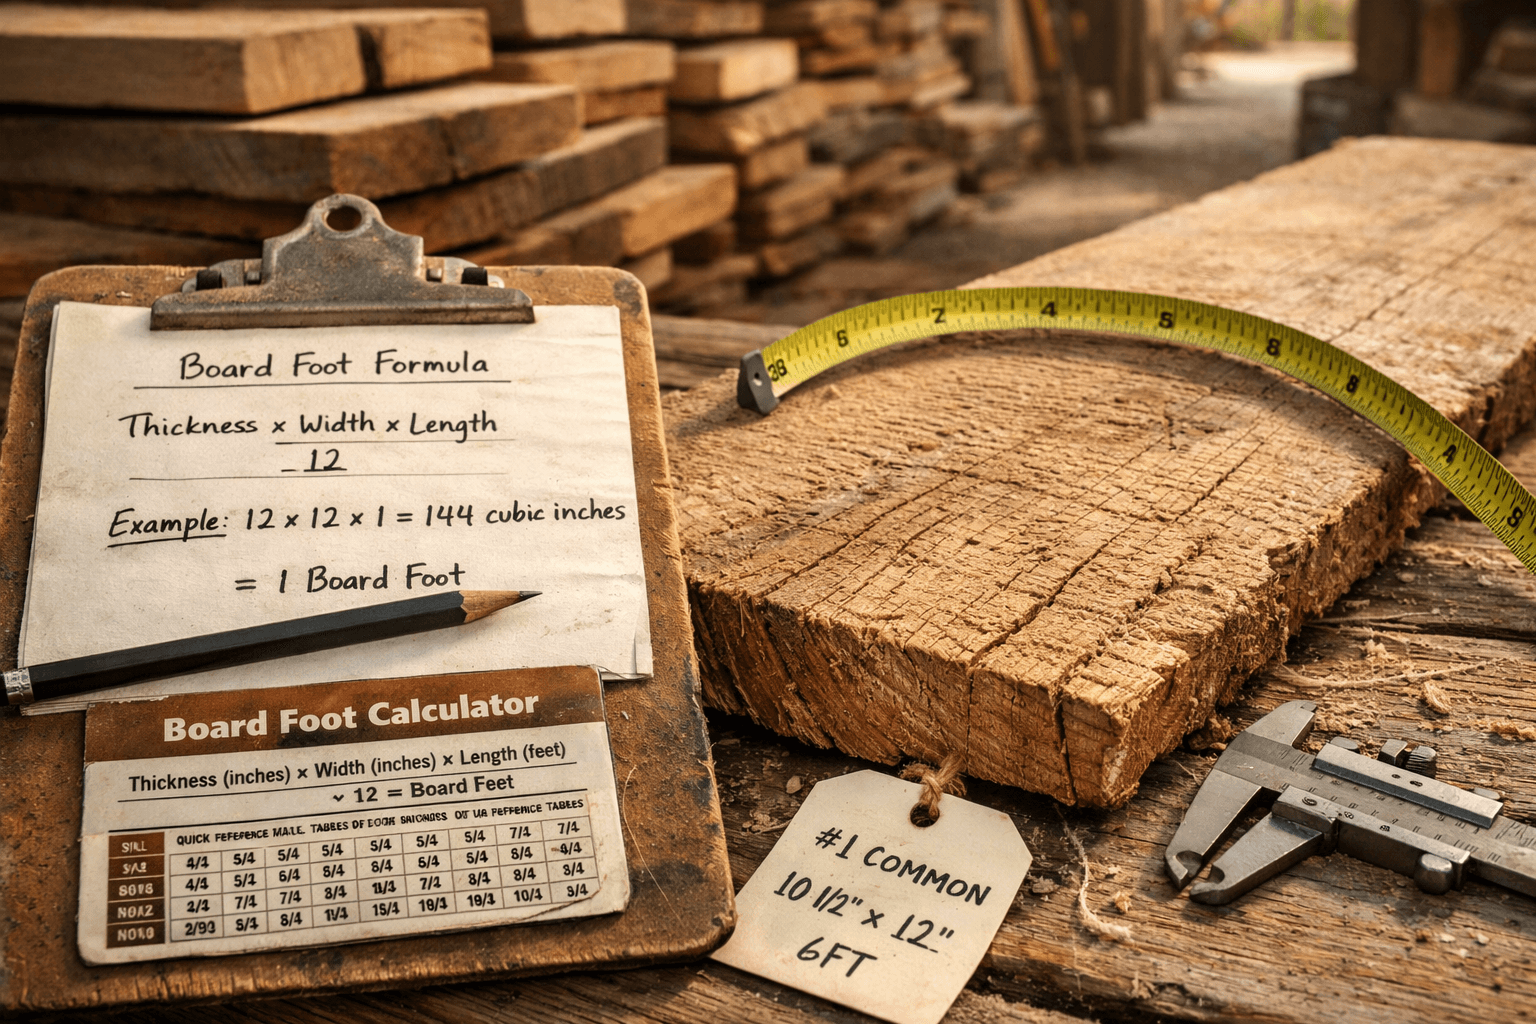
A board foot is a unit of lumber volume, not length or area. One board foot equals a piece of wood 12 inches long, 12 inches wide, and 1 inch thick, which works out to 144 cubic inches of wood. It’s a volume measurement, which is exactly why it trips people up when they’re used to thinking in linear feet or square feet.
Here’s the confusion I run into constantly: someone asks for “10 feet of board” and means a 2×4 that’s 10 feet long, but a board foot has nothing to do with the length of a single piece by itself. A 1-inch-thick board that’s 12 inches wide and 12 inches long is one board foot. So is a board that’s 1 inch thick, 6 inches wide, and 24 inches long. Same volume, different shape.
This matters most once thickness enters the picture, because thickness is the variable that square footage completely ignores. A sheet of quarter-inch plywood and a slab of 2-inch-thick oak can cover the exact same floor space, but they are nowhere close to the same amount of wood. If you’re pricing lumber by area alone, you’re going to under-order or over-order badly, especially on anything thicker than standard framing stock.
Sawmills and hardwood suppliers price lumber in board feet because it accounts for the actual wood volume, which is what they’re cutting, drying, and losing to waste. Big box stores mostly skip this and price dimensional lumber per linear foot or per piece instead, which is one reason the same “board foot” math can feel like two different systems depending on where you’re buying.
Once you get comfortable thinking in volume instead of area, everything else in this guide gets a lot easier to apply.
The Board Foot Formula and How to Run the Math
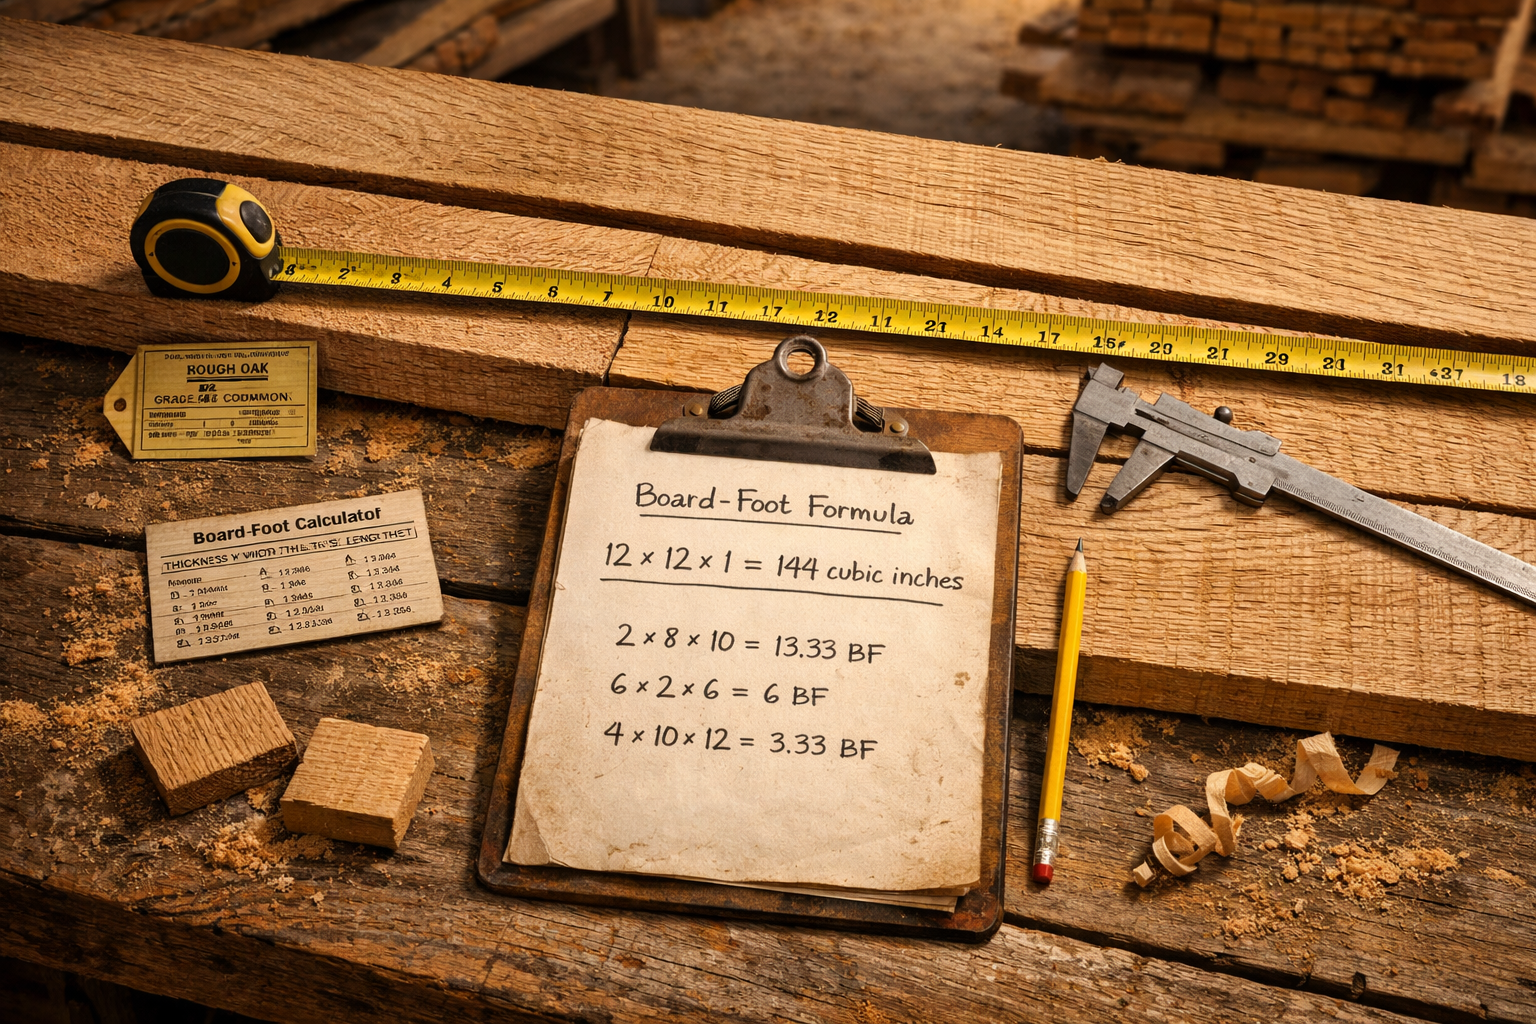
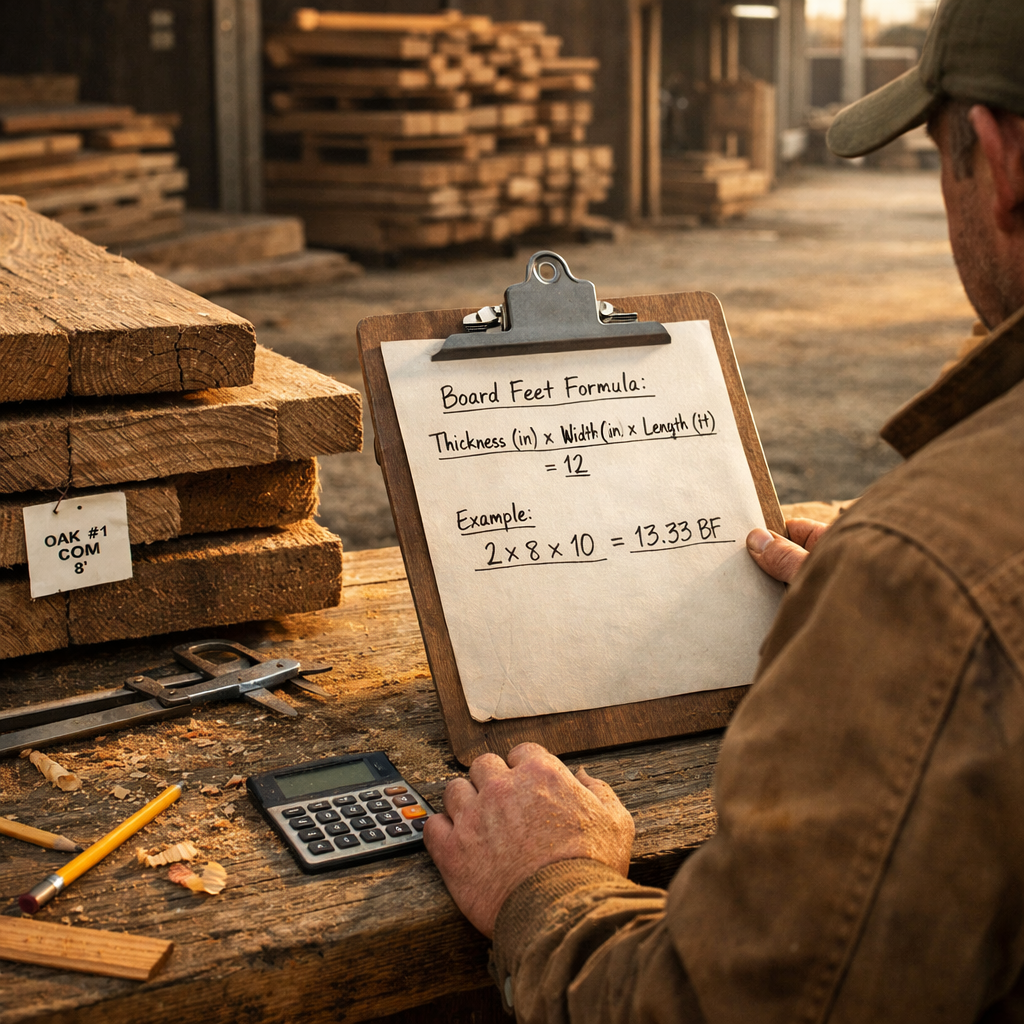
The board foot formula is: (Thickness in inches x Width in inches x Length in feet) / 12. Plug in your actual numbers, divide by 12, and that result is your board footage for that single piece. Do this for every board and add them up for a project total.
Let’s run a real example. Say you’ve got a rough sawn board that’s 1 inch thick, 8 inches wide, and 10 feet long. Multiply 1 x 8 x 10 and you get 80. Divide by 12 and you land at 6.67 board feet. That’s the number a sawmill will use to price that single board.
Now scale it up. If you need twenty of those same boards for wall sheathing on a small cabin, multiply 6.67 by 20 and you get roughly 133.3 board feet total. At $4.50 per board foot for rough sawn cedar, that’s about $600 for that stack alone, before you’ve touched framing lumber, subfloor, or roofing.
Working With Length in Inches Instead of Feet
Sometimes a supplier gives you length in inches instead of feet, especially with shorter offcuts or specialty boards. In that case, the formula shifts slightly: (Thickness x Width x Length in inches) / 144, instead of dividing by 12. It’s the same math, just adjusted because you’re no longer converting length from inches to feet separately.
For example, a board 2 inches thick, 6 inches wide, and 36 inches long: 2 x 6 x 36 = 432, divided by 144 gives you exactly 3 board feet. Keep an eye on which version of the formula you’re using, because mixing them up is an easy way to end up with a number that’s off by a factor of 12.
A Quick List for Running Multiple Boards
When you’ve got a whole cut list to price out, work through it piece by piece rather than trying to eyeball a total. Here’s the order I’d follow for any stack of lumber:
List every board with its thickness, width, and length.
Convert any odd units so everything is in inches for thickness and width, and feet for length.
Run the formula on each board individually.
Add every board foot result together for your raw project total.
Apply your waste factor (more on that below) before you go price shopping.
Skipping step 3 and trying to average board sizes across a whole project is where most rough estimates fall apart.
Nominal vs. Actual Dimensions: The Trap That Costs You Money
A nominal 2×4 is not actually 2 inches by 4 inches, and this single fact quietly wrecks more board foot estimates than anything else on this list. The actual dressed size of a 2×4 is 1.5 inches by 3.5 inches. If you calculate board feet using the nominal number instead of the actual one, you’ll overstate your lumber volume every single time.
This happens because dimensional lumber gets planed smooth after it’s rough cut, and that planing shaves off roughly a quarter to a half inch per side depending on the size. A rough cut 2×4 really does start life close to 2 inches by 4 inches at the mill. By the time it’s dried and surfaced (often labeled S4S, surfaced four sides) and sitting on a shelf at the hardware store, it’s smaller.
Here’s where it actually matters for your wallet: for standard hardware store framing lumber, board foot pricing is basically never used at retail. Studs, joists, and standard dimensional lumber get priced per linear foot or per piece instead, so the nominal-vs-actual gap mostly affects your own quantity math (how much wood you’re really getting) rather than the price tag directly. But if you’re buying rough sawn hardwood or custom-milled stock from a sawmill, board foot pricing is exactly how they bill you, and using nominal thickness there when the board hasn’t been surfaced yet will throw your estimate off.
The table below shows how common nominal sizes compare to actual measured dimensions, since this is the reference sheet worth keeping open while you’re pricing a cut list.
Nominal Size
Actual Dimensions
Difference
1×4
0.75 in x 3.5 in
Thickness down 0.25 in
2×4
1.5 in x 3.5 in
Thickness down 0.5 in
2×6
1.5 in x 5.5 in
Width down 0.5 in
2×8
1.5 in x 7.25 in
Width down 0.75 in
4×4
3.5 in x 3.5 in
Both sides down 0.5 in
Run your board foot formula with the actual dimensions whenever precision matters for a purchase, particularly when you’re buying rough sawn hardwood that hasn’t been surfaced yet and the mill is billing you on true thickness.
Rough Sawn Lumber From a Sawmill vs. Dimensional Lumber From a Store
This is the part most board foot guides skip entirely, and it’s the part that actually changes your cabin budget. Buying rough sawn lumber straight from a local sawmill works completely differently than buying studs off a shelf, and the board foot math has to adjust for both.
Why Sawmill Pricing Runs on True Thickness
At a sawmill, lumber gets sold in what’s called quarter thickness: 4/4 (four-quarter, meaning roughly 1 inch thick), 6/4 (six-quarter, roughly 1.5 inches), and 8/4 (eight-quarter, roughly 2 inches). These are nominal-ish too, but they’re much closer to actual thickness than store-bought dimensional lumber, especially if you’re buying rough cut stock that hasn’t been planed yet.
If you order 4/4 rough sawn oak, expect it to measure close to 1 inch thick right off the saw, maybe a hair over to allow for shrinkage during drying. Once it’s kiln dried and surfaced down to a smooth 4/4 board, it’ll typically finish around 13/16 of an inch, similar to how a nominal 1-inch board never actually measures a full inch at the store. Sawmills usually charge less for rough cut than for surfaced stock, sometimes $0.50 to $1.50 more per board foot once they’ve run it through the planer, because that’s added labor and lost material.
Why Big Box Pricing Doesn’t Translate Directly
A hardware store 2×4 stud is priced by the piece or by the linear foot, not by board foot, which is why you can’t just take a sawmill’s per-board-foot rate and assume it applies the same way at a chain lumber yard. The store already baked milling, kiln drying, and grading costs into that flat per-stick price. When people try to compare “board foot cost” between the two sources without adjusting for this, they usually assume the sawmill is more expensive than it actually is, especially for hardwoods you simply can’t get at a big box store anyway.
For a cabin build, this distinction really matters once you get past framing. Framing lumber (your 2x4s, 2x6s, and dimensional joists) almost always makes more sense bought by the piece from a lumber yard or hardware store. But your interior paneling, exposed beams, hardwood flooring, or custom trim is where a sawmill and board foot pricing genuinely pays off, both in cost and in getting wood species you actually want.
I’ve found that once you’re sourcing rough sawn boards for interior work, the sawmill will often ask what thickness you want finished to, and that’s your cue to calculate board feet off the rough dimension, not the finished one, since you’re paying for the material they start with.
Converting Linear Feet and Square Feet Into Board Feet
Suppliers and cabin plans often give you numbers in linear feet or square feet, and you’ll need to convert those into board feet before you can price anything out. The conversion depends entirely on the board’s thickness and width, so there’s no single flat multiplier that works for every project.
To convert linear feet to board feet, use this: Board Feet = (Thickness x Width x Linear Feet) / 12. So if you need 100 linear feet of 1-inch by 6-inch board, that’s (1 x 6 x 100) / 12, which comes out to 50 board feet. Notice that width and thickness are doing the heavy lifting here. Linear feet alone tells you nothing about volume.
Square feet is trickier and it’s where the “board feet vs. square feet” confusion causes real budgeting mistakes. Square footage only accounts for length times width. It ignores thickness completely, which is fine for flooring coverage but useless for lumber volume. If a cabin loft floor is 200 square feet and you’re using 1-inch boards, you’d roughly need 200 board feet to cover it (since 1-inch thick material at 12-inch width lines up closely with square footage), but the moment you switch to 5/4 decking or 2-inch stock, that relationship breaks down fast.
Here’s a scenario that shows the gap clearly. Say you’re covering a 150-square-foot porch with 2-inch-thick planks. If you mistakenly ordered 150 board feet, thinking square feet and board feet were interchangeable, you’d actually be short by half, because 2-inch stock needs roughly double the board feet to cover the same area compared to 1-inch stock. That’s a real order-day mistake, and it’s a costly one when you’re paying for a supplier delivery run out to a rural build site.
Estimating Total Board Feet for a Full Cabin Project
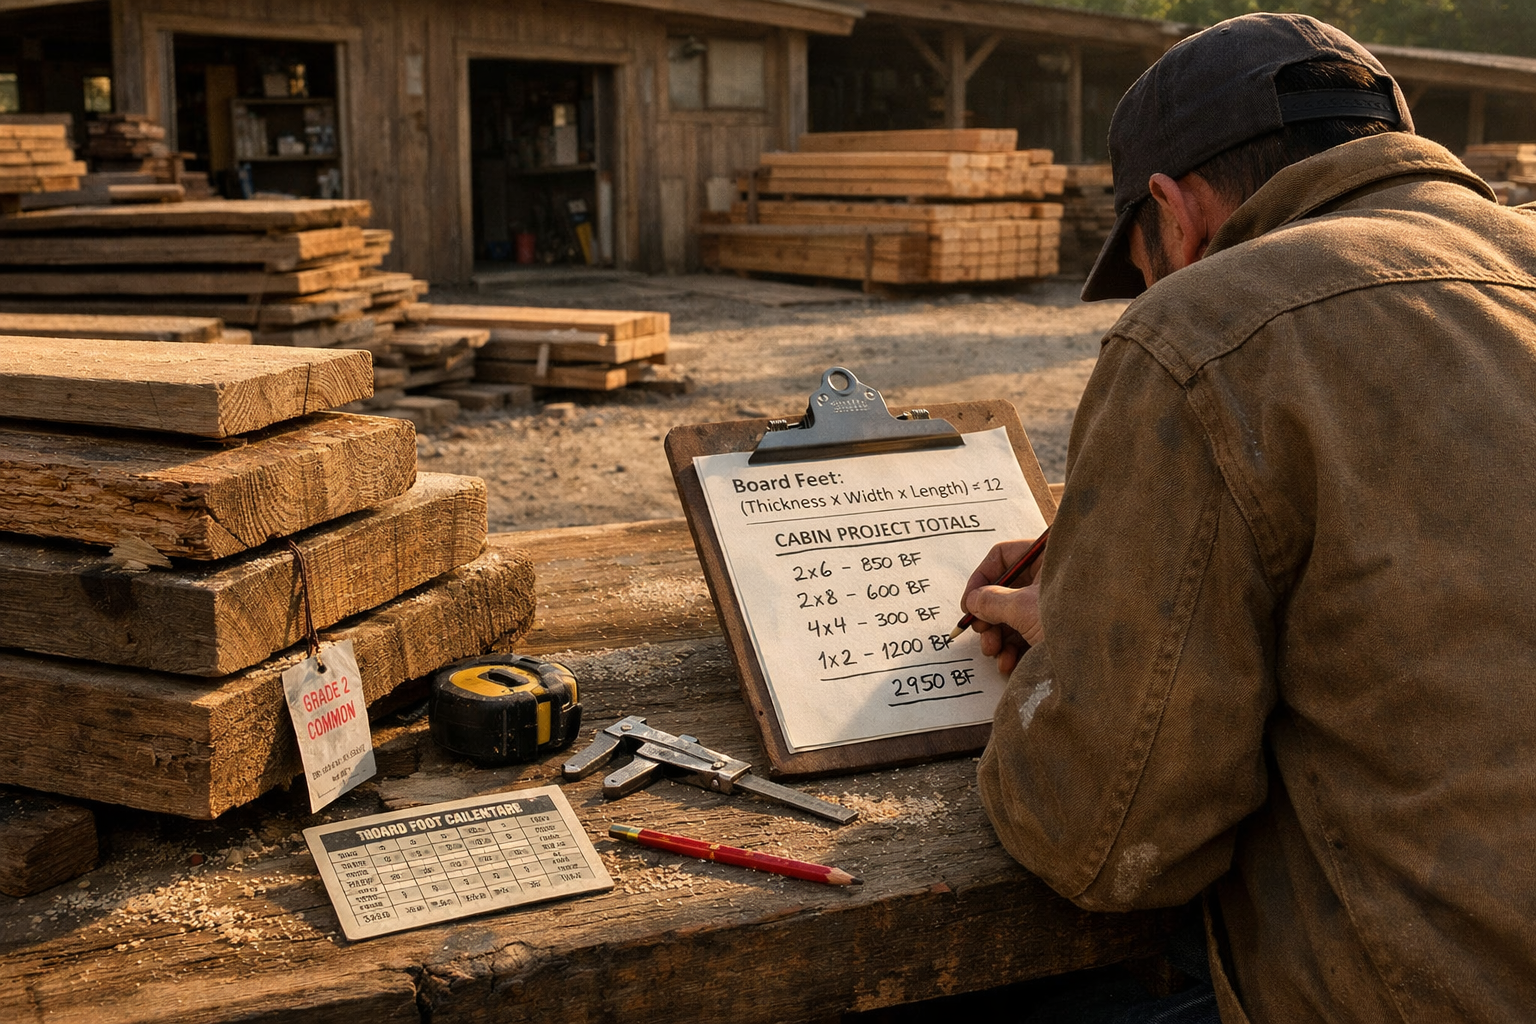
Estimating lumber for an entire cabin means running the board foot formula across every component, then stacking those subtotals into one project total. Never try to eyeball a whole-cabin estimate in one shot. Break it down room by room and system by system instead.
Start with your framing package: wall studs, top and bottom plates, headers, and rafters or trusses. Because most of this is dimensional lumber priced per piece rather than board foot, you’ll often get a materials list in linear feet or piece count from your plan set, then convert to board feet only if you want an apples-to-apples comparison against sawmill quotes for other parts of the build.
Next comes sheathing and subfloor, typically priced by the sheet rather than board foot since it’s plywood or OSB (oriented strand board), so this section of your estimate runs on square footage instead. Then move to anything you’re sourcing as rough sawn or specialty lumber: interior paneling, exposed ceiling beams, porch decking, or hardwood flooring. This is where board foot math earns its keep, since sawmills and hardwood dealers price almost everything this way.
A rough example: a 16×20 foot cabin with pine tongue-and-groove paneling on 400 square feet of interior wall space, using 3/4-inch-thick boards, needs roughly 400 board feet of paneling material before waste. Add a covered porch decked in 5/4 pine over 120 square feet, and that’s another 62.5 board feet or so. Stack those two subtotals and you’re at about 462.5 board feet just for those two finish elements, not counting framing or the roof structure.
I’ll be honest, this is the stage where a lot of first-time builders get overwhelmed trying to track every piece by hand. If you want a shortcut, running your project through cabinlodger.com’s approach of budgeting section by section (framing separate from finish work separate from decking) keeps the numbers manageable instead of one giant intimidating total.
Why You Always Need a Waste Factor
Skipping a waste allowance is one of the fastest ways to run out of lumber halfway through a wall and have to make an emergency supply run. Add 10 to 15 percent to your raw board foot total for standard framing and sheathing work, and lean toward 15 to 20 percent for anything with a lot of angled cuts, like rafter tails, hip roofs, or fitted trim around windows.
Waste happens for a bunch of boring but unavoidable reasons: crooked boards you have to cut around, knots that fail structural grading, miscuts, and the simple fact that lumber rarely comes in exactly the length your project needs. A wall section calling for a 9-foot stud still means buying a 10-foot board, because that’s the next standard length up, and that extra foot is waste you paid for.
Species matters too. Rough sawn hardwood from a sawmill often has more waste built into the sawing process itself, since the mill is cutting around natural defects in the log, whereas kiln-dried dimensional lumber from a big box store has already been graded and sorted before it reaches the shelf. If you’re working with reclaimed or air-dried lumber, I’d budget closer to 20 percent, just because warping and checking (surface cracking) claim more of the pile than people expect.
Take that 462.5 board foot paneling and decking estimate from the last section. Applying a 15 percent waste factor brings the real order-ready total to about 531.9 board feet, roughly 69 board feet of cushion. That’s the number you actually bring to the sawmill or supplier, not the raw calculated total.
Pricing It Out: What Board Feet Actually Cost
Board foot pricing swings wildly depending on species, whether the lumber is rough or surfaced, and whether you’re buying from a mill or a retail yard. Framing-grade softwood generally runs cheapest, while figured hardwoods and cedar climb fast.
Typical Price Ranges by Species and Grade
Pricing shifts constantly with regional supply and lumber market conditions, but the ranges below reflect the kind of spread you’ll typically run into when comparing rough sawn options at a sawmill.
Species/Grade
Typical Price per Board Foot
Common Cabin Use
Construction-grade pine (rough)
$1.50 – $3.00
Framing, sheathing backup
Cedar (rough sawn)
$4.00 – $7.00
Siding, porch decking
Oak (rough sawn, 4/4)
$4.50 – $7.50
Flooring, interior trim
Walnut (rough sawn)
$8.00 – $14.00
Feature walls, furniture-grade trim
Reclaimed barn wood
$6.00 – $12.00
Accent paneling, mantels
Getting Quotes You Can Actually Compare
When you’re calling around to sawmills, ask specifically whether their quoted price per board foot is for rough sawn or surfaced lumber, because that gap can run $0.50 to $1.50 per board foot as mentioned earlier, and it changes your total fast across a few hundred board feet. Also confirm whether the quote includes kiln drying, since air-dried stock is usually cheaper but takes months longer to be build-ready and isn’t always practical on a build timeline.
Don’t be shy about asking for a per-board-foot breakdown even from yards that normally quote a flat delivered price. Most will do it if you ask directly, and it’s the only way to compare a mill quote against a big box store’s linear-foot pricing on an even footing.
FAQ Tools and Shortcuts for Faster Estimating
You don’t have to run every formula by hand once you know how the math works. Plenty of free board foot calculator tools exist online where you punch in thickness, width, and length and get an instant total, which is genuinely useful once you’ve got a long cut list.
That said, I’d still recommend learning to run the manual formula first, even if you plan to use a calculator for the actual project. Tools are only as good as the numbers you feed them, and if you don’t understand why actual dimensions matter more than nominal ones, you’ll plug in the wrong width or thickness and get a confidently wrong answer. A calculator can’t catch that mistake for you.
A lot of sawmills and lumber yards also keep printed board foot conversion charts on hand, usually taped up near the counter, listing common thickness and width combinations against standard lengths. These are handy for quick checks in the yard when you don’t want to pull out a phone calculator with sawdust-covered hands.
Spreadsheets are worth building if you’re pricing out a full cabin, since you can list every board with its dimensions in one column, let a formula handle the board foot math automatically, and get a running total that updates as you add or remove line items. It’s slower to set up than a one-off calculator but pays off once your cut list runs past 20 or 30 items.