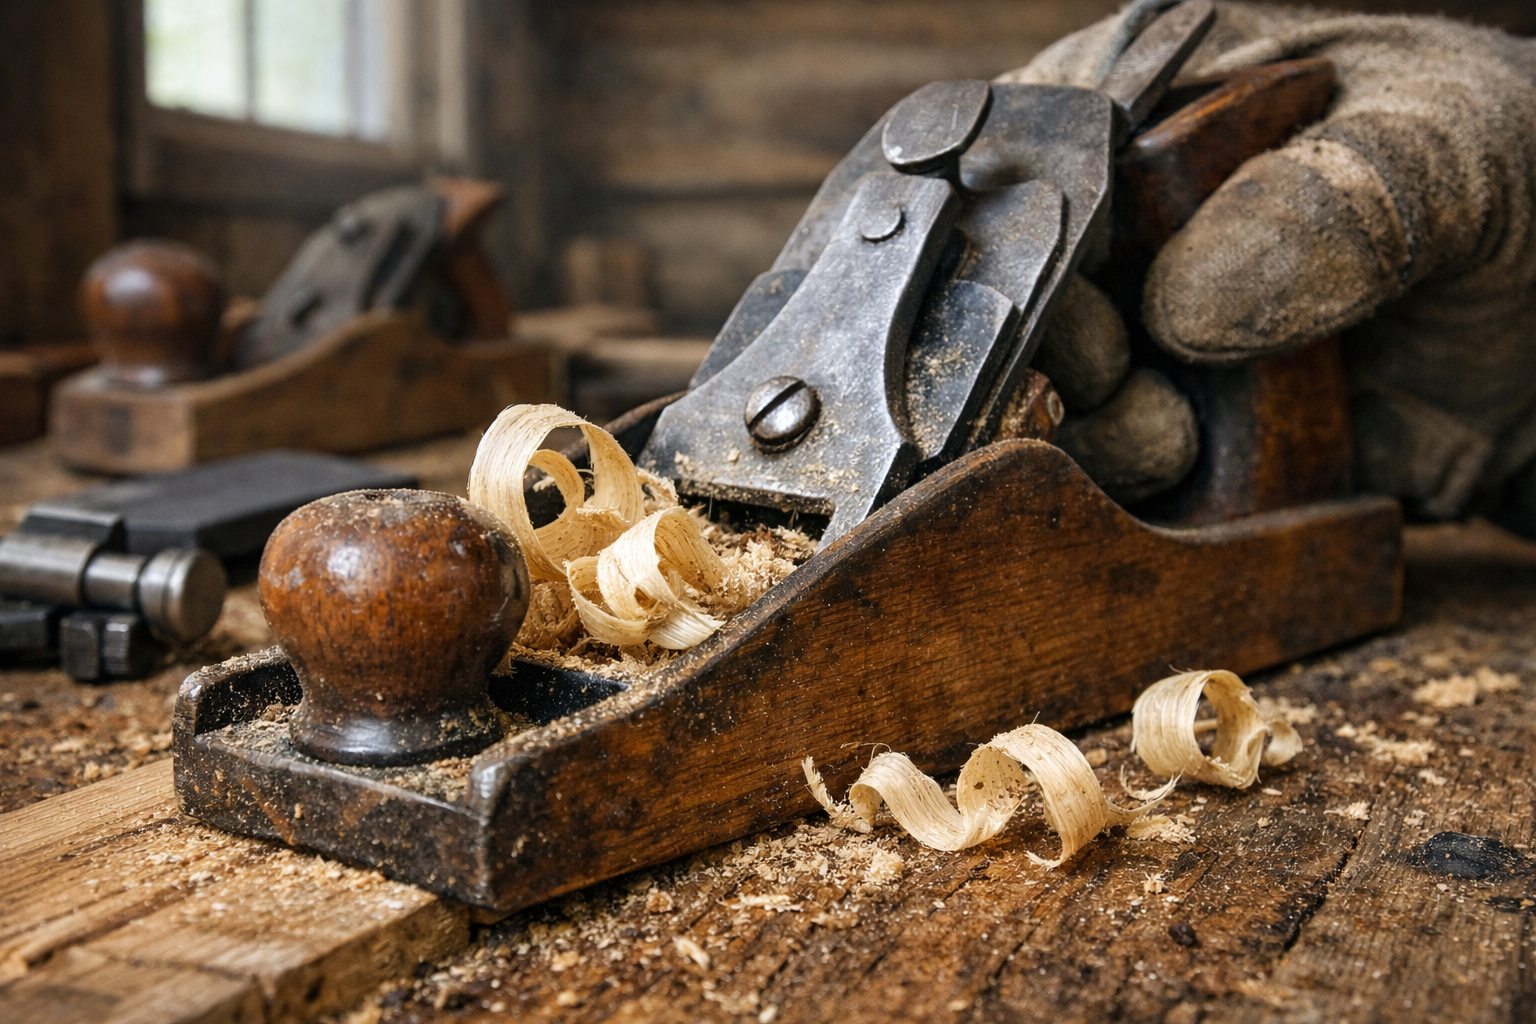
Why would anyone reach for a wooden bench plane when a power planer does the job in half the time? Because half the time doesn’t matter much when you’re building off the grid with no generator running and no outlet within a hundred yards. Wooden bench planes give you control on rough-cut lumber that a screaming power tool just can’t match, and they don’t care if your site has power at all.
If you’re framing a cabin door out of reclaimed oak or fitting a beam joint by hand, a good wooden plane is quieter, cheaper to run, and honestly more satisfying to use. This piece walks through the types, the anatomy, the sharpening, and the mistakes that turn a great tool into a paperweight.
Wooden vs. Metal Bench Planes: Which One Belongs in a Cabin Build?
Wooden bench planes belong in a cabin build because they’re lighter, glide with less friction on rough lumber, and need zero electricity, which matters most when you’re working a remote site. Metal planes (think Stanley or Record style bodies) are heavier and hold a flatter sole longer, but they’re not automatically “better” for cabin work.
A lot of guys assume metal planes are the upgrade and wooden ones are some relic from your grandfather’s shed. That’s backwards for cabin-scale work. Wooden planes weigh roughly a third less than a comparable metal plane of the same length, which matters when you’re planing a 12-foot ridge beam overhead or working a door blank propped against a sawhorse for an hour straight. Less weight means less fatigue, and less fatigue means straighter cuts by the end of the day.
Where Metal Still Wins
Metal planes hold their sole flatness longer because cast iron doesn’t move with humidity the way wood does. If you’re doing fine joinery in a climate-controlled shop, metal has an edge. Cabin sites are rarely climate-controlled.
Where Wood Wins for Off-Grid Builders
Wood is quieter on impact, easier to tune by hand without special jigs, and it’s self-lubricating in a way iron never will be — the wood body glides on wood stock with less drag. You also don’t need batteries, cords, or a compressor. For rough cabin lumber straight off a sawmill, that low-friction glide saves real effort over a full day of planing rafters or door stiles.
Cost is another factor. A decent new wooden jack plane runs somewhere in the $60 to $140 range depending on the maker, while a comparable quality metal jack plane often starts closer to $150 and climbs fast for premium brands. If you’re outfitting a whole cabin build on a tight budget, that difference adds up across three or four plane sizes.
The Three Types of Wooden Bench Planes You Actually Need
You need three plane lengths for cabin work: a jack plane for rough stock removal, a jointer plane for long straight edges, and a smoothing plane for final surfaces. Buying just one and expecting it to do all three jobs is the single most common mistake new builders make.
Each plane length is built for a different stage of the work, and skipping a size just means fighting the tool for tasks it wasn’t designed to handle.
Jack Plane: The Rough Workhorse
The jack plane, typically 14 to 15 inches long, is your first pass on rough-sawn lumber. It’s set with a slightly curved iron so it can hog off material fast without digging in and tearing the grain. If you just milled a beam and it’s still showing saw marks, the jack plane is what gets it down to a workable surface before anything finer touches it.
Jointer Plane: For Straight, True Edges
A jointer plane runs 22 to 24 inches long, sometimes longer on traditional wooden versions. That length is the whole point — it rides over high spots and only cuts them down, which is exactly what you need when you’re fitting two boards edge to edge for a door panel or matching a long joint on a wall plate. Try to joint a long edge with a short smoothing plane and you’ll just follow every dip in the board instead of correcting it.
Smoothing Plane: The Finishing Touch
The smoothing plane, usually 8 to 10 inches, comes in last. It’s set for a fine shaving and leaves the surface ready for finish or paint without sanding. On cabin trim, door faces, or exposed beam ends where people will actually run a hand over the wood, this is the plane that makes the difference between “handmade” and “rough.”
Rough-mill the lumber with a chainsaw mill or circular saw if you don’t have dimensional stock.
Knock down saw marks and high spots with the jack plane, working diagonally across the grain first.
Square and true long edges with the jointer plane before glue-up or joinery.
Finish exposed faces with the smoothing plane for a clean, sandpaper-free surface.
Check your work with a straightedge or winding sticks between passes.
Repeat the smoothing pass lightly after any joinery work disturbs the surface.
Plane Anatomy: Sole, Iron, Wedge, and Mouth Explained
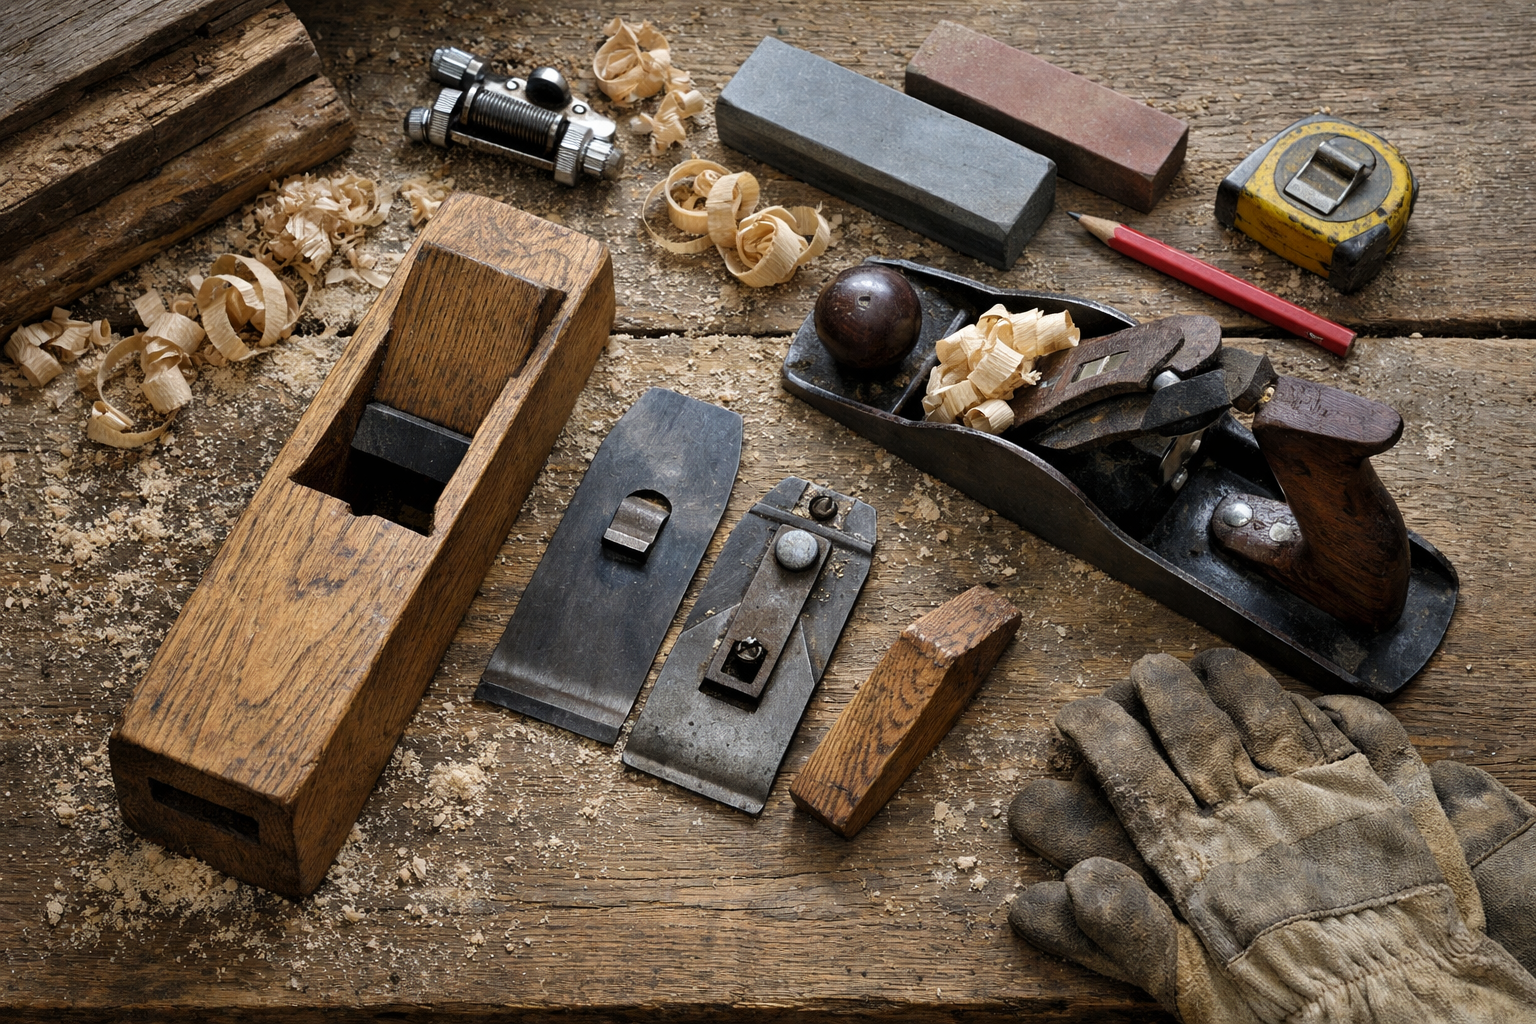
The four parts that matter most on a wooden bench plane are the sole (the flat bottom that rides the wood), the iron (the cutting blade), the wedge (which locks the iron in place), and the mouth (the opening the shaving passes through). Understanding these four lets you diagnose almost any problem the plane gives you.
The sole is the reference surface, and it needs to be dead flat or your cuts will follow every bump and hollow in the tool itself instead of the wood. The iron is usually a laminated steel blade, sometimes hardened O1 tool steel on better makers, and it’s the only part that actually touches the fibers you’re cutting. The wedge, a tapered piece of hardwood, jams against the iron and a cross-pin called the abutment to hold everything rigid under cutting pressure.
The mouth is the narrow gap in front of the iron where shavings exit. A tight mouth, meaning a small gap, produces finer shavings and less tearout, which is what you want on a smoothing plane. A wider mouth clears thick shavings faster, which is exactly what a jack plane needs when it’s removing a lot of material in a hurry.
Get familiar with the chip breaker too, if your plane has one. It sits just above the iron and curls the shaving up and away, which reduces tearout on figured or interlocked grain — common enough in reclaimed cabin lumber that’s been sitting outside for a season or two.
One thing that trips people up: a loose wedge doesn’t just make the iron chatter, it can let the iron shift depth mid-stroke, which ruins a straight edge you were just about to glue up. Check wedge tension every time you resharpen, not just when something feels obviously wrong.
Sharpening and Honing: The Skill That Actually Matters Most
Sharpening matters more than the plane itself, because even a $200 premium wooden plane cuts like garbage with a dull iron, and a $40 flea-market plane can outperform it with a properly honed edge. This is the skill worth practicing before you ever touch cabin lumber.
Most builders skip straight to honing and skip flattening the back of the iron first, which is the actual root of a lot of bad cuts.
Flattening the Back
The back of the iron needs to be flat and polished at least an inch or two up from the cutting edge. Do this once thoroughly on a coarse stone (roughly 220 to 400 grit), then it rarely needs repeating unless you nick the edge on a hidden nail in reclaimed lumber, which happens more than anyone likes to admit on cabin sites.
Setting and Maintaining the Bevel Angle
Most bench plane irons are ground around 25 degrees and honed with a secondary bevel around 30 degrees. You don’t need an expensive honing guide, though a basic $15 to $25 guide keeps the angle consistent while you’re still building muscle memory. Work up through grits, something like 1000, then 4000, then 8000 on a water stone, or the equivalent with diamond plates if you’re in a dry climate where water stones dish out fast.
Testing the Edge
A properly honed iron should shave arm hair cleanly or pare end grain pine without crushing the fibers. If it’s tearing rather than slicing, go back a grit and try again. Don’t chase perfection here on your first few tries — a working edge that’s “good enough” beats an obsession with mirror polish when you’ve got a stack of door stiles waiting.
Here’s a rough grit progression and what each stage actually does for you:
Grit Stage
Purpose
Typical Time
220-400 (coarse)
Flatten back, repair nicks
5-15 minutes
1000
Establish primary bevel
3-5 minutes
4000
Refine and remove coarse scratches
2-3 minutes
8000
Final polish for clean shavings
1-2 minutes
Flattening the Sole: The Step Everyone Skips
You need to flatten the sole before you trust the plane for anything precise on cabin lumber, and skipping this step is why so many wooden planes get blamed for “bad joints” that are actually just an uneven bottom. A twisted or dished sole transfers straight onto your workpiece no matter how sharp the iron is.
Check the sole with a straightedge laid diagonally, lengthwise, and across the width. Any light gaps show you where it’s hollow; any rocking shows a twist. On a used or secondhand wooden plane, especially one that’s been stored somewhere damp, this check is non-negotiable before first use.
To flatten it, lay a sheet of sandpaper (start around 80 grit) on a known-flat surface like a piece of thick glass or a granite offcut, then work the sole in figure-eight passes with the iron retracted. Check progress every dozen strokes or so with the straightedge. Move up to 150 and then 220 grit once you’re close, just enough to clean up the scratch pattern without removing more material than you need to.
Don’t over-flatten. Taking off too much material near the mouth can widen the gap more than intended, which hurts performance on fine smoothing work. A light touch, checked often, beats an aggressive session that overshoots.
This is exactly the kind of maintenance step that gets ignored until a cabin door won’t sit flush in its frame, and by then you’re troubleshooting the wrong thing. Flatten the sole before the build starts, not halfway through when you’re already frustrated.
Adjusting Blade Depth Without Screws or Knobs
Wooden bench planes don’t have the brass depth-adjustment knob you’d find on a metal plane, so you set the iron with your hand and a mallet instead. That sounds intimidating the first time, but it’s a five-minute skill to learn and it never breaks, jams, or strips like a metal adjuster can.
Tapping the Iron Forward
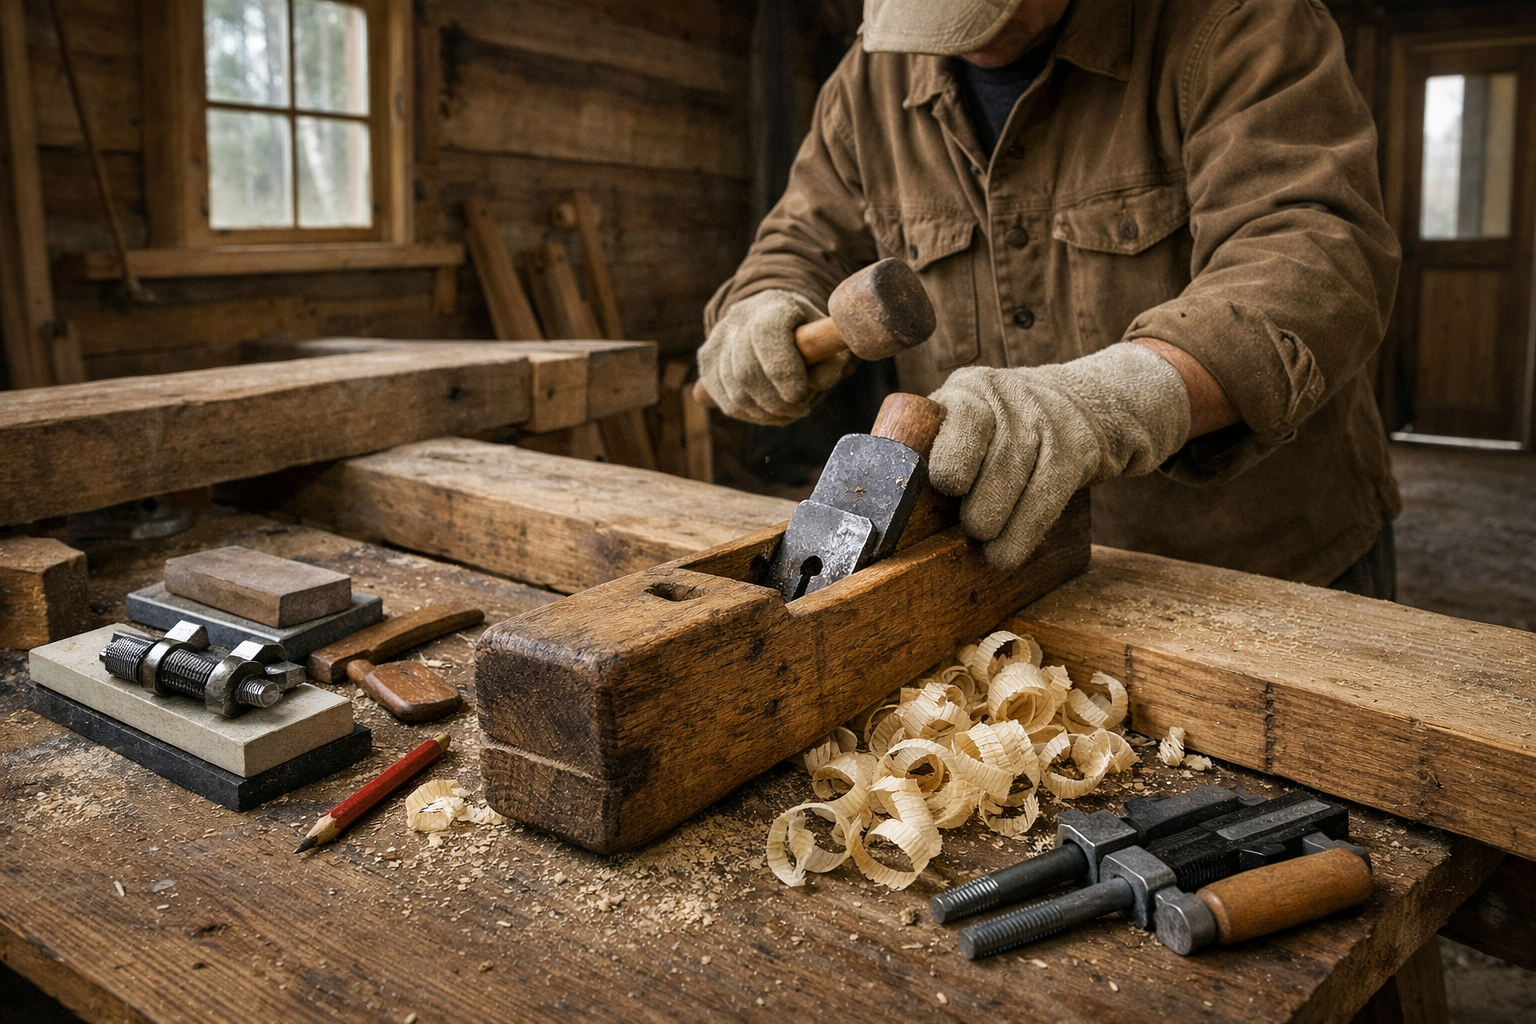
To advance the cut, hold the plane body and tap the top of the iron gently with a small wooden mallet or the flat of your palm. Small taps, checking the blade projection against light after each one, beat one big whack that overshoots and jams the edge into the sole.
Retracting or Removing the Iron
To back the iron off, or to remove it entirely for sharpening, tap the heel of the plane body (the back end) sharply on a bench top, or strike a mallet against the back of the plane. The shock loosens the wedge’s grip just enough to let the iron slide back or drop free.
Reading the Shaving as Feedback
Once the iron’s roughly set, take a test pass on scrap and look at the shaving. Paper-thin and even across the width means you’re set for smoothing work. Thick and curling on one side only means the iron’s cocked, and a light tap on the high corner of the iron squares it back up. This trial-and-feel process is honestly faster than fiddling with a metal plane’s adjuster once you’ve done it a few dozen times.
Wood Species and Care: Keeping the Body From Warping or Cracking
Traditional wooden bench planes are usually made from dense, stable hardwoods, most commonly beech, sometimes hornbeam or fruitwood on older European planes. That density resists wear at the mouth and sole while still being light enough to swing all day.
The single biggest failure mode for wooden planes isn’t the iron dulling. It’s moisture.
Why Species Choice Matters
Beech is popular because it’s tight-grained and dries to a stable moisture content without much movement, but “stable” doesn’t mean immune to humidity swings on a cabin site where you’re going from a damp morning to a hot afternoon in a tool shed with no climate control. A plane body that swells and shrinks repeatedly will eventually check or crack right along the grain near the mouth, which is the thinnest, most stressed part of the whole tool.
Storage and Oiling Routine
Wipe the sole and body down with a light coat of boiled linseed oil every few weeks during active use, more often if you’re working in humid coastal conditions or a wet spring season. Store the plane on its side, not flat on the sole, so moisture doesn’t sit against the bottom face. Keep it off a concrete floor or damp toolbox liner — a simple wooden shelf or a cloth roll works better and costs nothing.
Neglecting this is exactly how a $100 plane turns into scrap in a single wet season. I’ve seen cheap toolbox storage do more damage to a wooden plane body in one winter than a year of hard daily use would. If you build or buy any storage solutions for hand tools while working through your cabin project, a resource like cabinlodger.com covers practical build-your-own storage setups that keep tools like this dry and off bare concrete, which matters more than people expect until they open a toolbox to a cracked plane heel.
Where Wooden Bench Planes Actually Fit in a Cabin Build
Wooden bench planes fit best in door and window joinery, beam and post surfacing, and fitting rough sawmill lumber where a power planer would either need electricity you don’t have or would remove more material than you want. They’re not the tool for squaring dozens of studs fast — that’s still a power planer’s job when you have the power to run one.
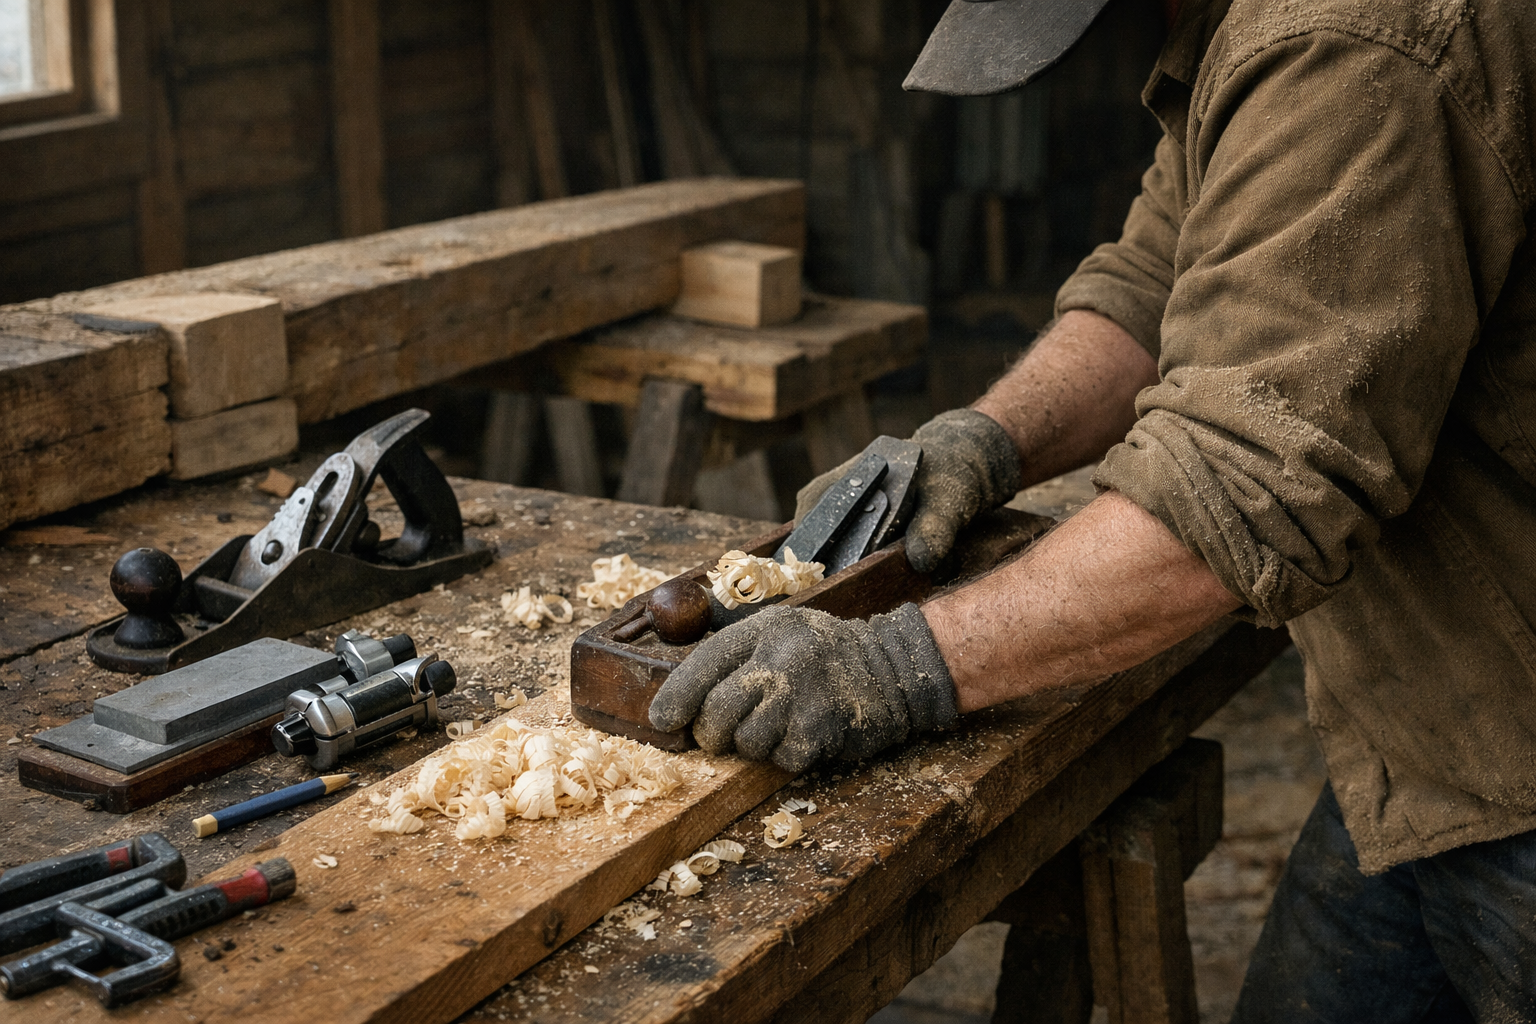
For a cabin door built from rough oak or pine, the jack plane knocks down mill marks, the jointer squares the long edges for a tight frame fit, and the smoothing plane leaves the face ready for a finish coat. That’s a real sequence, not a hypothetical, and it’s the same order carpenters used for centuries before anyone had a cord to plug in.
On structural beams, especially hand-hewn or chainsaw-milled timber, a wooden jack plane lets you clean up high spots on a joint face without hauling a generator up a hillside site. Quiet matters here too — if you’re working near neighbors or wildlife, or just don’t want to run a loud tool for twenty minutes over a single beam, hand planing is the practical choice, not just the romantic one.
Where wooden planes struggle is volume production. If you’re planing forty deck boards to the same thickness, a power planer or thickness planer will save you hours and your shoulders will thank you. Use the wooden plane where precision and control matter more than speed: fitting a single door into an out-of-square frame, matching a joint that’s slightly off, or smoothing a beam face that’ll be visible in the finished cabin interior.
Frequently Asked Questions
Are wooden bench planes good enough for structural cabin work, or just fine joinery?
Yes, they’re good enough for structural work like beam fitting and joint surfacing, not just fine joinery. The key is matching plane length to the task — a jack plane for rough beam surfaces, a jointer for long structural edges.
How often do I need to sharpen a wooden plane iron during a cabin build?
Expect to touch up the edge every couple hours of active use on rough sawmill lumber, faster if you hit embedded grit or old nails in reclaimed wood. A quick strop or light honing pass takes under five minutes once you’ve practiced it.
Can I use one wooden bench plane for everything if I’m on a tight budget?
You can get by with just a jack plane if the budget’s tight, since it handles rough work and can do rough smoothing in a pinch. You’ll get better results faster by adding a smoothing plane next, since finish quality suffers most without it.
What’s the biggest mistake first-time buyers make with wooden bench planes?
Skipping the sole-flattening check before first use. A used or new-but-cheap wooden plane often has a slightly twisted or dished sole straight out of the box, and that flaw transfers directly into every cut you make until it’s corrected.