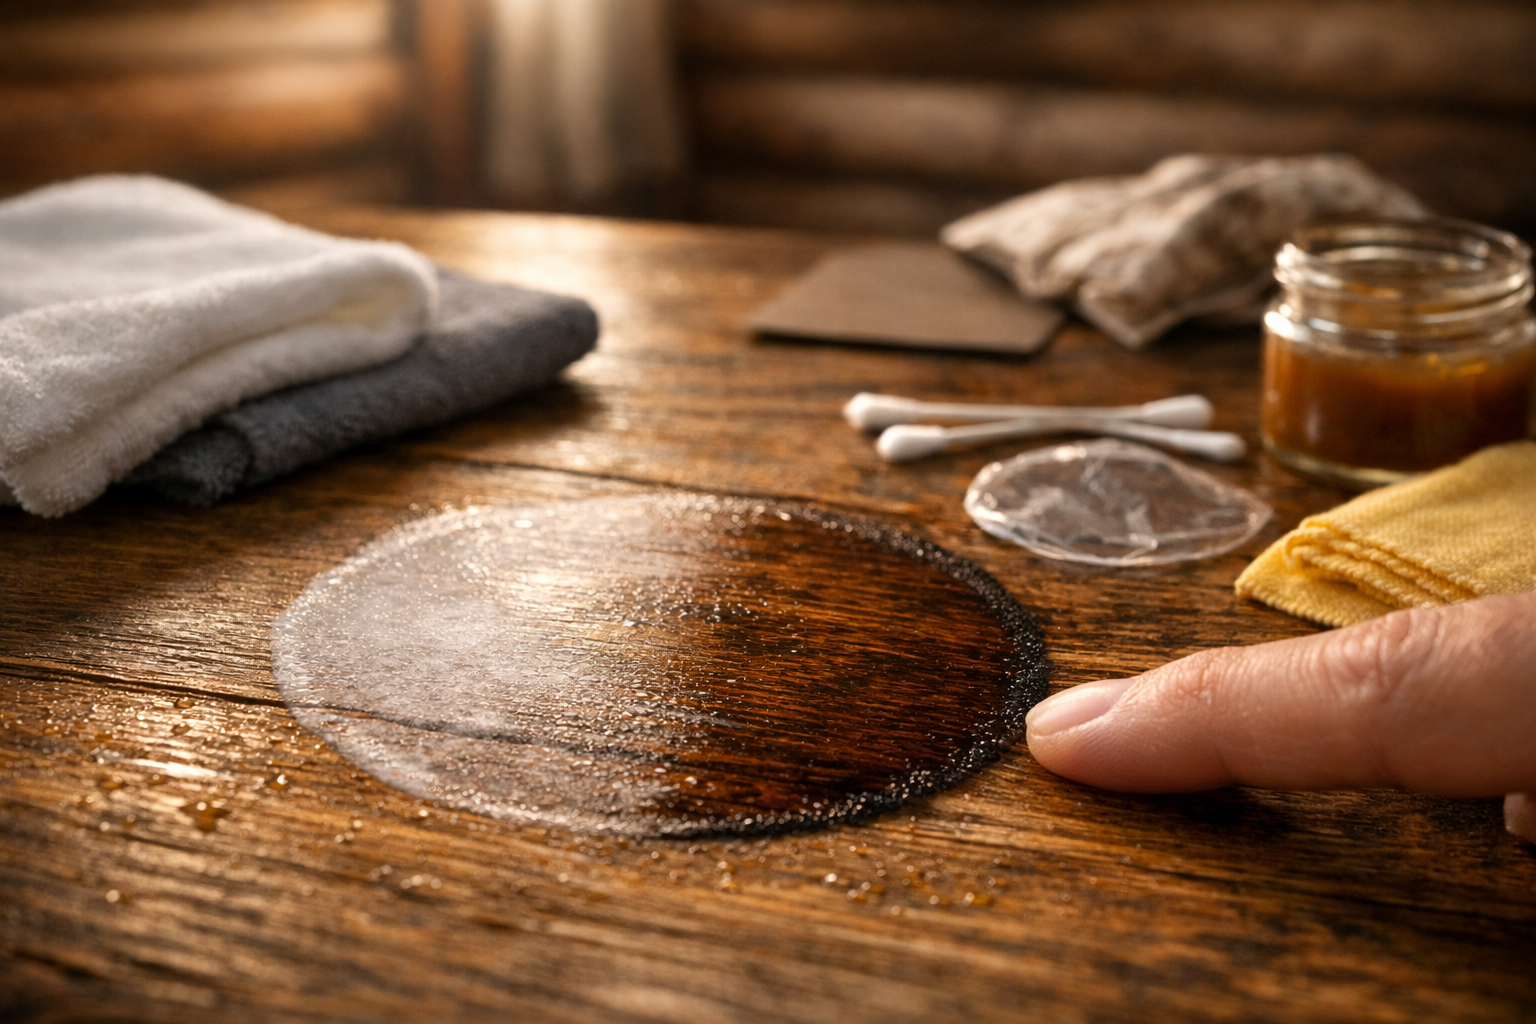
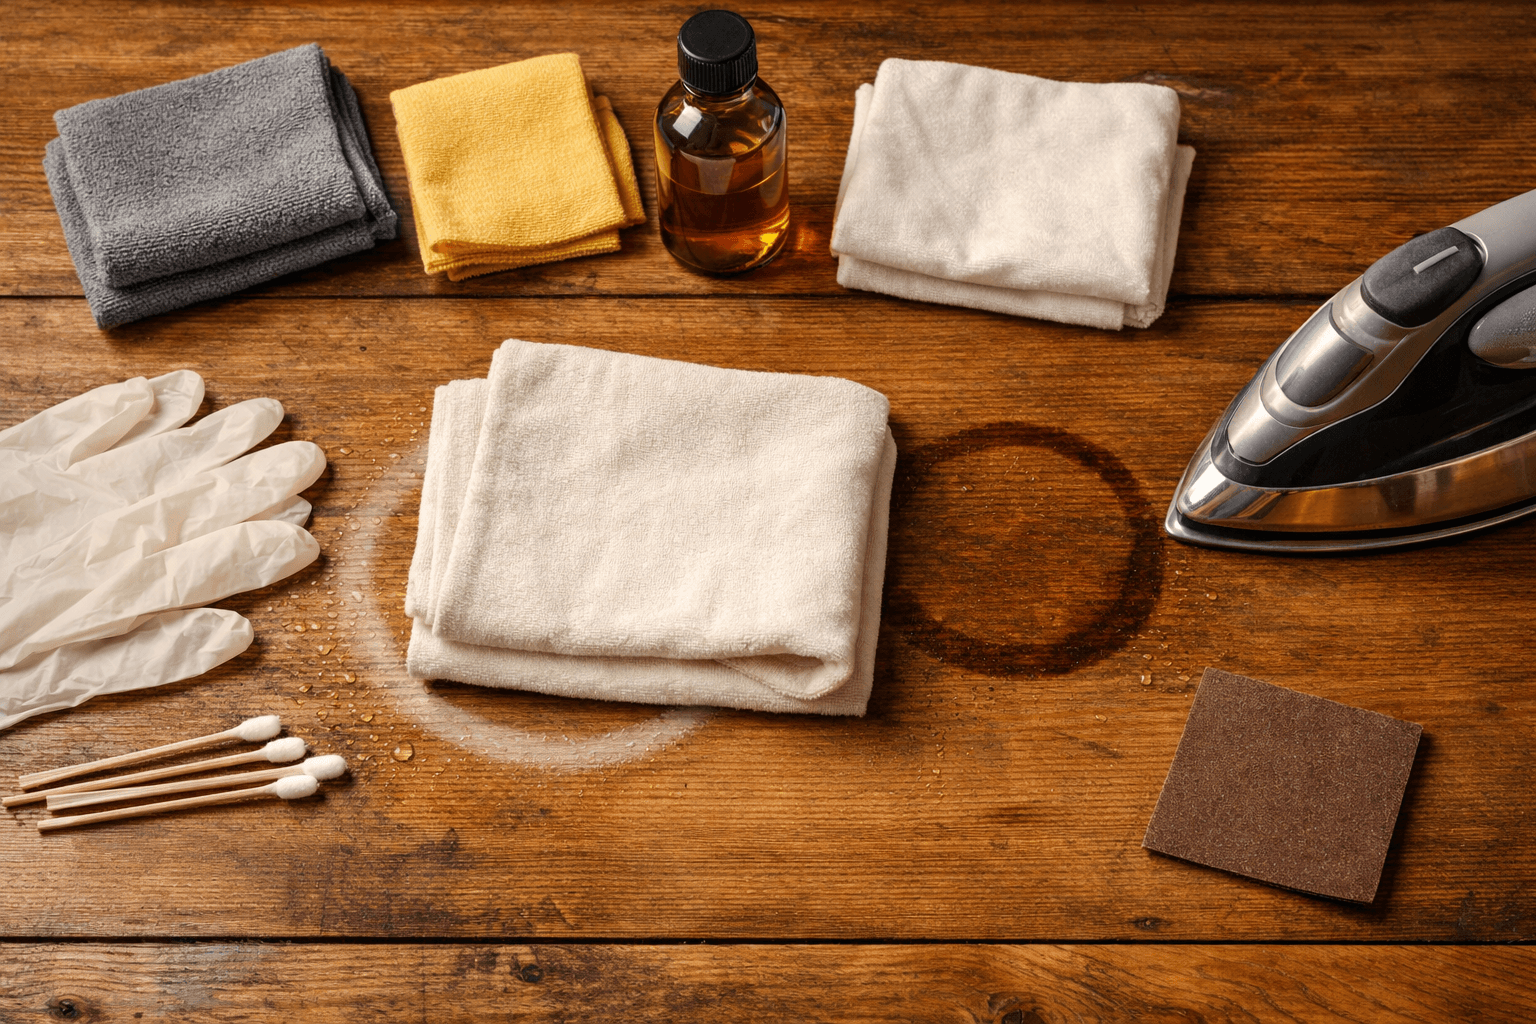
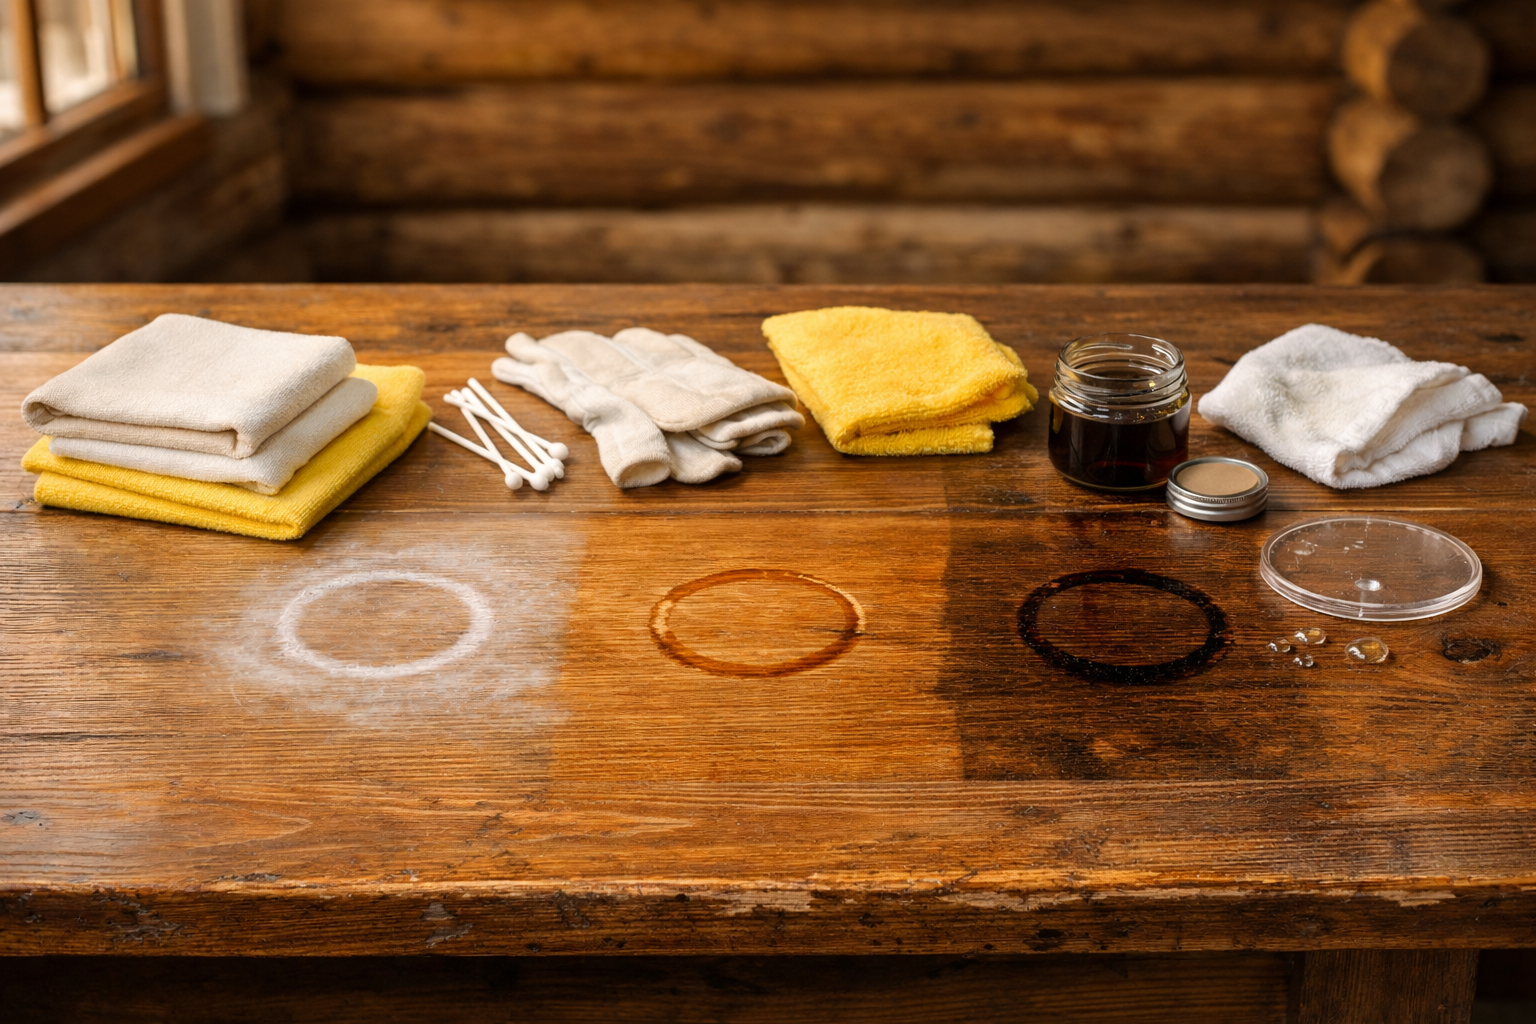
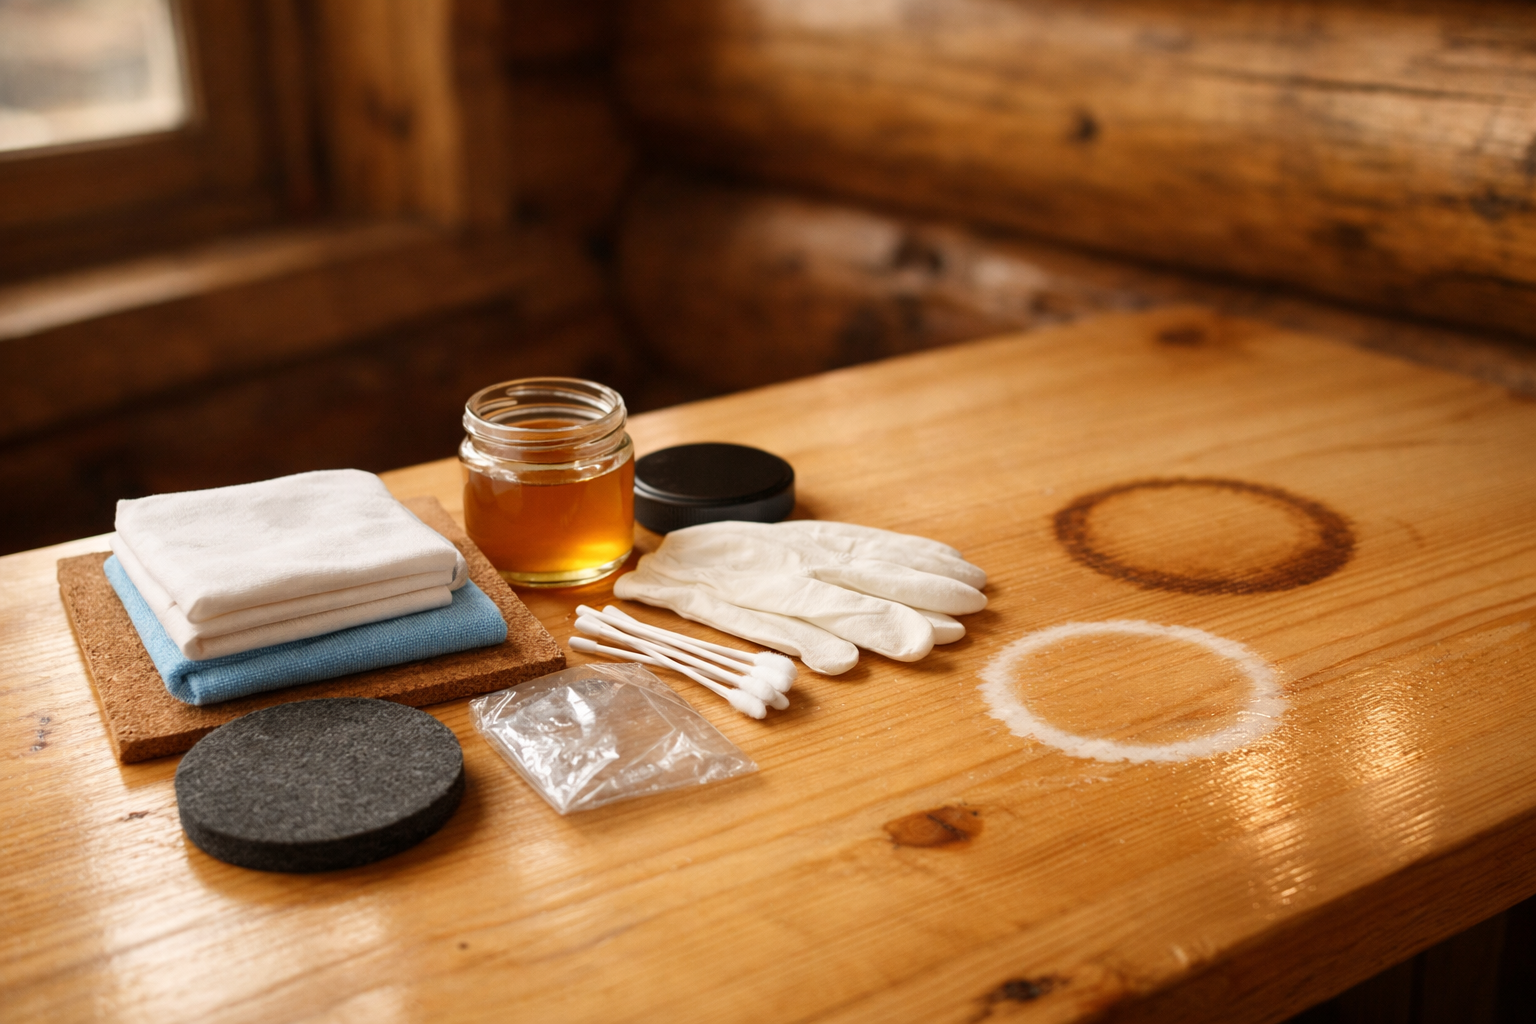
That white ring your coffee mug left on the cabin table last night, is it ever coming out, or did you just ruin the wood for good? Good news: most water rings are fixable, and how to get rid of water ring on wood depends almost entirely on whether the mark is a cloudy white haze or a dark stain soaked into the grain. The first is usually trapped moisture sitting in the finish. The second means water got past the finish and into the wood itself, which takes more work and sometimes sanding.
Cabin owners deal with this more than most people, because rustic surfaces, oiled log walls, and raw wood countertops don’t behave like a lacquered dining table from a furniture store. Before you grab the mayonnaise jar, it’s worth knowing which fix actually matches your situation.
White Haze vs. Dark Stain: Why the Fix Isn’t the Same
A white ring means moisture got trapped in the finish layer, not the wood itself, and it usually lifts out with heat or gentle abrasion. A dark ring means water soaked past the finish into the wood fibers, and that calls for sanding, bleaching, or refinishing rather than a quick trick.
This distinction matters more than almost anything else in this whole process. Try a heat-based fix on a dark stain and you’ll waste twenty minutes rubbing a spot that was never going to respond to warmth, because the damage isn’t in the finish anymore, it’s below it. Try sanding on a simple white haze and you’ll strip finish you didn’t need to touch.
How to Tell Which One You’re Dealing With
Look at the ring in good light. A white or cloudy ring sits right on the surface and often has a slightly raised, foggy texture you can feel with a fingernail. A dark ring looks like the wood itself changed color, almost like a shadow burned into the grain, and it won’t budge no matter how you angle the light.
Run a fingertip over the mark. White haze usually feels like it’s sitting on top of the finish, almost like dried water spots on glass. Dark rings feel flush with the surrounding wood because the moisture has already merged with the fibers underneath.
Why Cabin Wood Complicates This Diagnosis
On a finished furniture piece with several coats of polyurethane, this line between white and dark is pretty clean. On raw or oiled cabin wood, it’s blurrier, because there’s less finish standing between the water and the wood to begin with. A log wall treated only with penetrating oil doesn’t really get a “white ring” the way a varnished coffee table does; it usually just darkens straight away, because there was never a hard film layer to trap moisture on top of.
That’s the trap a lot of first-time cabin owners fall into. They see a ring, assume it’s the classic white haze from a magazine article, and try the mayonnaise trick, then wonder why nothing happened. On raw wood, you’re often already dealing with the deeper problem, and you should treat it that way from the start.
Fast Fixes for White Rings: Mayo, Toothpaste, and Baking Soda
For a genuine white haze on finished wood, household remedies like mayonnaise, toothpaste, or a baking soda paste actually work, because the oils and mild abrasives draw out trapped moisture and buff the cloudy finish smooth again. These only work on sealed, varnished, or lacquered surfaces, not raw or oiled cabin wood.
The mayonnaise trick isn’t a myth. The oil in it seeps into the microscopic cracks in the finish where moisture is trapped, and over a few hours it displaces the water and evens out the haze. Smear a thin layer over the ring, let it sit for at least an hour (some stubborn spots need closer to eight), then wipe clean with a soft cloth.
Toothpaste works on a similar principle but adds mild abrasion. Use a plain white paste, not a gel and not anything with whitening beads, and rub it in gently with a soft cloth in small circles. Wipe off with a barely damp rag and dry it immediately, because leaving any moisture behind defeats the whole point.
Baking soda paste is the roughest of the three, mixed with a little water or non-gel toothpaste until it’s the texture of thick cream. It’s better for rings that have sat for a few days and started to set a little harder. Rub gently, check often, and stop as soon as the haze lifts, because baking soda is abrasive enough to dull a finish if you overdo it.
Here’s the part nobody mentions enough: always test in a hidden spot first, like the underside of a table leaf or the back corner of a shelf. Finishes vary a lot, and a paste that works perfectly on one piece can leave a dull patch on another. Skipping this step on a visible tabletop is how a small ring turns into a bigger problem.
None of these three methods belong anywhere near a raw log wall, an oiled cabin countertop, or unfinished pine shelving. Without a hard finish layer to buff, the oils and abrasives either soak in unevenly or sit on the surface doing nothing, and toothpaste in particular can leave residue that’s hard to fully rinse off porous wood.
The Iron-and-Cloth Method: When Heat Beats Chemicals
Heat pulls trapped moisture out of a finish faster than almost any paste, and the classic iron-and-cloth trick works by warming the water vapor enough that it evaporates back out through the wood grain. It’s fast, usually five minutes or less, and it’s often the first thing I’d try on a fresh white ring on finished furniture.
Set a clothes iron to its lowest heat setting, no steam. Lay a plain cotton cloth, an old pillowcase works fine, flat over the ring. Press the iron on top for three to five seconds, lift, check the spot, and repeat in short bursts rather than holding it down continuously.
Getting the Timing Right
The mistake almost everyone makes here is treating the iron like it’s ironing a shirt, holding steady heat for too long. That’s how you scorch a finish or, worse, warp thin veneer. Three to five second bursts with checks in between is the safer rhythm, and most white rings respond within four or five rounds.
If nothing’s changed after six or seven attempts, stop. That’s a sign the mark has gone deeper than surface haze, and more heat at that point just risks damaging the finish without fixing the actual problem.
The Hairdryer Alternative
A hairdryer on medium heat, held about four inches from the surface and moved constantly, does the same job with a lot less risk of scorching. It takes longer, sometimes ten to fifteen minutes of steady passes, but there’s almost no way to damage a finish with a hairdryer the way you can with direct iron contact.
I’d lean toward the hairdryer for anything with a thinner or older finish, and save the iron for solid, thicker varnished pieces where a little heat margin exists. Either way, this method has the same blind spot as the paste tricks: it only works when the moisture is trapped in a finish layer, not soaked into raw wood. On an oiled cabin table with no hard topcoat, heat just dries the surface without pulling anything out, because there’s no sealed layer holding the water in the first place.
Deep Dark Stains: Steel Wool, Sanding, and Wax Buffing
Dark water rings need more than heat or paste, because the discoloration has moved past the finish and into the wood grain itself. The real fix is light abrasion with fine steel wool or sandpaper to remove or blend the stained layer, followed by wax or oil to restore the sheen and re-seal the spot.
Start gentle. 0000-grade steel wool dipped lightly in mineral oil or furniture wax, rubbed in the direction of the grain, is the first move for a moderate dark stain on a finished tabletop. This won’t strip the finish entirely, it just knocks down the top layer enough to blend the discoloration with the surrounding wood.
If steel wool alone doesn’t touch it, move to fine sandpaper, something in the 220 to 320 grit range, and sand only the affected area, feathering out into the surrounding finish so you don’t leave a visible dip or ring-shaped patch. This is where a lot of people get nervous, and honestly, that hesitation is fair. Sanding through a finish on a piece you actually care about is a real risk if you go too aggressive or use too coarse a grit.
Test the stain’s depth first by rubbing a small hidden section with 0000 steel wool and mineral oil.
If the stain lightens noticeably, continue over the full ring with light, even pressure.
If it barely changes, switch to 220-grit sandpaper and sand only the ring, feathering the edges.
Wipe away dust with a dry cloth, then check the spot in direct light for any remaining discoloration.
Apply matching stain to the sanded area if the color looks lighter than the surrounding wood.
Finish with paste wax or furniture oil, buffed in circular motions, to restore sheen and reseal the wood.
Let the wax cure for a few hours before setting anything back down on the surface.
That sequence works well on furniture with a real finish, dining tables, dressers, sealed shelving. It’s a different story on raw or heavily weathered cabin wood, log beams, or exterior siding that’s spent a season taking rain and humidity. On those surfaces, the “stain” is often just how the wood naturally absorbed water across a wide area, not a clean ring you can sand out in isolation. Trying to spot-sand one ring on a weathered log wall usually leaves an obvious lighter patch that stands out more than the original mark did.
Why Raw Cabin Wood Doesn’t Play by Furniture Rules
Furniture tricks assume a hard, closed finish sitting on top of the wood, varnish, polyurethane, shellac, lacquer. Most cabin interiors don’t have that. Log walls, exposed beams, and rough-cut countertops are usually finished with penetrating oil or a thin sealant that soaks into the grain rather than sitting on top of it, and that changes everything about how water damage shows up and how you fix it.
Why Mayo and Toothpaste Fail on Oiled Wood
Oil-finished wood doesn’t trap moisture in a film layer the way varnish does, so there’s no haze to pull out with more oil or gentle abrasion. Water on oiled pine or cedar tends to soak straight into the fibers, darkening the wood almost immediately rather than sitting on top as a cloudy ring. Rubbing mayonnaise into that spot doesn’t displace anything, it just adds another layer of oil on top of wood that’s already saturated, and toothpaste’s mild abrasives can actually strip what little sealant is there.
I’ve seen people spend an entire afternoon working a paste into a cabin countertop ring with nothing to show for it, then get frustrated and start scrubbing harder, which only wears down the oil finish faster. The honest fix in that situation almost always turns into light sanding followed by re-oiling, not a kitchen-cabinet trick.
Humidity’s Role in Cabin Wood Damage
Cabins run wetter than typical houses, especially off-grid ones without constant climate control. Humidity swings from a wood stove drying the air one day to a damp, rainy week the next, and that constant push and pull weakens whatever finish is protecting your wood. A single water ring on cabin wood is rarely an isolated event; it’s usually a sign the finish in that whole area is due for a refresh.
That’s worth sitting with for a second. If one mug left a lasting mark, it’s likely the sealant nearby has thinned out from months of humidity exposure, not just bad luck with one spill.
Matching the Finish: Varnish, Shellac, and Oil Need Different Care
Not every finish reacts to water the same way, and picking the right fix means knowing what’s actually on your wood. Varnish and polyurethane are the most water-resistant and respond best to the classic tricks, heat, mayonnaise, mild abrasives. Shellac is more sensitive and can actually dissolve or cloud further if you use the wrong solvent-based cleaner near it. Raw oil finishes need re-application more than removal tricks.
Finish Type
Water Ring Behavior
Best Fix
Varnish/Polyurethane
White haze from trapped moisture
Heat (iron/hairdryer), mayo, or toothpaste
Shellac
Clouds easily, can soften with alcohol-based cleaners
Gentle heat only, avoid solvents
Oil finish (tung, linseed, Danish)
Water soaks in, darkens wood directly
Light sanding, then re-oil the whole area
Raw/unfinished wood
Deep, uneven dark staining
Sand affected section, apply sealant or oil
Shellac trips people up because it looks like varnish at a glance but behaves nothing like it once you introduce moisture or cleaning products. If you’re not sure what’s on an older piece of cabin furniture, a cotton swab with a little denatured alcohol in a hidden spot will tell you fast, shellac softens almost immediately, varnish doesn’t.
Oil finishes are the most common thing you’ll find in an actual cabin, on countertops, exposed beam ceilings, handmade furniture. The upside is that oil finishes are forgiving to maintain over time, since re-oiling is simple and doesn’t require stripping anything first. The downside is they offer less protection against a hot mug or a sweating glass than varnish does, so rings show up faster and more often if you’re not staying on top of maintenance.
Keeping a maintenance log or rough schedule for when you last oiled different surfaces around the cabin makes this a lot easier to manage, and it’s the kind of small habit that saves a weekend of sanding later. Sites like cabinlodger.com track this exact kind of upkeep schedule alongside other cabin projects, which is a useful model if you’re building your own routine from scratch.
Preventing the Next Ring: Coasters, Mats, and Re-Sealing Schedules
The cheapest fix for a water ring is never getting one, and that comes down to two habits: using coasters or mats on every finished surface, and keeping oil or sealant maintenance on a real schedule rather than “whenever it looks dry.” Both cost less than an hour of your time and beat any removal method on this list.
Coasters are the obvious one, and yet somehow the one people skip most in their own cabin, because it doesn’t feel like “cabin living” to fuss over a mug. Felt-backed coasters or simple cork mats work fine and don’t need to match any decor. For counters and larger surfaces, a cutting board or a folded towel under anything wet works just as well when a coaster isn’t practical.
Re-sealing on a schedule matters more in a cabin than a regular house, because of that humidity swing mentioned earlier. Oiled surfaces, tung oil, linseed oil, Danish oil blends, generally need reapplication every six to twelve months depending on how much traffic and moisture exposure they see. Countertops and tables that get used daily lean toward the six-month end. Exposed beams and walls that mostly just exist in the room can stretch closer to the twelve-month mark.
Varnished or polyurethane furniture holds up longer between full refinishes, often three to five years under normal indoor conditions, but even that shortens in a humid off-grid cabin without climate control. A quick visual check twice a year, looking for dullness, cloudiness, or any spot where water seems to be soaking in faster than the rest of the surface, catches problems long before they turn into stains you have to fix with sandpaper.
Building this into a simple checklist keeps it from becoming another forgotten chore:
Wipe down and inspect finished surfaces every few months for dullness or early haze.
Re-oil high-traffic wood (counters, tables) every six months.
Re-oil lower-traffic wood (beams, shelving) every six to twelve months.
Reapply coasters and mats habit-check: are they actually being used, or sitting in a drawer?
Do a full inspection each season change, since humidity shifts hardest then.
None of this is exciting work, and it’s easy to let slide when you’re focused on bigger cabin projects. But a ring you catch and fix in year one is a five-minute job. A ring you ignore for three years, on wood that never got re-oiled, usually turns into a section you have to sand down and refinish from scratch.
Frequently Asked Questions
Does the mayonnaise trick actually work on wood water rings?
Yes, but only on finished, varnished, or lacquered wood with a genuine white haze, not dark stains or raw cabin wood. The oil displaces trapped moisture in the finish; on oiled or unfinished wood it does nothing useful.
How long should I leave toothpaste on a water ring before wiping it off?
Ten to fifteen minutes is usually enough for light haze; stubborn rings may need a second application after wiping and drying completely. Never leave it on overnight, since prolonged contact can dull the surrounding finish.
Can I use the iron trick on log cabin walls or oiled furniture?
No. The iron-and-cloth method only pulls moisture out of a sealed finish layer; oiled or raw log surfaces have no film to release, so heat just dries the surface without removing the stain underneath it.
How often should I re-oil cabin wood to prevent water rings in the first place?
Every six months for high-traffic counters and tables, and six to twelve months for lower-traffic beams or shelving. Humid off-grid cabins with seasonal swings usually need re-oiling closer to the six-month mark.