Why does the same router cut that looks perfect on a shop table fail two winters later on a cabin wall? Because cabin joinery isn’t furniture joinery, and woodworking routing for a structure that lives outside has to plan for wood movement, not fight it. Furniture sits in a climate-controlled house. A cabin joint gets soaked, frozen, dried out, and soaked again, every single year.
That difference changes almost everything about how tight you cut, which bits you reach for, and how you seal the joint afterward. Get the routing right and the joint flexes with the wood instead of splitting. Get it wrong, and you’re re-cutting logs in February.
Fixed-Base or Plunge Router: Which One Actually Belongs in a Cabin Shop
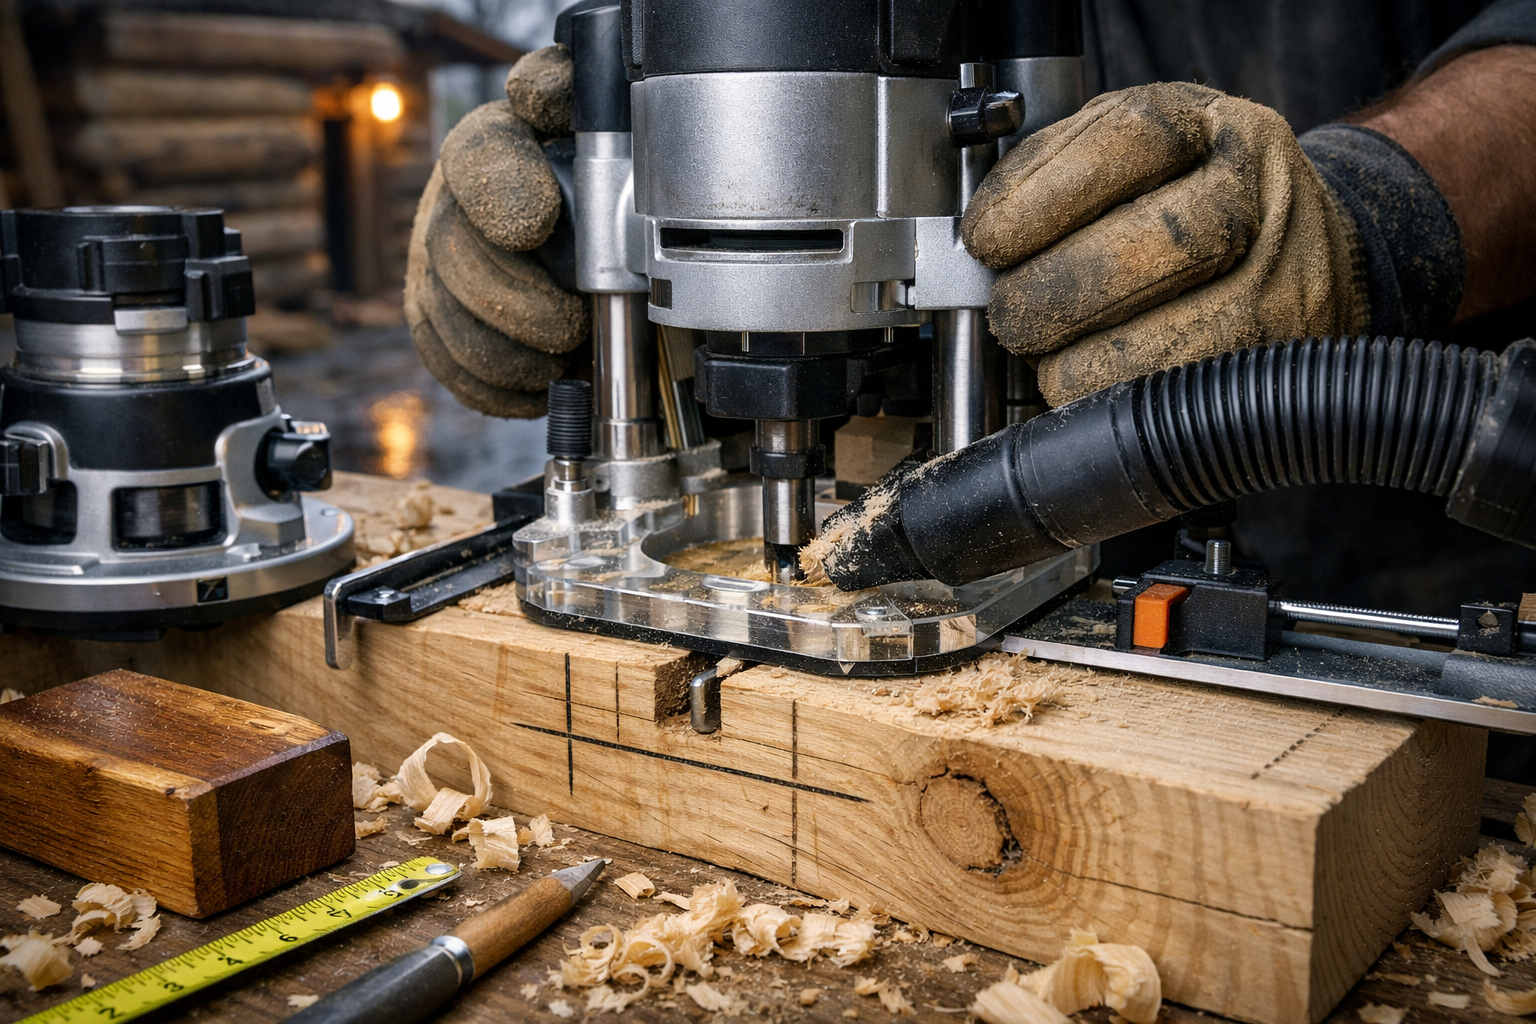
You need both eventually, but if you’re buying one router first, get a plunge router. It handles the mid-board cuts that dominate cabin joinery — mortises, stopped dadoes, notches for electrical runs — that a fixed-base router simply can’t start without running off the edge of the material.
A fixed-base router is great for edge work: rounding over log ends, cutting rabbets along a straight board, running a bearing-guided bit along a template. It’s more stable for that kind of cut because the base doesn’t move once you set the depth. But cabin work is full of joints that start in the middle of a beam, and that’s where plunge capability earns its keep.
When Fixed-Base Wins
Edge profiling, rabbeting door and window jambs, and any cut where the bit enters from the board’s edge favor a fixed-base setup. The lower center of gravity makes it easier to keep steady on long runs, especially with an edge guide clamped down.
When Plunge Wins
Mortises for post-and-beam joinery, stopped dadoes for shelving inside a loft, and notches cut into the face of a log all need a plunge base. You lower the bit into the wood at a controlled rate instead of tipping the router in, which matters a lot once you’re working with 2-inch-thick timber.
If your budget only allows one tool, a mid-range plunge router in the 2-to-2.25 HP range (something like a Bosch or Makita in that class) covers both jobs reasonably well with the right base and guide accessories. You’ll give up a little edge-cutting stability, but you gain the ability to do mortise-and-tenon work, which cabin framing leans on constantly.
Don’t assume a trim router or a compact palm router is enough once you move past cabinetry-scale work. Cabin timber is thicker, denser, and less forgiving, and an underpowered router will bog down, burn the bit, and leave a joint that’s rougher than it should be.
Choosing Bits for Structural Cuts, Not Just Clean Edges
The biggest mistake I see in cabin builds is assuming any router bit works for structural joints regardless of wood type or depth. A bit built for laminate edge trim will dull fast and chatter in doug fir or cedar timber, and a dull bit tears the joint faces instead of slicing them clean.
For structural cabin joinery, you want carbide-tipped bits rated for hardwood and construction lumber, not general-purpose HSS bits meant for plywood and MDF. Carbide holds an edge through the resin and grit in rough-sawn timber far longer, and that matters when you’re cutting dozens of mortises for a post-and-beam frame.
Straight Bits for Dadoes and Mortises
A straight bit, usually 1/2-inch or 3/4-inch diameter, is your workhorse for dadoes, mortises, and straight-line grooves. Match the bit diameter to the joint width you need rather than trying to nibble a wide dado with a narrow bit in multiple offset passes — that approach multiplies tear-out risk and wastes time.
Rabbeting Bits with Bearings
For rabbet joints along log ends or board edges, a bearing-guided rabbeting bit lets you follow the material’s natural edge without a separate straightedge. Interchangeable bearings let you adjust rabbet depth without swapping bits, which is handy when you’re fitting siding boards that aren’t all the exact same thickness (and in cabin lumber, they rarely are).
Flush-Trim and Pattern Bits for Templates
When you’re cutting the same joint repeatedly — say, a dozen matching notches for floor joists — a flush-trim bit riding a plywood template gets you consistent results fast. This is where a lot of production time gets saved on a real build, because hand-marking each joint invites drift.
One more thing worth saying plainly: cheap bit sets sold in bulk at big box stores are fine for a shelf in the garage. They are not fine for the joints holding your roof up. Spend the extra money on individual carbide bits from a known brand for anything load-bearing.
Dado and Rabbet Joints: Where Cabin Tolerances Differ From Furniture
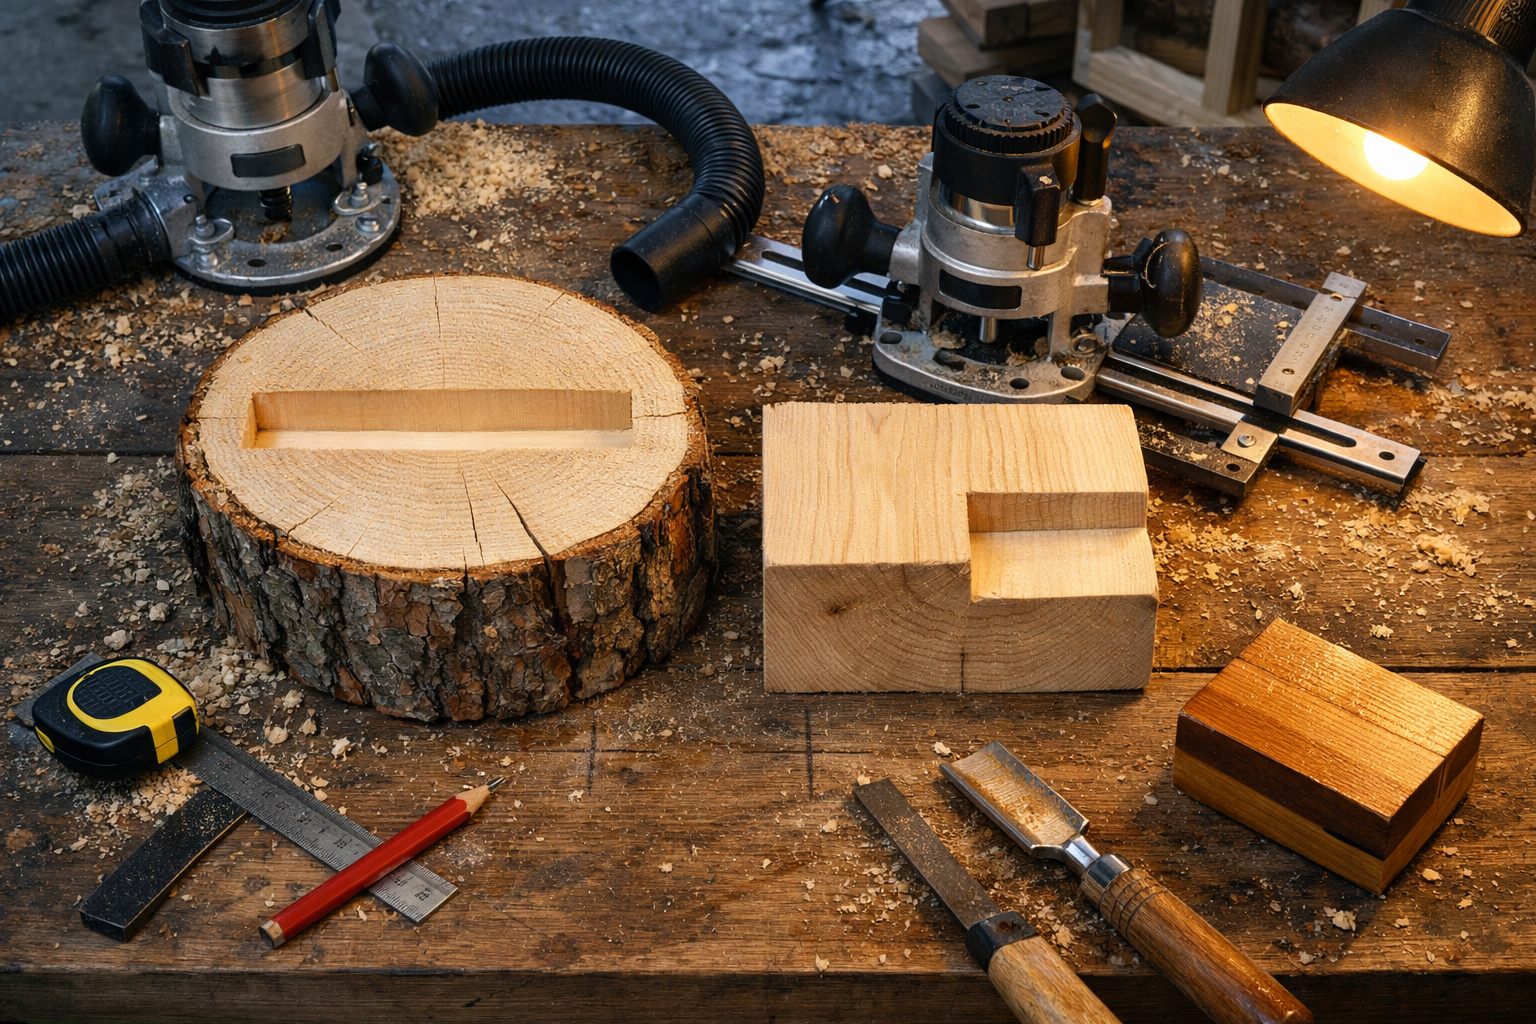
Cabin dado and rabbet joints need looser tolerances than furniture joints, typically 1/32 to 1/16 inch of clearance rather than a furniture-tight press fit, because the wood will swell and shrink with the seasons and a dead-tight joint has nowhere to move. A joint cut to furniture standards can crack the surrounding wood when humidity swings hard.
This is the differentiating skill in cabin routing that most general woodworking guides skip entirely. Shop furniture lives indoors at fairly stable humidity. A cabin wall panel or shelf can swing from 8% moisture content in a dry winter to 18% or more in a humid summer, and the joint has to survive that swing without splitting.
Setting Dado Width for Movement
Cut your dado about 1/32 inch wider than the board thickness you’re inserting, measured with the actual board you’ll use rather than a nominal dimension chart. Rough-sawn cabin lumber varies board to board more than dimensional lumber from a big box store, so measure each piece if the joint really matters.
Rabbet Depth for Siding and Trim
For rabbeted siding laps, cut the rabbet to roughly two-thirds the board thickness rather than a full third, giving you more shoulder to resist wind-driven rain finding its way behind the board. A shallow rabbet looks fine on install day and starts leaking by the second wet season.
Why Tight Joints Crack in Cold Climates
Wood shrinks across the grain as it dries and swells as it absorbs moisture, and a joint with zero clearance forces that movement into a crack somewhere else in the board. I’ve seen tightly fit shelf dadoes split clean through a 1×8 shelf in a single Montana winter because the joint gave the wood nowhere else to go. Loosen the fit slightly and let a bead of exterior wood glue or a flexible sealant take up the difference instead.
Mortise and Tenon Joinery for Post-and-Beam Framing
Mortise and tenon is the joint that actually holds a post-and-beam cabin frame together, and routing the mortise accurately is the part most builders get wrong on their first attempt. The tenon is easy to cut with a table saw or by hand; the mortise, cut into the face or end of a thick post, is where a plunge router with a guide bushing earns its cost.
Set your plunge depth in stages rather than trying to hit final depth in one pass. For a 3-inch-deep mortise in a 6×6 post, three or four passes of roughly 3/4 to 1 inch each keeps the bit cool and the cut clean, rather than forcing it through in one aggressive plunge that can burn the bit tip and leave charred, weakened mortise walls.
Sizing the Mortise for Seasonal Movement
Cut the mortise about 1/16 inch longer than the tenon along the grain direction where seasonal movement is greatest, but keep the width snug against the tenon’s cheeks. This lets the joint breathe along the direction wood actually moves without loosening the structural connection side to side.
Pinning the Joint
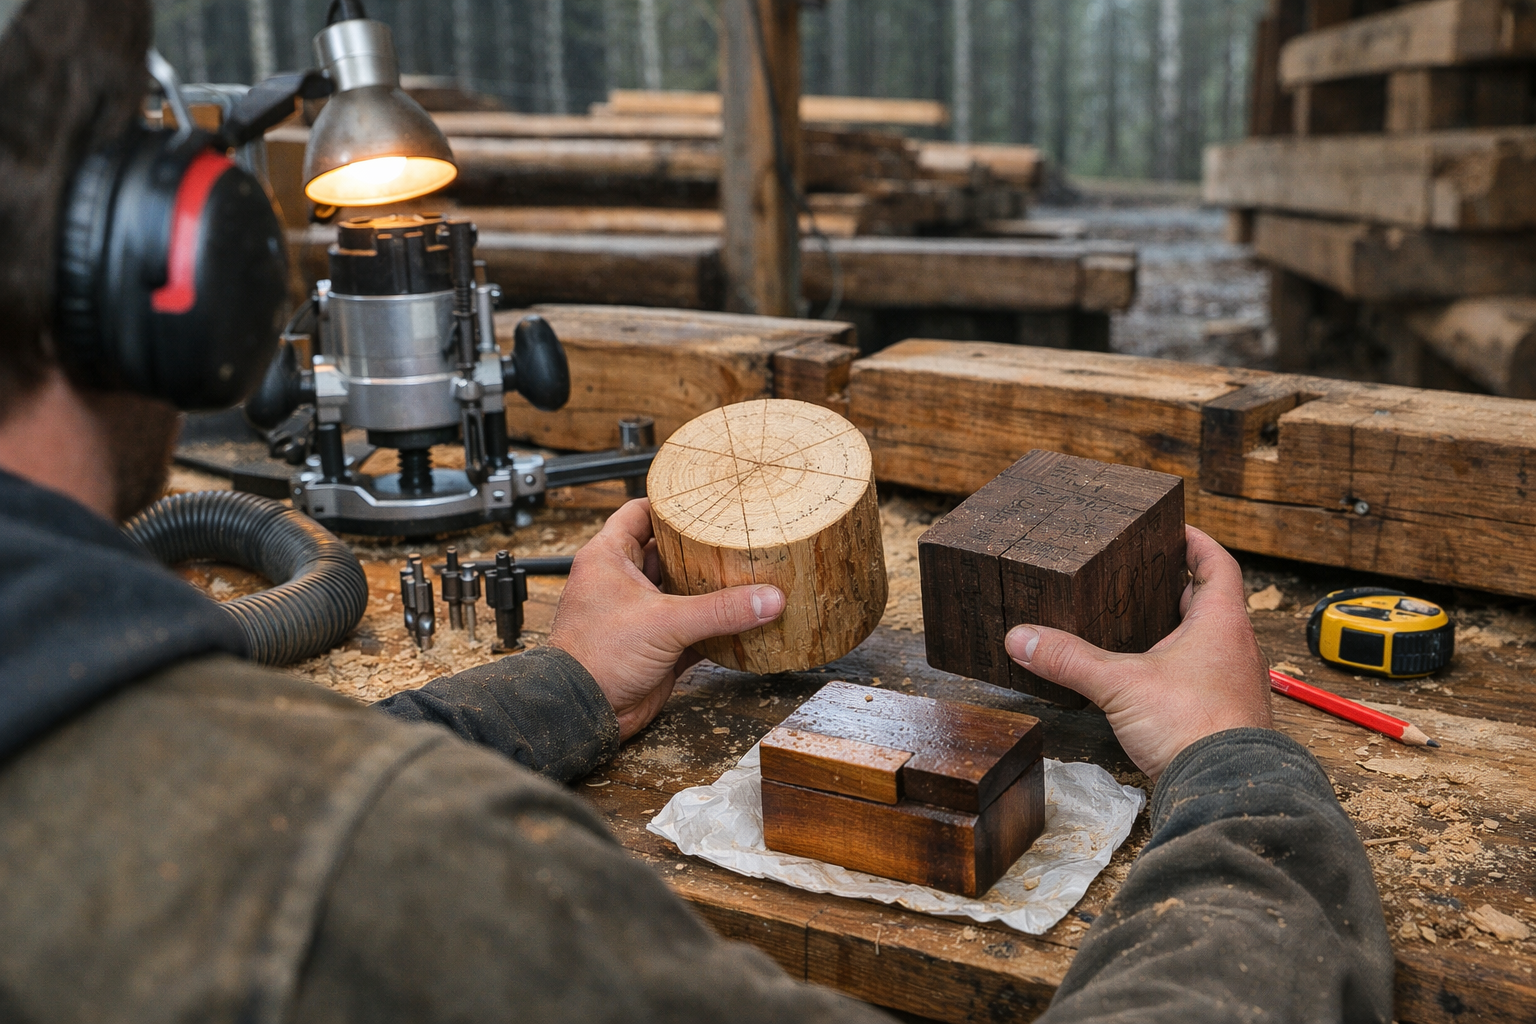
Drilling and pinning the mortise and tenon with a hardwood dowel or a steel pin adds insurance against the joint working loose as the frame settles over its first year or two. A lot of cabin kits and timber-frame plans call for a 3/4-inch pin, offset slightly (a technique sometimes called draw-boring) so the pin actually pulls the joint tighter as it’s driven home.
Test the Fit Before Committing
Dry-fit every mortise and tenon before final assembly, and don’t force a tight joint home with a sledgehammer hoping it’ll settle in. If it’s binding, pull it back out and pare the mortise slightly rather than crushing the tenon shoulders, which weakens the joint permanently.
Jigs and Templates That Keep Repeated Cuts Consistent
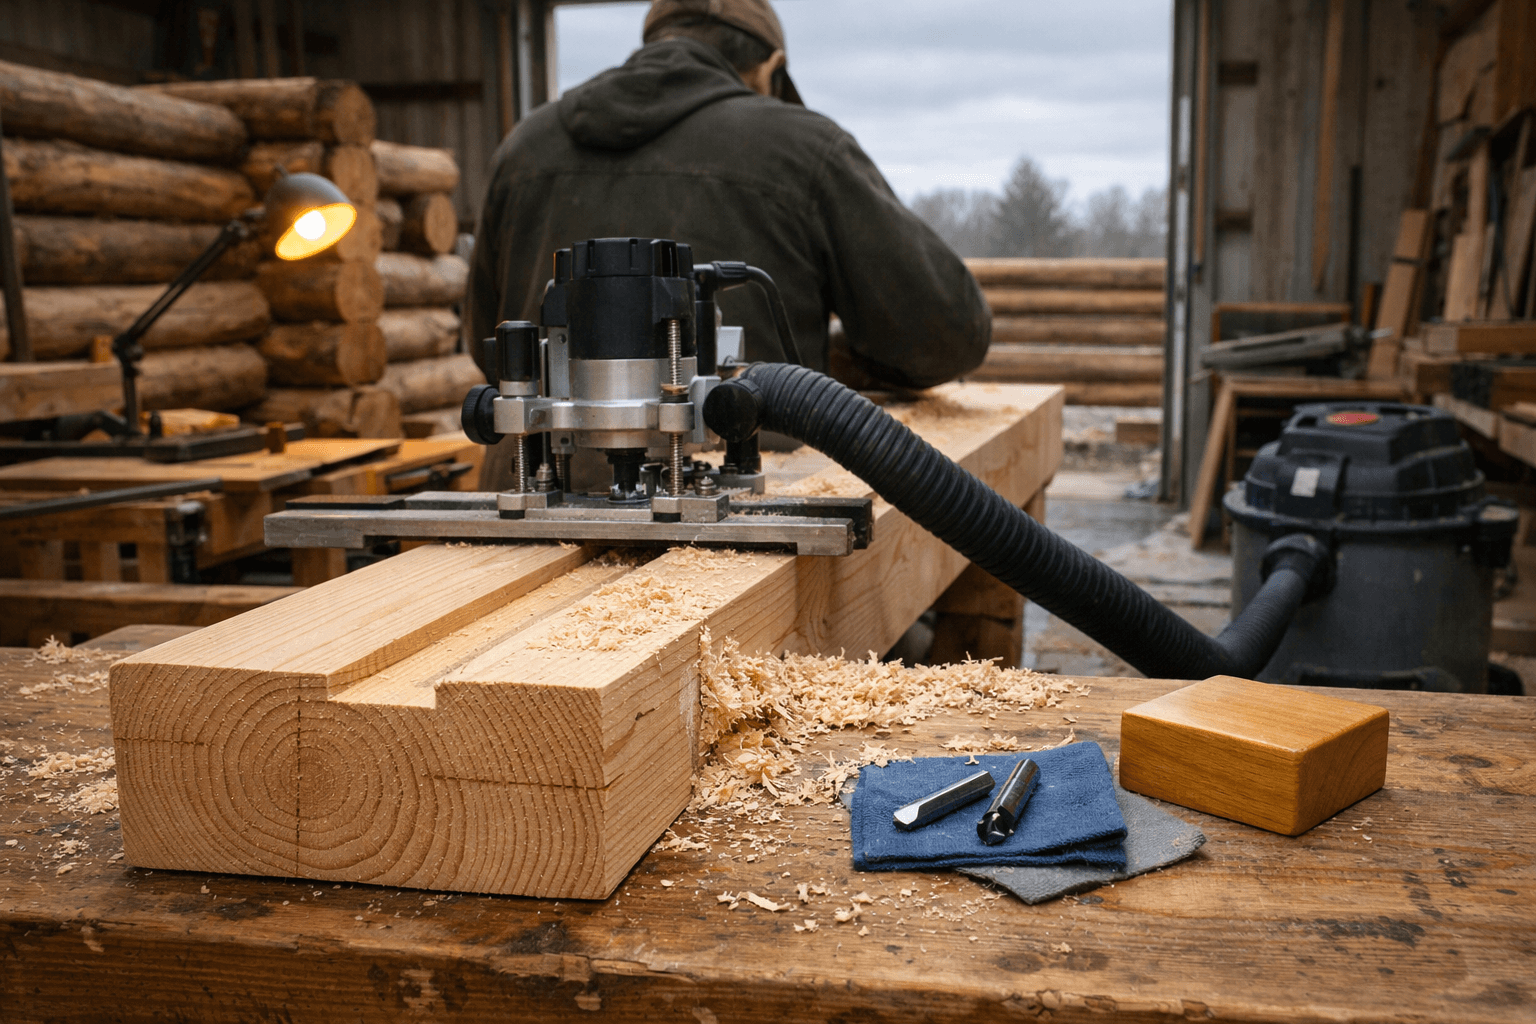
If you’re cutting more than two or three of the same joint, build a jig. A simple plywood template with a guide bushing turns an hour of careful hand-routing into ten minutes of repeatable, identical cuts, and consistency matters more in cabin framing than in a one-off furniture piece because every joist notch or post mortise needs to match its neighbors.
A basic mortising jig is just two straight boards clamped parallel to guide the router base, spaced to match your bushing offset. It sounds almost too simple to matter, but it’s the difference between a frame that goes together square and one where every joint needs individual coaxing.
Cut a plywood template to the exact joint dimensions plus your guide bushing offset.
Clamp the template securely to the workpiece, checking square with a speed square before locking it down.
Rough out the bulk of the material with a straight bit set slightly shallow of final depth.
Run a second, final pass at full depth to clean up the walls and hit exact dimensions.
Test-fit the mating piece before moving to the next identical joint.
Store the template for the rest of the build so every matching joint stays consistent.
Edge guides deserve a mention here too, separate from templates. A straight edge guide clamped parallel to a cut line is faster to set up than a full template when you’re only cutting a handful of dadoes or rabbets, and it’s the right tool for long, straight runs like a dado across a wide shelf board or a rabbet down a ten-foot board edge.
Don’t skip the dry run. Set your jig, run the router along it with the bit retracted, and watch for any binding or wobble before you commit a live bit to the cut. It takes thirty seconds and saves a ruined board.
Climb Cutting, Grain Direction, and Avoiding Tear-Out
Routing against the grain in the wrong direction is one of the most common ways builders wreck an otherwise good cabin joint, because tear-out doesn’t just look bad — it opens fibers that soak up water and rot faster once the joint’s exposed outdoors. Conventional cutting, where the bit rotates against the direction of feed, is the safer default for most cabin joinery cuts.
Climb cutting, feeding the router in the same direction the bit rotates, gives a cleaner finish on tricky grain but the router wants to grab and run. On a hand-held plunge cut in cabin-grade fir or pine, that grab can pull the tool out of your hands fast. I’d only recommend climb cutting for a light finishing pass, taking off a sliver of material after the main conventional cut has already established the joint depth.
Reading Grain Before You Cut
Look at the board’s face grain and figure out which direction the fibers rise toward the surface. Feed the router so the bit cuts “downhill” into that rise rather than lifting fibers up and out, which is what causes the splintery tear-out that weakens a joint’s edge.
Why Tear-Out Matters More on Cabin Joints Than Furniture
A torn-out edge on a coffee table is a cosmetic problem you sand out. A torn-out edge on a rabbet joint meant to shed rainwater is a moisture trap, because the raised, split fibers give water a place to sit and start rot years before the rest of the board shows any wear. Sanding it smooth after the fact helps, but it doesn’t fully undo the structural weakening.
Test Cuts Save Expensive Timber
Skipping test cuts on scrap before cutting expensive cabin timber is a mistake I still see experienced builders make when they’re in a hurry. A $40 board of rough-sawn cedar is not the place to discover your feed direction was backward. Run every new bit-and-material combination on a scrap offcut first, check for tear-out, and adjust feed rate or direction before touching the real piece.
Router Table Setup, Feed Rate, and Depth Per Pass
A router table earns its space in a cabin shop once you’re cutting a lot of identical rabbets or edge profiles on boards you can safely feed by hand. For anything too big or heavy to feed across a table — full timber posts, long ridge beams — stick with a hand-held router and a guide, because wrestling a heavy timber across a router table is how boards get gouged and hands get hurt.
Believing a single deep pass is faster than multiple shallow passes is a costly assumption, because it usually burns the bit and can warp or blow out the joint. A good rule of thumb: take no more than 1/4 to 3/8 inch of depth per pass in hardwoods, and up to about 1/2 inch in softer species like pine or cedar, working up to final depth over two or three passes.
Matching Feed Rate to Wood Species
Feed too fast and the bit tears rather than cuts; feed too slow and friction burns the wood, leaving a scorched, glazed surface that glue won’t stick to well. You’ll hear the difference before you see it — a smooth, steady cutting sound means you’re in the right range, while bogging or screaming means you’re feeding wrong.
Router Table Fence and Bit Height
Set the fence parallel to the bit and lock it down before every session, and double-check bit height with a scrap pass rather than trusting the depth scale alone, since scales drift slightly with vibration over a long build. A five-second test cut beats re-cutting a joint that’s 1/16 inch shallow.
The table below gives rough starting points for common cabin joinery cuts. Treat these as a baseline you adjust after your own test cut, not a fixed rule.
Joint Type
Typical Bit
Depth Per Pass
Feed Rate Feel
Dado (shelving)
1/2″ or 3/4″ straight
1/4″ per pass
Steady, moderate
Rabbet (siding lap)
Bearing-guided rabbet bit
1/4″ to 3/8″ per pass
Slow and even
Mortise (post-and-beam)
1/2″ straight, plunge
3/4″ to 1″ per pass
Slow, controlled plunge
Edge round-over (trim)
1/4″ to 3/8″ round-over
Full depth, single pass
Fast, light pressure
Species Selection and Sealing Joints Against Weather
Not every wood species holds a routed joint the same way, and picking the right one matters as much as cutting it well. Softer species like cedar and pine rout cleanly and resist rot naturally, while dense hardwoods like oak hold a tighter joint but dull bits faster and need more careful feed control to avoid burning.
For most cabin framing and exterior joinery, cedar and pressure-treated pine are the two most practical choices, since both handle moisture reasonably well and cedar in particular resists decay without heavy chemical treatment. Doug fir is a strong middle ground for structural post-and-beam work, offering good strength with routing behavior that’s fairly forgiving compared to oak or maple.
Sealing Routed Joints Before Assembly
Seal the cut faces of every structural joint before you put it together, not after. Once the tenon is buried inside the mortise, you can’t treat that hidden wood again, and it’s exactly the spot where trapped moisture causes slow rot from the inside out. A brush-on exterior wood sealer or a borate-based treatment on the joint faces before assembly buys years of extra life.
Gaps, Sealants, and Flexible Joints
For joints that stay exposed after assembly, like exterior rabbeted trim, a flexible exterior sealant in the gap you deliberately left for wood movement does more good than trying to eliminate the gap entirely. Silicone or a quality polyurethane sealant flexes with the seasonal swelling instead of cracking loose the way rigid caulk does after a year or two.
If you want a deeper breakdown of wood treatment products that hold up on an actual cabin build rather than a lab test, that’s a topic worth a full read on its own, and it’s one Cabin Lodger covers in more detail alongside the joinery side of things.
Skipping the sealing step is tempting when you’re racing to get walls up before the weather turns. Don’t skip it. An unsealed mortise looks fine for a season or two, then starts showing dark staining and soft spots right where you can’t easily fix it without disassembling the frame.
Frequently Asked Questions
What’s the best router for a first-time cabin builder to buy?
A mid-range plunge router around 2 to 2.25 HP handles most cabin joinery, including mortises, dadoes, and rabbets, better than a fixed-base or trim router alone. Add a fixed base later if you do heavy edge-profiling work.
How much clearance should I leave in a dado joint for a cabin wall?
Leave about 1/32 to 1/16 inch of clearance rather than a tight furniture fit, since cabin lumber swings in moisture content far more than indoor furniture wood does. Fill the gap with exterior glue or flexible sealant instead of forcing a dead-tight cut.
Can I use the same router bits for cabin framing and interior trim?
Not ideally. Structural cuts need carbide-tipped bits rated for hardwood and rough lumber, while trim work can use lighter bits meant for clean edges on finished boards. Mixing them shortens the life of your good bits fast.
Why did my routed joint burn or char during cutting?
Charring usually means you fed too slowly, took too deep a pass, or used a dull bit. Take no more than 1/4 to 3/8 inch per pass in hardwoods, keep a steady feed rate, and swap to a sharp carbide bit before blaming the wood species.