A pocket hole screw won’t save a load-bearing joint if you skip the glue, and it won’t hold up outdoors if you grab the wrong screw for the wood. That’s the split most guides never mention: cabin repairs deal with humidity, seasonal wood swings, and settling that a living room bookshelf never sees. If you’re patching a cabinet door or rebuilding a porch bench, the right pocket screw setup depends on what that joint has to survive.
This isn’t a general woodworking primer. It’s specifically about what changes when your repair lives in a cabin, where the wood breathes with the seasons and the air is rarely climate-controlled.
Setting Up the Jig: Angle, Depth, and Edge Distance
A pocket hole jig drills an angled hole (typically 15 degrees) so the screw drives through one board into the face of another, and getting the depth and edge spacing right is what separates a strong joint from a split one. Most cabin repairs use standard jig settings for 3/4-inch stock, which is the thickness of most cabinet-grade lumber and a lot of interior trim.
Matching Hole Depth to Material Thickness
Set your jig’s drill guide based on board thickness, not guesswork. For 3/4-inch material, use the jig’s standard setting; for anything thinner, like 1/2-inch shelving, switch to the shallow setting so the bit doesn’t blow through the far face. A Kreg jig (the most common brand cabin builders reach for) comes with a depth collar and a quick reference chart right on the jig body, so there’s no math involved.
Why Edge Distance Matters More Than People Think
Drilling too close to the board’s edge is one of the most common mistakes I see, and it’s an easy one to make when you’re rushing a repair. Keep at least 3/4 inch between the pocket hole and the board edge, minimum, or the screw can blow out the side when it’s driven home. On narrow trim pieces under 2 inches wide, this gets tight fast, and honestly, that’s a sign the board’s too narrow for a pocket screw joint at all. Consider a smaller screw or a different joint entirely.
Choosing the Right Screw for the Wood You’re Working With
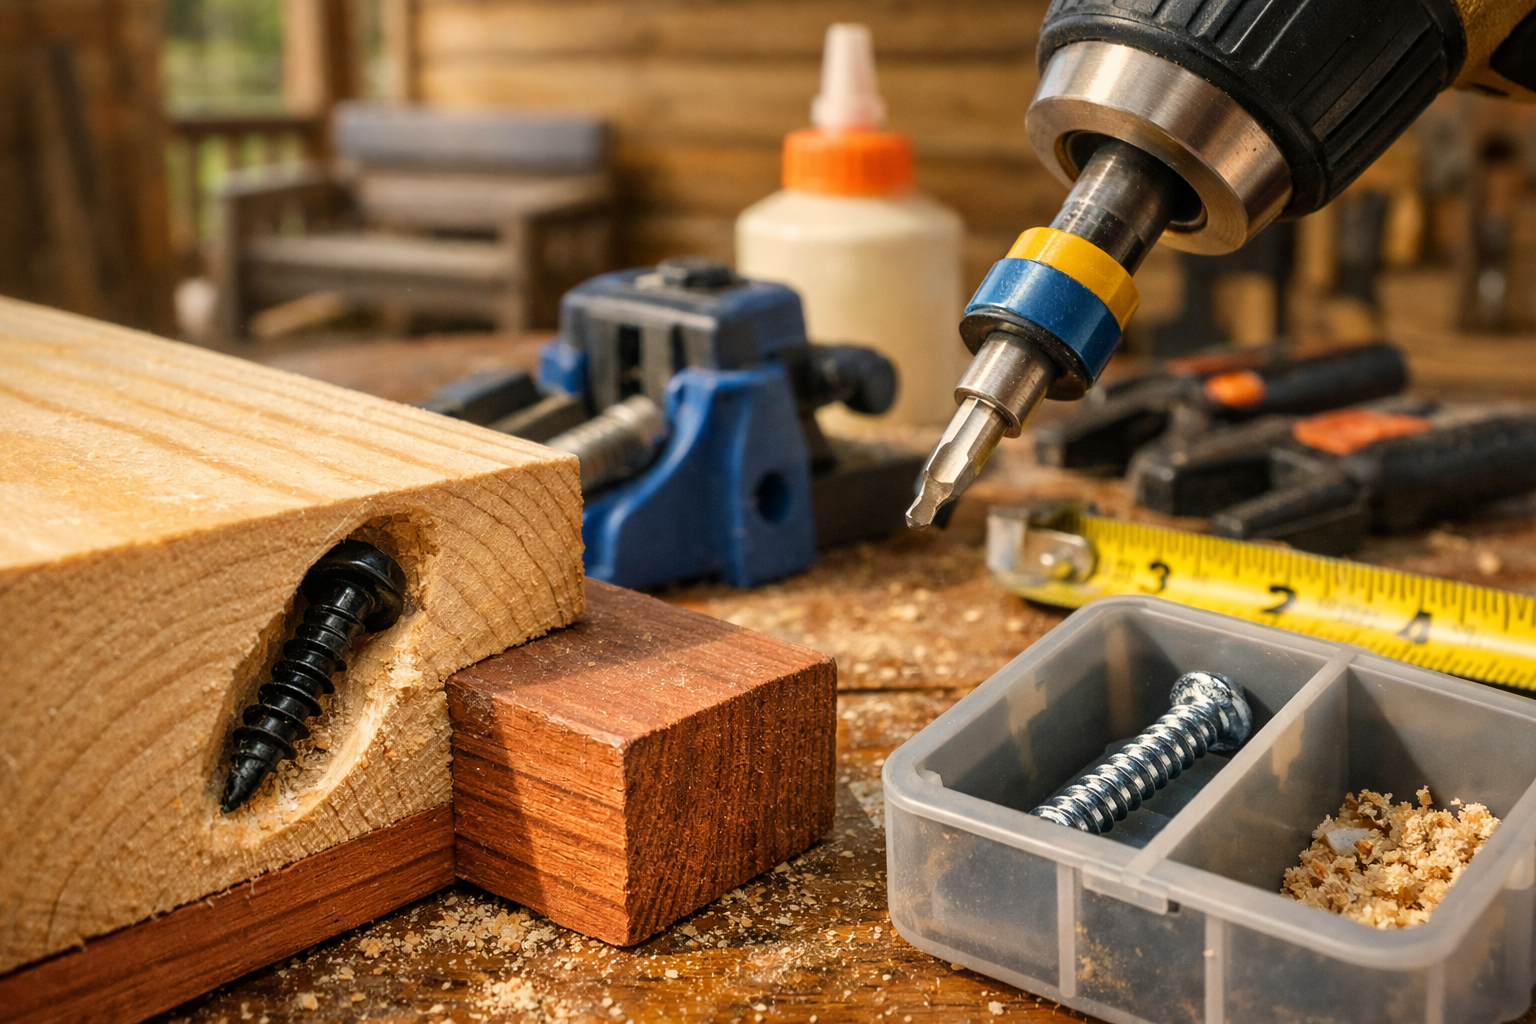
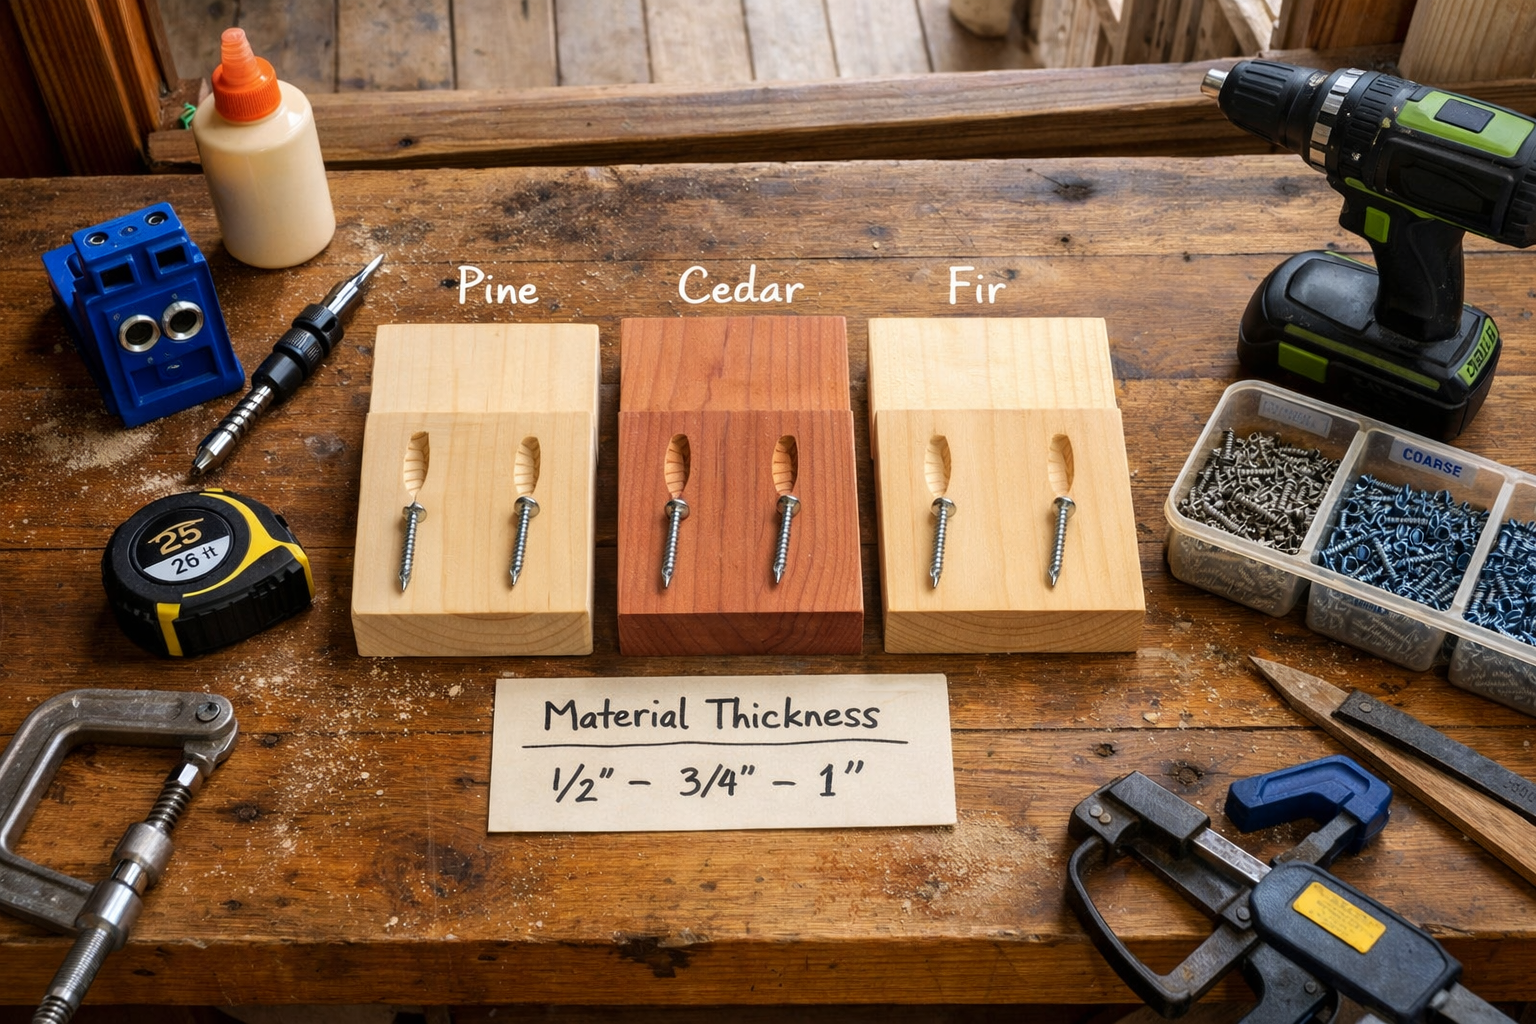
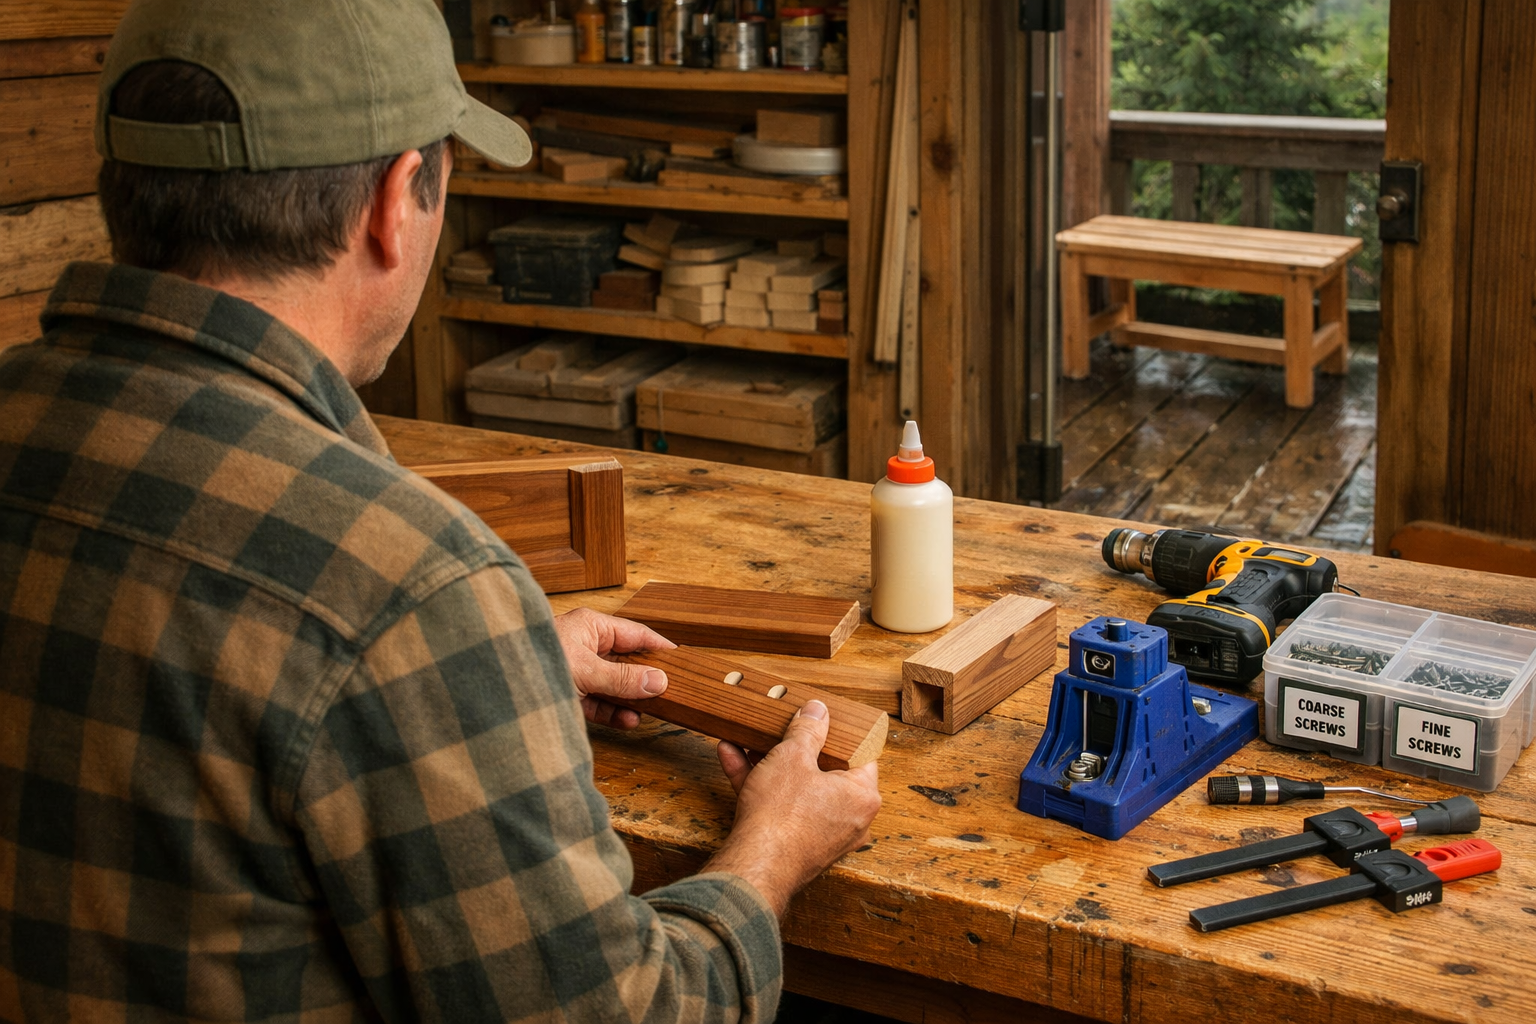
Screw choice is where most DIY repairs go wrong, and it’s a simple fix once you know the rule: coarse-thread screws for softwood, fine-thread for hardwood. Cabins are usually framed and finished in pine, cedar, or fir, all softwoods, so coarse thread is the default choice for most repair work.
Fine-thread screws are made for hardwoods like oak or maple, where the tighter thread pattern won’t tear through denser fibers the way a coarse thread would. Use fine thread on a softwood joint and you’ll get less grip, since the wider gaps between coarse threads are what let softwood fibers bite in. Flip it around, coarse thread in hardwood, and you risk splitting the board outright.
Length matters just as much as thread type. A good starting point:
Board Thickness
Screw Length
Thread Type (Softwood)
Thread Type (Hardwood)
1/2 inch
1 inch
Coarse
Fine
3/4 inch
1 1/4 inch
Coarse
Fine
1 inch
1 1/2 inch
Coarse
Fine
1 1/2 inch
2 1/2 inch
Coarse
Fine
Buy a mixed pack if your repair list is varied. Most hardware stores sell coarse and fine-thread pocket screws in the same aisle, in 1-inch, 1 1/4-inch, and 2 1/2-inch lengths, usually for somewhere between $8 and $15 per box of 100.
Structural Joints vs. Furniture Fixes: Know the Difference
A pocket hole screw is a great choice for cabinet doors, drawer boxes, shelving, and interior trim repairs, but it should never be the only thing holding up a load-bearing frame member, a deck ledger, or a structural post connection. That’s the line a lot of DIY guides blur, and it matters more in a cabin than almost anywhere else.
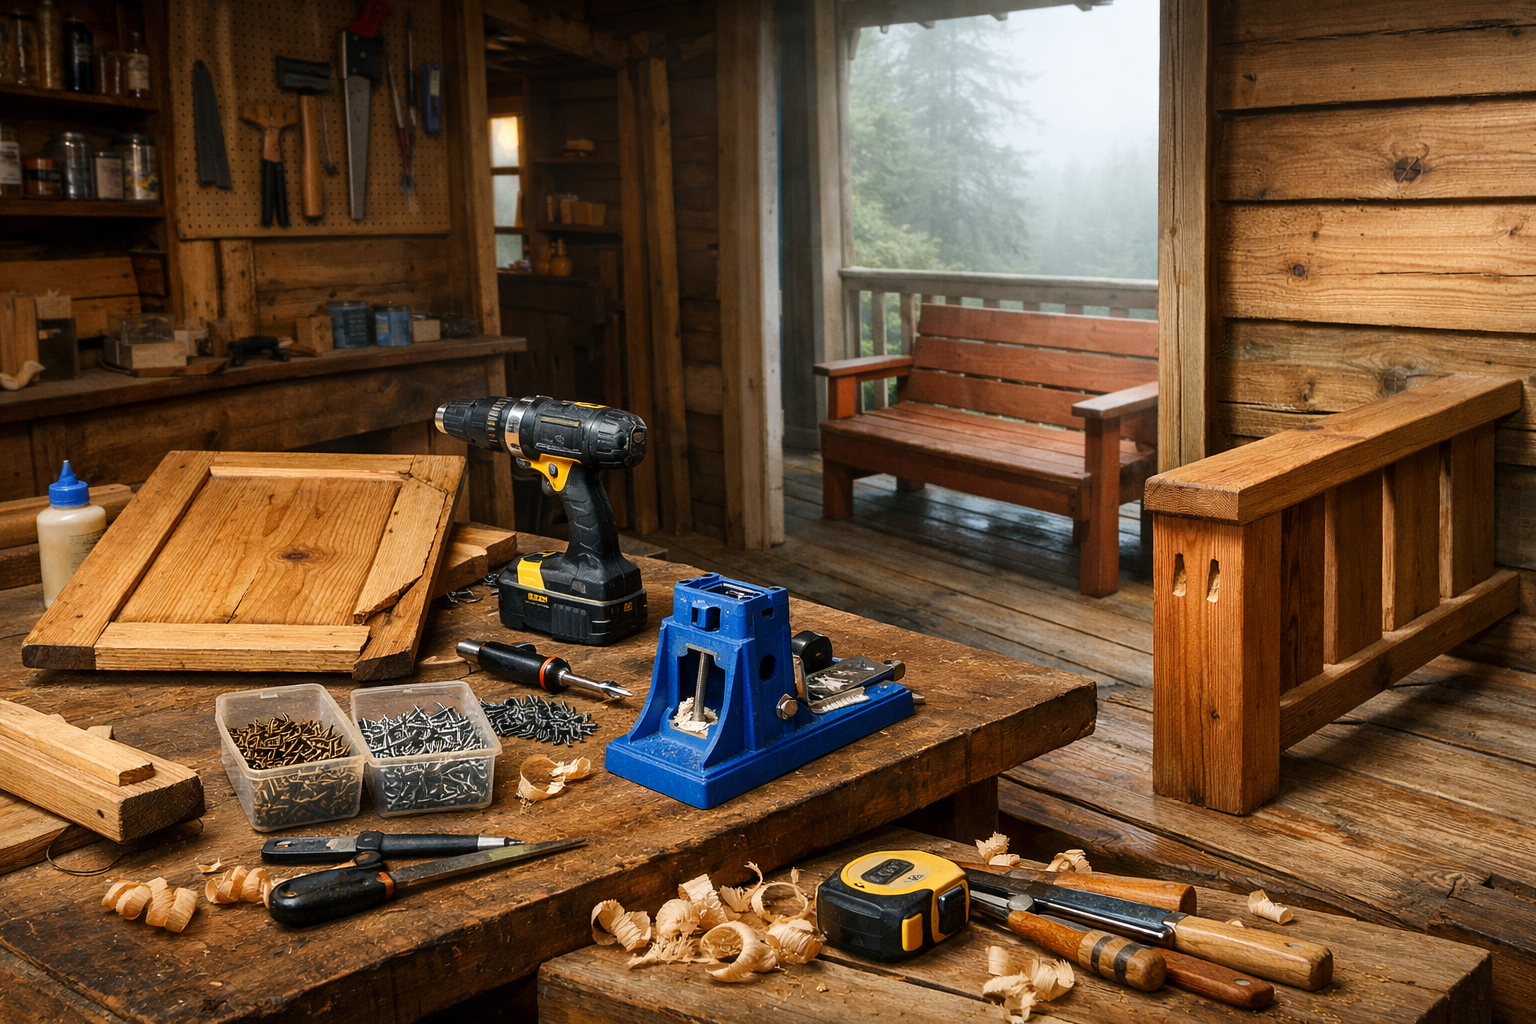
For non-structural work, meaning anything that isn’t carrying weight from the roof, floor joists, or foundation, pocket screws paired with glue are plenty strong. Think cabinet face frames, a wobbly bunk bed ladder, a repaired porch railing baluster, or a kitchen shelf that’s pulled loose from its side panel. These joints see stress from use, not from holding the building up.
For structural repairs, don’t rely on pocket screws alone. Add a metal bracket, a through-bolt, or at minimum a glued half-lap joint alongside the pocket screws, especially anywhere the joint will see repeated flex from foot traffic or wind load. A pocket screw’s holding power comes mostly from the screw itself biting into face grain; it doesn’t have the shear strength of a bolt or the surface area of a true mortise and tenon.
Why Cabin Humidity Changes the Repair
Wood moves. In a climate-controlled house, that movement is small and slow. In a cabin that swings from 30% humidity in winter heat to 80% humidity in a wet summer, that movement is fast and it’s real, and it’s the number one reason pocket screw joints fail outside where they’d hold fine indoors.
Always use glue with your pocket screws on any joint that will face seasonal wood movement. Wood glue (a standard PVA like Titebond II or III, both rated for some moisture resistance) fills the joint and resists the shear stress that comes from boards expanding and contracting across the grain. A pocket screw alone can loosen over a few seasons as the wood shrinks slightly around the threads; glue keeps the joint tight even as the screw’s grip softens.
Clamping matters here too. Before driving the screw, clamp the joint tight and let it sit for a few seconds so the glue makes full contact before the screw pulls the boards together. Skipping the clamp and just driving the screw fast can leave a hairline gap that becomes a water trap in a damp cabin, and that’s exactly where rot starts.
A few practical steps for any pocket screw repair in a humid cabin environment:
Dry-fit the joint first and check for gaps before drilling.
Drill your pocket holes at the correct angle and depth for the board thickness.
Apply wood glue rated for moisture resistance to both mating surfaces.
Clamp the joint and let the glue set for a few seconds before driving screws.
Drive the screw snug, not overtightened, since over-driving can strip softwood.
Wipe excess glue immediately, since dried squeeze-out traps moisture underneath.
Let the joint cure fully (check the glue label, usually 24 hours) before load testing.
When to Skip Pocket Screws for Dowels, Biscuits, or a Mortise
Pocket screws aren’t the answer for every joint, and knowing when to switch methods saves you from a repair that fails again in a year. Dowel joints and biscuit joints both hide the fastener entirely, which matters for visible cabin furniture like a dining table edge where a pocket hole would show.
A mortise and tenon joint is the strongest option of the bunch, and it’s worth the extra time for anything load-bearing, like a bed frame rail or a bench leg that takes real weight. It takes a chisel, a mortise jig or drill press, and more patience than a pocket screw repair, but the joint locks mechanically instead of relying on screw threads and glue alone.
If you’re building out your tool kit for repairs like this, cabinlodger.com has a rundown of the basic woodworking tools worth owning before you start a full cabin build, which covers where a pocket hole jig fits alongside clamps, a chisel set, and a decent cordless drill. For quick repairs, though, a pocket screw with glue and a clamp is usually the fastest path back to a solid joint.
Frequently Asked Questions
Can pocket screws hold up outdoors on a cabin porch or deck?
Only for non-structural pieces like railing balusters or trim, and only with exterior-rated glue and stainless or coated screws. Skip pocket screws on load-bearing deck framing; use bolts or brackets there instead.
How long do pocket screw joints typically last in a humid cabin?
With glue and correct screw-to-wood matching, expect several years of solid service on furniture and cabinetry. Without glue, expect loosening within one to two humid seasons as the wood shrinks around bare threads.
Do I need a full-size Kreg jig, or will a mini jig work for cabin repairs?
A mini or handheld pocket hole jig works fine for most cabin repairs on stock up to 3/4 inch thick. A full-size jig with a clamp base is worth the upgrade if you’re doing repeated repairs or cabinetry builds.