What’s the real difference between a small log cabin that feels cozy and one that just feels cramped? It comes down to a handful of design calls made before a single log gets notched: roof pitch, loft placement, window spacing, and how you’re sizing the footprint in the first place. Get those wrong and you’ll spend years fighting your own floor plan.
Most design guides treat this like an interior decorating exercise. In practice, the decisions that make a small log cabin design feel good are the same ones that determine how hard your build gets and what off-grid systems will even fit later.
How Big Should a Small Log Cabin Actually Be?
The sweet spot for a DIY small log cabin is 400 to 800 square feet. Anything under 400 starts feeling like a glorified shed once you subtract wall thickness, loft stairs, and storage; anything over 800 stops being a “small” build in terms of labor and log count.
Square footage doesn’t scale in a straight line with cost or effort. A 600-square-foot cabin isn’t just “bigger” than a 400-square-foot one — it usually means an extra structural bay, more roof surface, and often a second window run that needs flashing and trim. Don’t assume a smaller footprint means a smaller budget; labor and log costs still dominate the number even at 500 square feet, because notching, stacking, and chinking a single course takes almost the same effort whether the wall is 12 feet long or 20.
Common Small Footprint Sizes
A 16×20 cabin (320 square feet on the main floor) with a loft can sleep four and still leave room for a kitchenette and a wood stove. Bump that to 20×24 and you’ve got real living space downstairs plus a loft big enough for a proper bedroom, not just a mattress under a slope.
What People Get Wrong About “Small”
The mistake I see most is designing the footprint first and the loft second. If you carve out loft stairs after the downstairs layout is locked, you either lose a corner of your kitchen or end up with a ladder instead of stairs — fine for a hunting cabin, rough for a full-time home.
Floor Plan Layout: Where the Loft Actually Wins or Loses
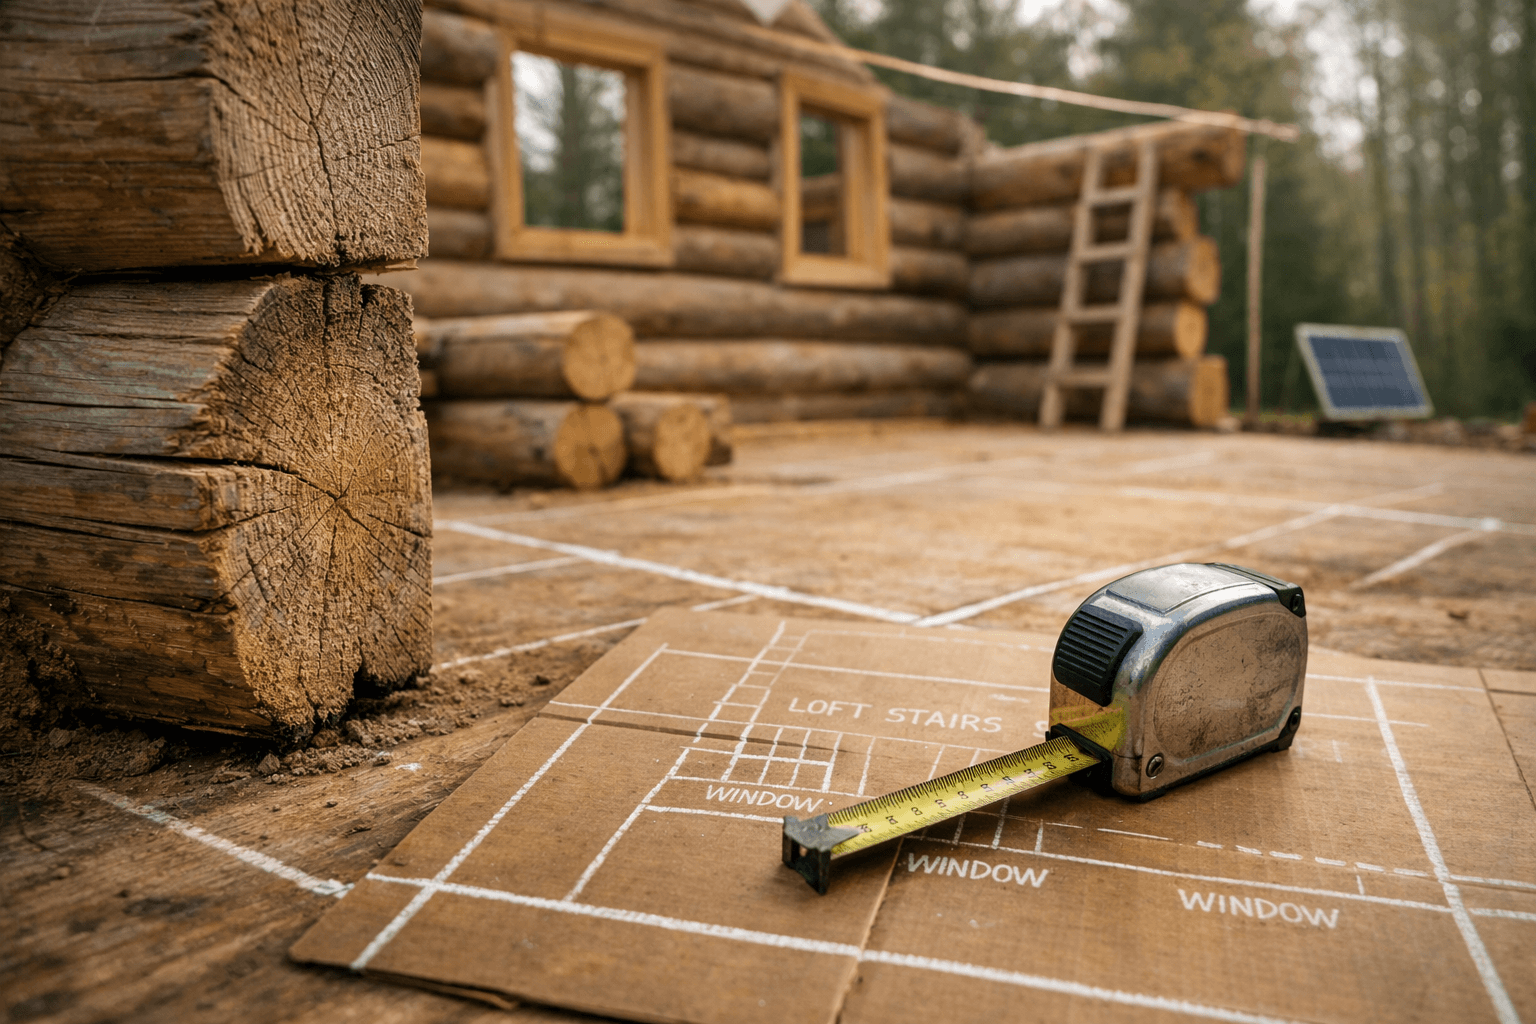
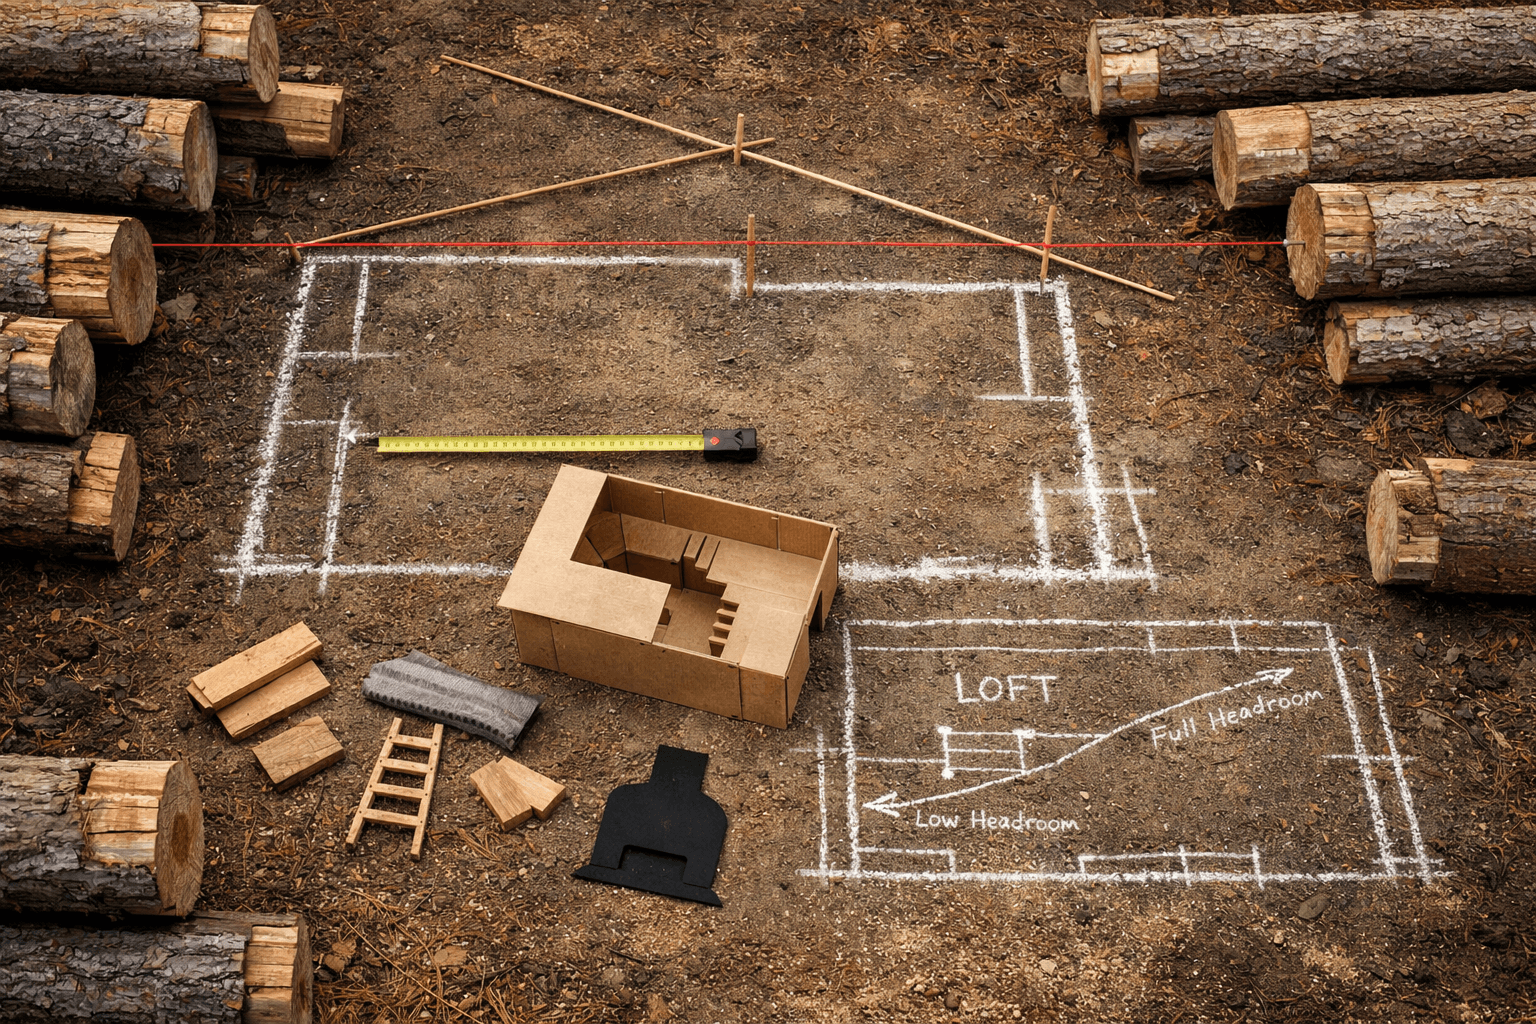
The loft is where small cabin designs succeed or fail, because headroom and stair footprint eat into your usable square footage more than beginners expect. Plan for at least 5 feet of headroom at the loft’s tallest point and a stair or ladder footprint of roughly 12 to 20 square feet.
Open-concept ground floors work best under 700 square feet, since walling off separate rooms in a small footprint just creates hallway waste. A single great room with a kitchen along one wall, a wood stove as the anchor point, and a bathroom tucked in a back corner is the layout I’d default to for most DIY builds.
Loft placement over the kitchen or bathroom, rather than the living area, lets you run plumbing and stovepipe vertically without threading them through a bedroom. That single decision affects your off-grid utility planning down the road, which is the part most design blogs skip entirely.
Storage That Doesn’t Eat Living Space
Built-in storage under stairs, in loft knee walls, and beneath sleeping platforms recovers space you’d otherwise lose to furniture. A 4-foot run of knee-wall cabinets in a loft can hold as much as a small dresser without taking a single square foot of floor space.
Roof Pitch and Notch Style Decide How Hard Your Build Gets
Roof pitch and log notch style aren’t cosmetic choices — they set your labor timeline and your snow-load safety margin. A steep pitch (8:12 or higher) sheds snow well and gives loft headroom, but it also means more cutting, more scaffolding time, and a harder install for a solo or two-person crew.
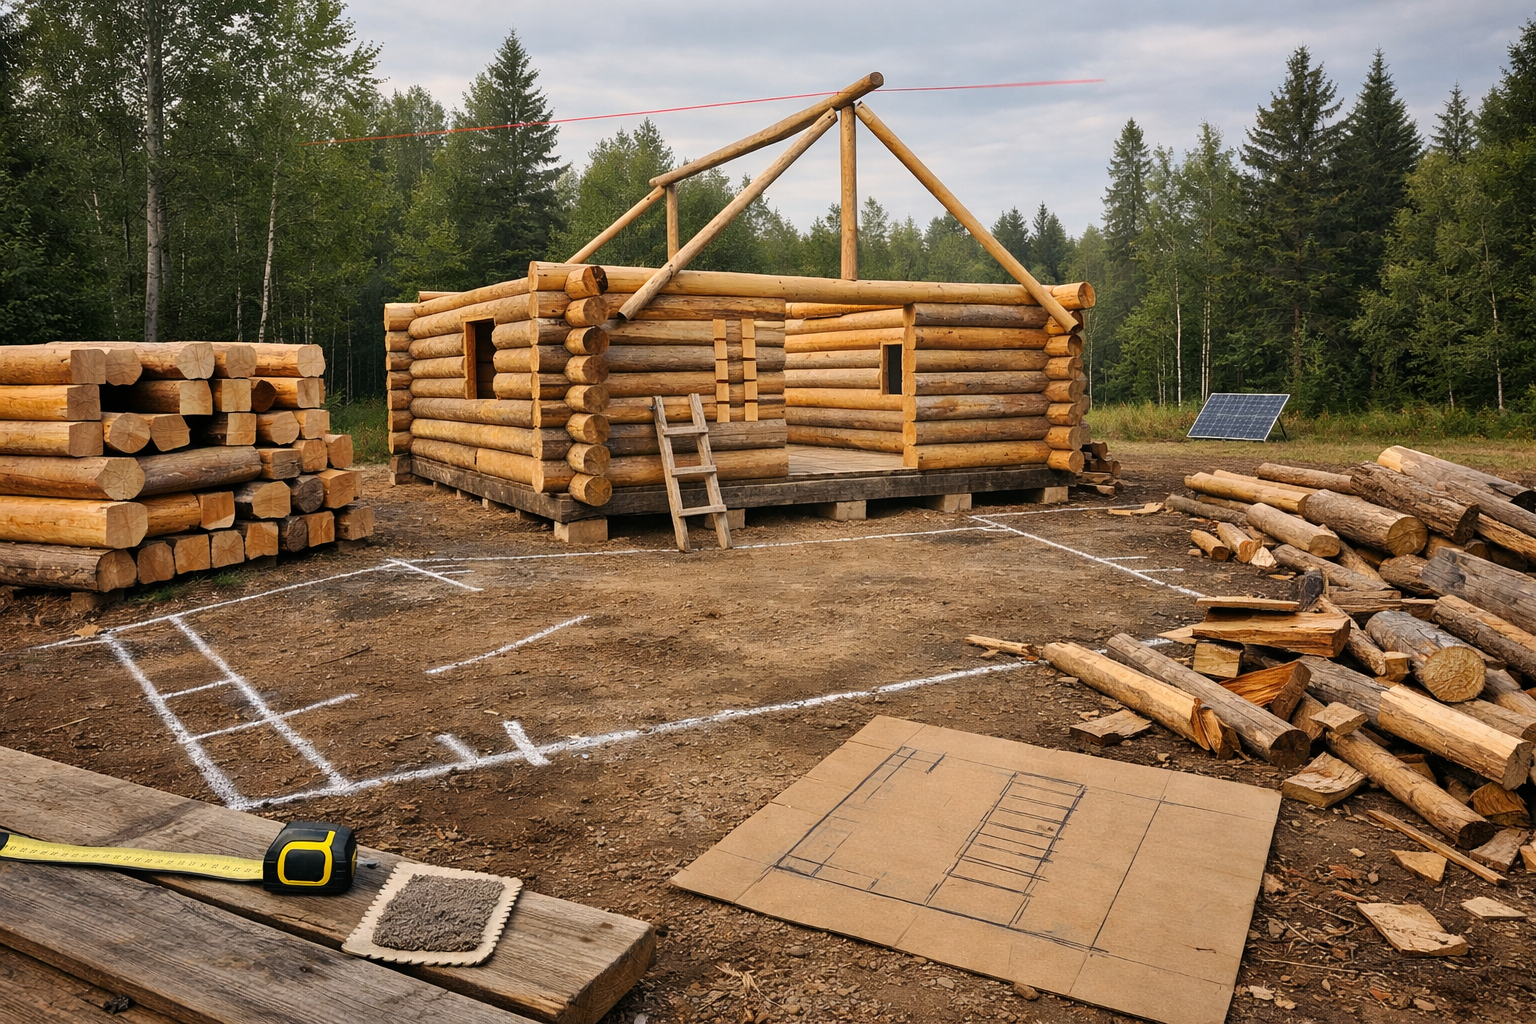
For DIY builders, a 6:12 to 8:12 pitch is the practical middle ground: enough slope for snow country, manageable without a full framing crew, and compatible with a simple gable design that doesn’t require valley flashing or dormers.
Notch style matters just as much. Saddle notches look classic and lock logs tight without metal fasteners, but they take real chainsaw skill and more time per joint. Butt-and-pass or square notch styles go faster for first-time builders, though they trade off some of that traditional look.
Decide your snow load zone before picking a pitch — check local building code minimums first.
Choose notch style based on your chainsaw skill, not just aesthetics.
Pick full round, half-log, or milled logs based on how much chinking time you’re willing to commit.
Plan window and porch openings around your log courses, not after.
Order 10-15% extra log material to cover cutting mistakes and checking (cracking).
Full round logs give the classic cabin look but leave gaps that need serious chinking or synthetic sealant work — budget real weekend hours for that step, not an afternoon. Milled or half-log kits fit tighter and cut chinking time down, which is worth factoring in if you’re building solo.
Kit vs. Scratch Build: What Actually Changes the Cost
A log cabin kit costs more per square foot but saves weeks of labor; a scratch build costs less in materials but demands skills and time most first-timers underestimate. Kits from companies that pre-cut and number every log can turn a 600-square-foot shell into a 2-3 week assembly job for a small crew.
Scratch building means sourcing your own logs, doing your own notching, and accepting that mistakes cost you material, not just time. It’s the cheaper path on paper, but only if your labor is free and your timeline is flexible.
Build Approach
Typical Cost per Sq Ft (shell only)
Labor Timeline (600 sq ft)
Skill Level Needed
Full log kit
$90-$140
2-4 weeks
Moderate
Scratch build, milled logs
$60-$90
6-10 weeks
Moderate-high
Scratch build, full round logs
$50-$80
10-16 weeks
High
These are shell-only estimates; foundation, insulation, windows, and finishing add on top and can easily double the total. A pier or skid foundation runs cheaper and faster for small cabins than a full poured slab, and it’s usually the right call under 800 square feet unless your site has serious grading or frost-depth issues.
Planning Off-Grid Systems Before the Design Is Final
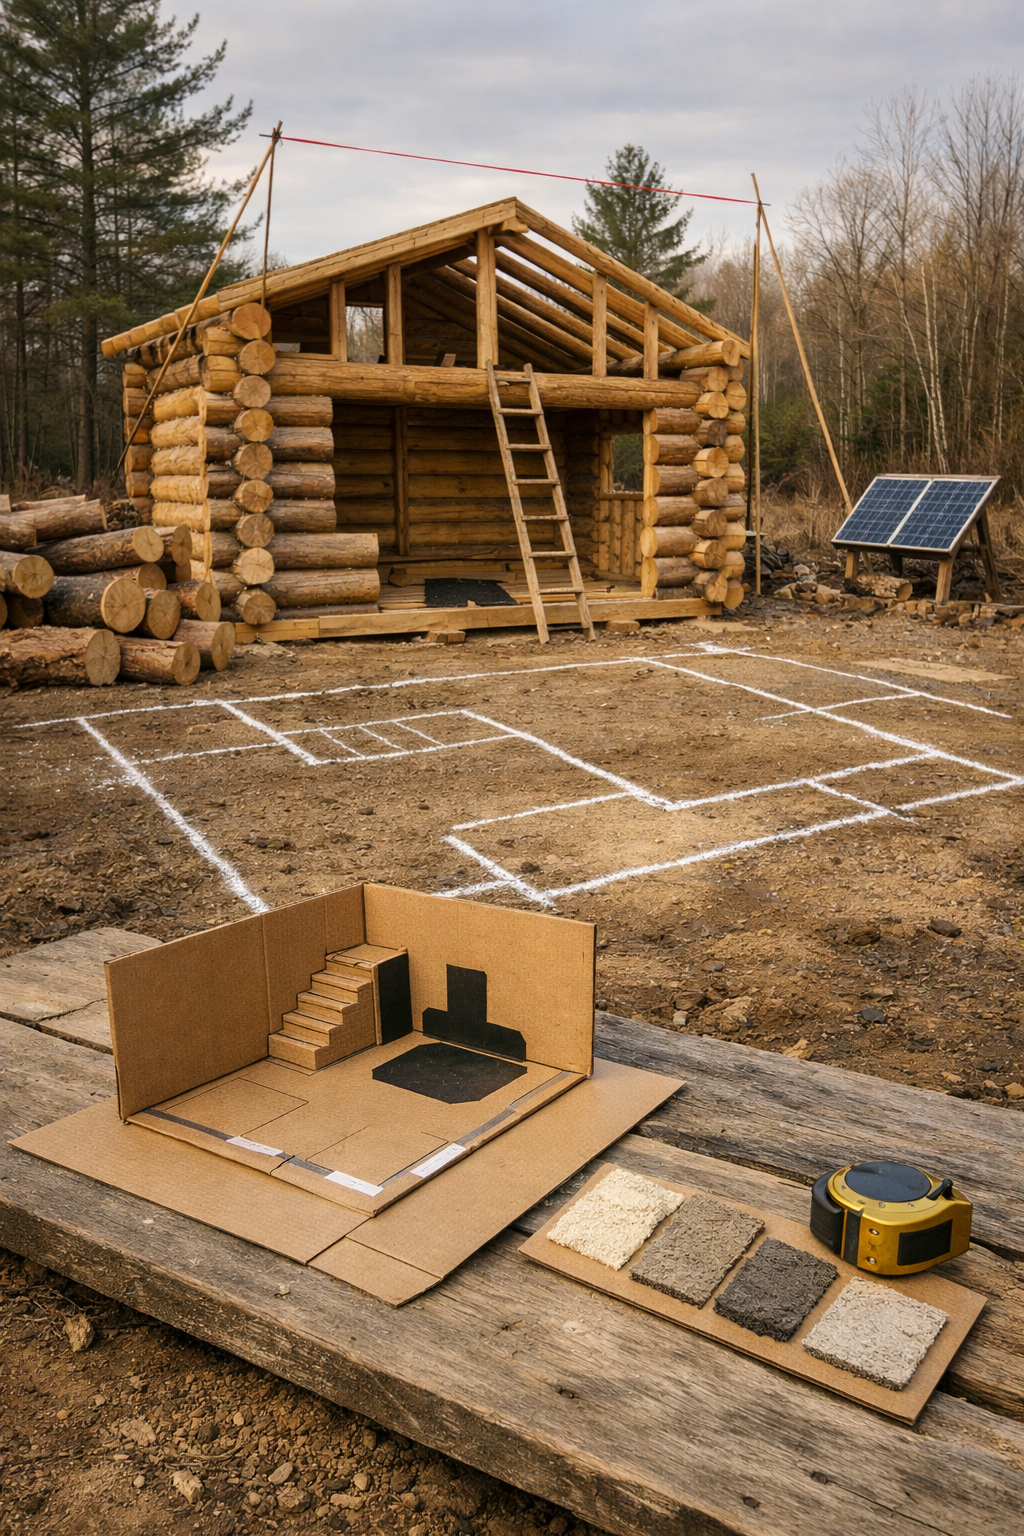
Off-grid utilities need to shape your design before you finalize it, not get bolted on after the walls are up. Deciding where your wood stove, water tank, solar array, and composting toilet go changes wall placement, roof orientation, and even which side gets your porch.
South-facing roof slopes matter if solar panels are part of the plan, and that should influence which way you orient the whole cabin on site, not just where you put the array later. Porch placement on the same south side also gives you shaded outdoor space in summer without blocking winter sun once the angle drops.
Skipping this step is the single most common regret I hear about from small cabin builders. Water lines, gray water runs, and stovepipe clearances are far easier to plan on paper than to retrofit through a finished loft floor. If you want a deeper walkthrough of matching off-grid systems to a small footprint, Cabin Lodger has build-by-build notes on exactly that kind of sequencing.
Frequently Asked Questions
What’s the minimum square footage for a livable small log cabin?
Around 400 square feet is the realistic floor for year-round living, especially with a loft adding sleeping space. Below that, storage and stair footprint start crowding out actual living area fast.
Are log cabin kits worth the extra cost over building from scratch?
Yes, for most first-time builders, since kits cut the timeline from months to weeks and reduce costly notching mistakes. The trade-off is less flexibility in log species and profile compared to sourcing your own.
How much does chinking add to a small cabin build timeline?
Expect roughly one to two extra weekends for a 600-square-foot cabin with full round logs, versus just a few days for tightly milled logs. It’s ongoing maintenance too, not a one-time task.